How to Make Fairy Garden Icicles
And an Icy Pond
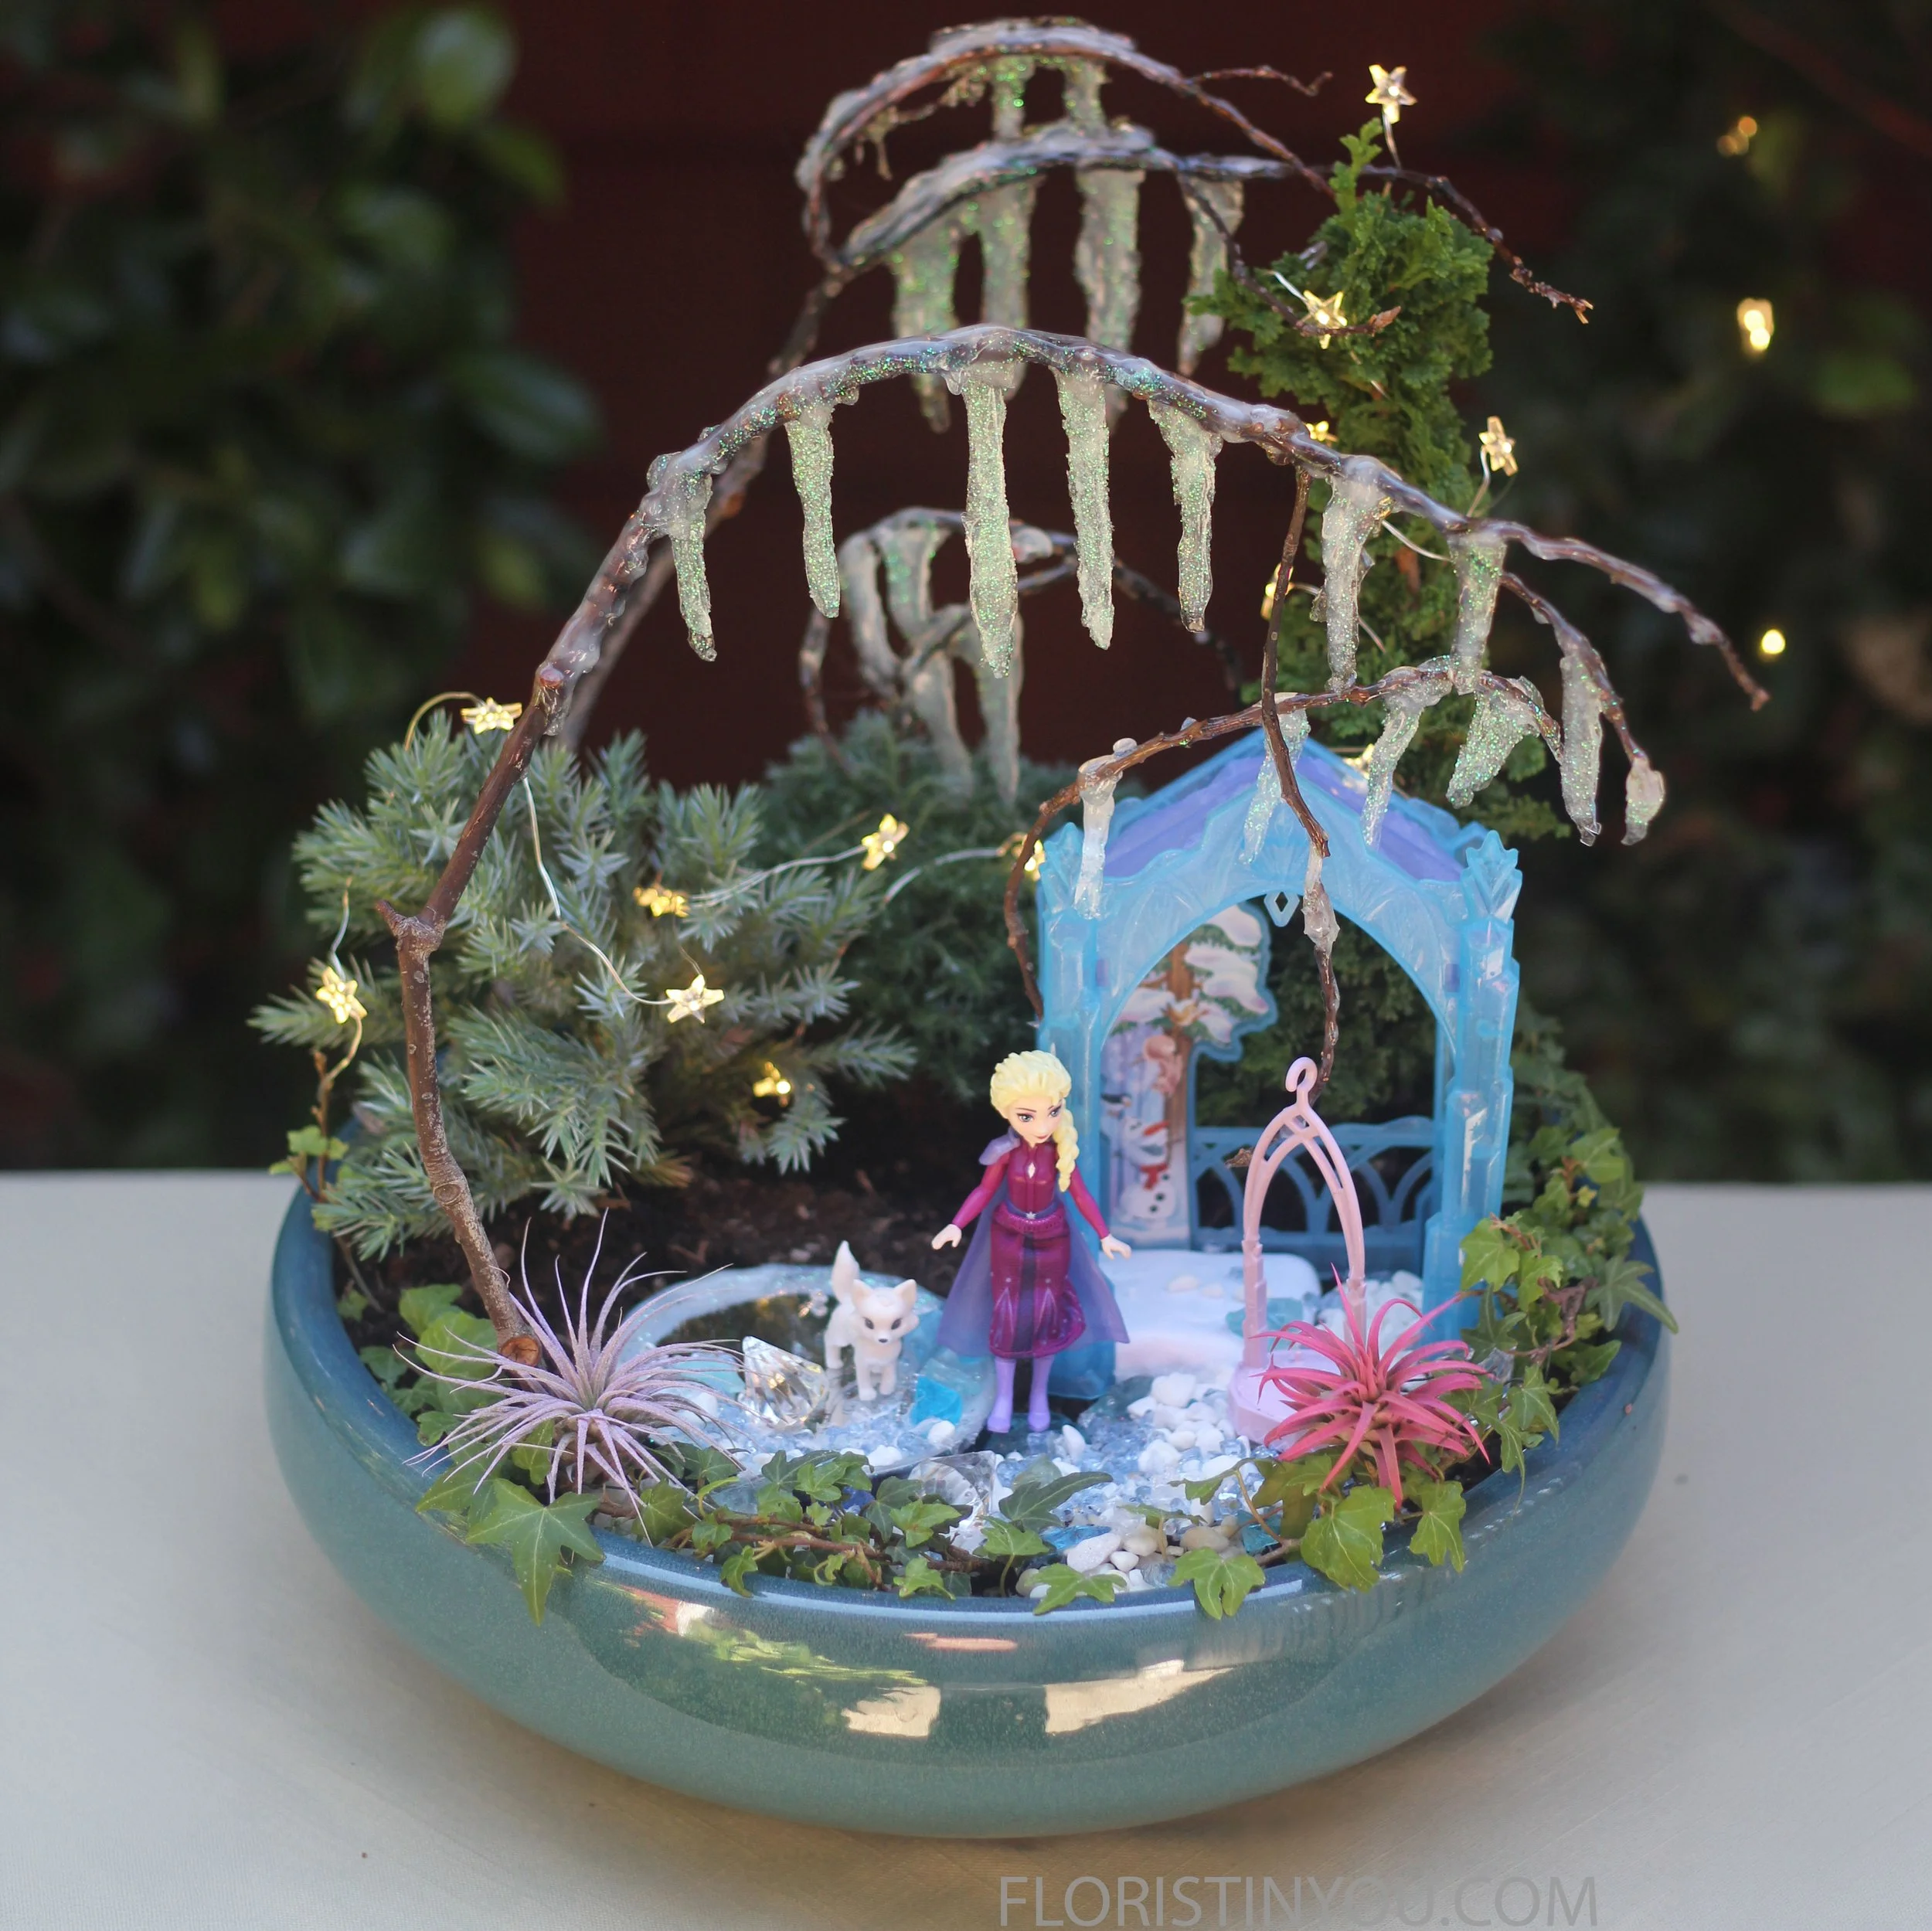
Fairy Garden Icicles and frozen pond
What you need:
2 large curved twigs with the diameter of 9” to fit the inside a 13” diameter bowl
1 smaller curved twig to go over the ice castle
3.5” Diameter mirror (Dollar Tree)
scissors
2 gallon zip freezer bags
blue painters’ tape
a few Q-tips
river rocks or small weights
Gallery Glass Clear Crystal Clear (in squeeze tube)
Fine Diamond Holographic Glitter (or Hobby Lobby)
Supplies Cost: $9.98 - $14.96
Steps: 7
Rated: Easy but careful work
I know, you want to make a Frozen fairy garden for or with your kiddo, but the ice castle should be in the ice and snow. What a problem! But hang on, there is a solution. My five-year-old granddaughter can make super sparkly, real looking ‘icicles’ with a little help. Believe me, it took lots of trials trying to figure this out, but voilà!
1) First, go for a lot of walks. Take your dog if you’d like. Gather twigs or small branches that have a curve like the top of a circle. Ignore those who stare. You are out in nature, and the walk will bring your blood sugar down. Gather quite a few, then select the best ones. Camphor trees (species Camphora) drop a lot of small branches that work perfectly.
2) Tip: Because it is difficult to predict the angle your twigs will rest at after pushing them into the soil, fill your pot with potting soil and pat it down. Press the end of your twigs into the dirt to position them, then mark each twig with a piece of blue painters’ tape that hangs straight down to mark the direction the icicles should hang. Leave that tape on until you make your first icicles. Follow the directions beneath the photos below.
But remember, Olaf dreamed about summer, completely unaware that the heat would melt him. Just like in the movie, excessive heat can make your gallery glass icicles droop and stretch, so bring your icicle branches inside during heat waves.
OK, now get ready to make your Frozen Fairy garden. Stay tuned for the Frozen Fairy Garden post. It will be magical!
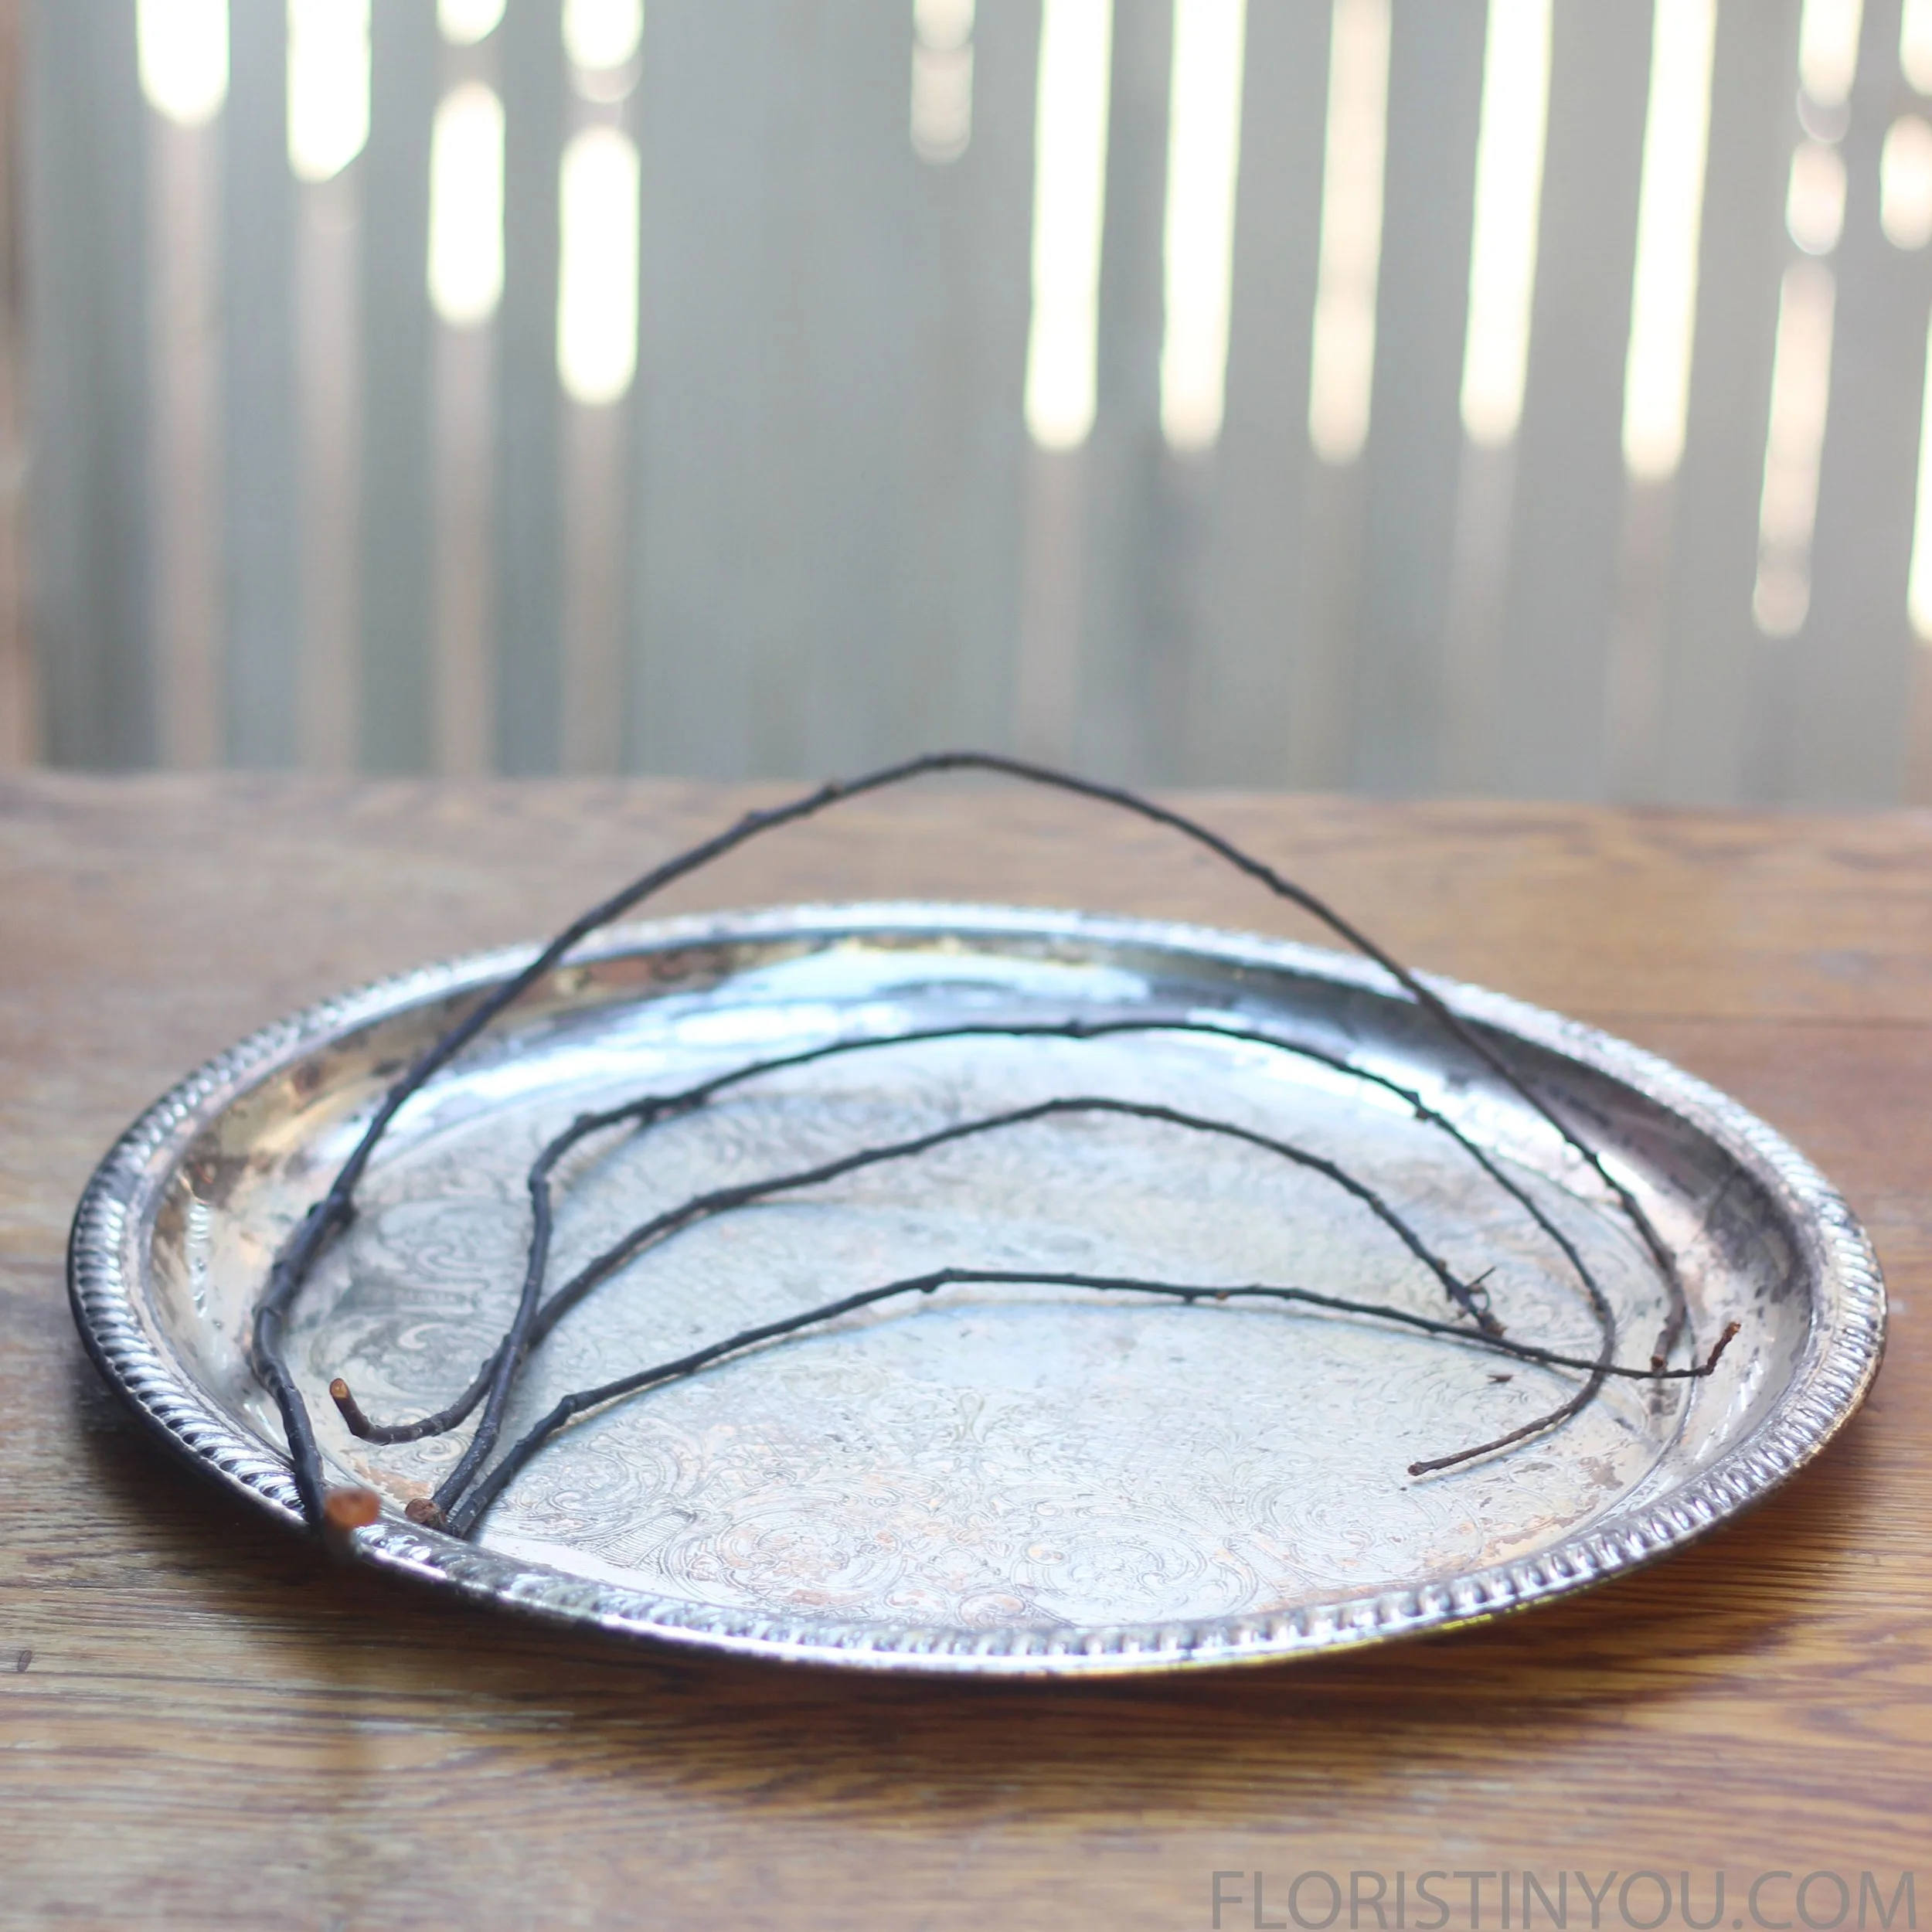
Find 2 large curved twigs and 1 small twig
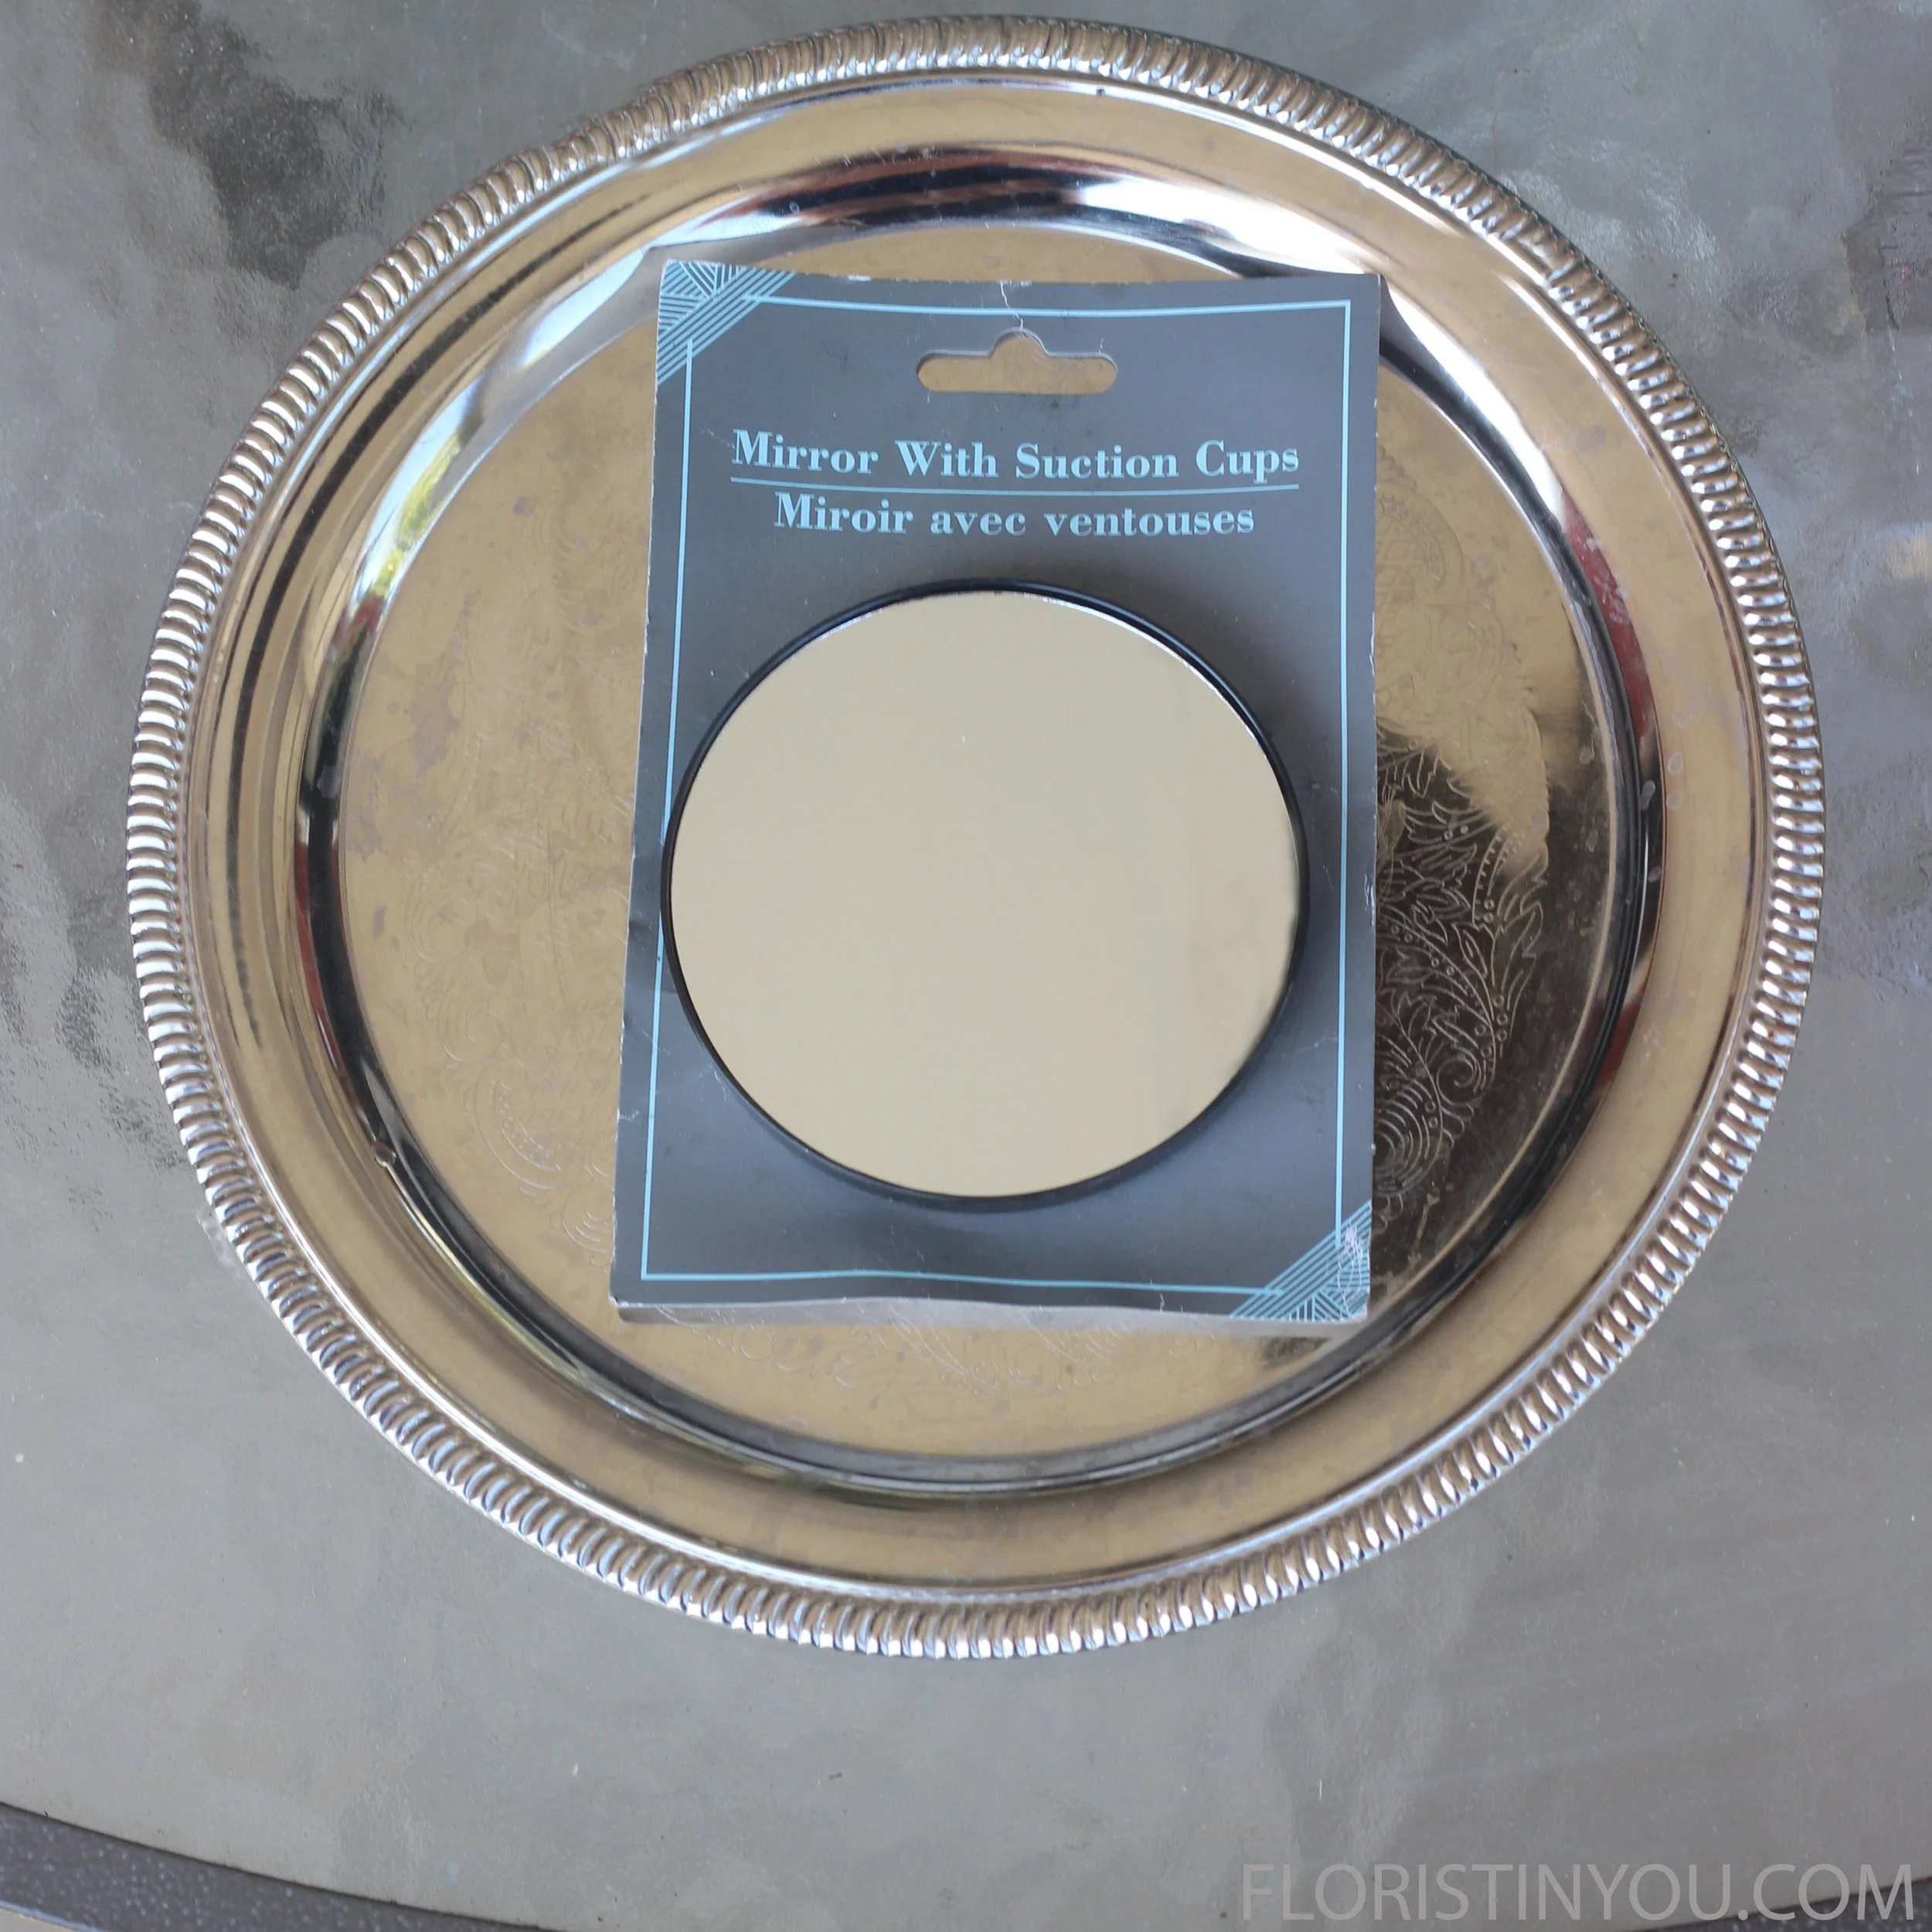
You will use a 3.5" mirror to make the Frozen pond
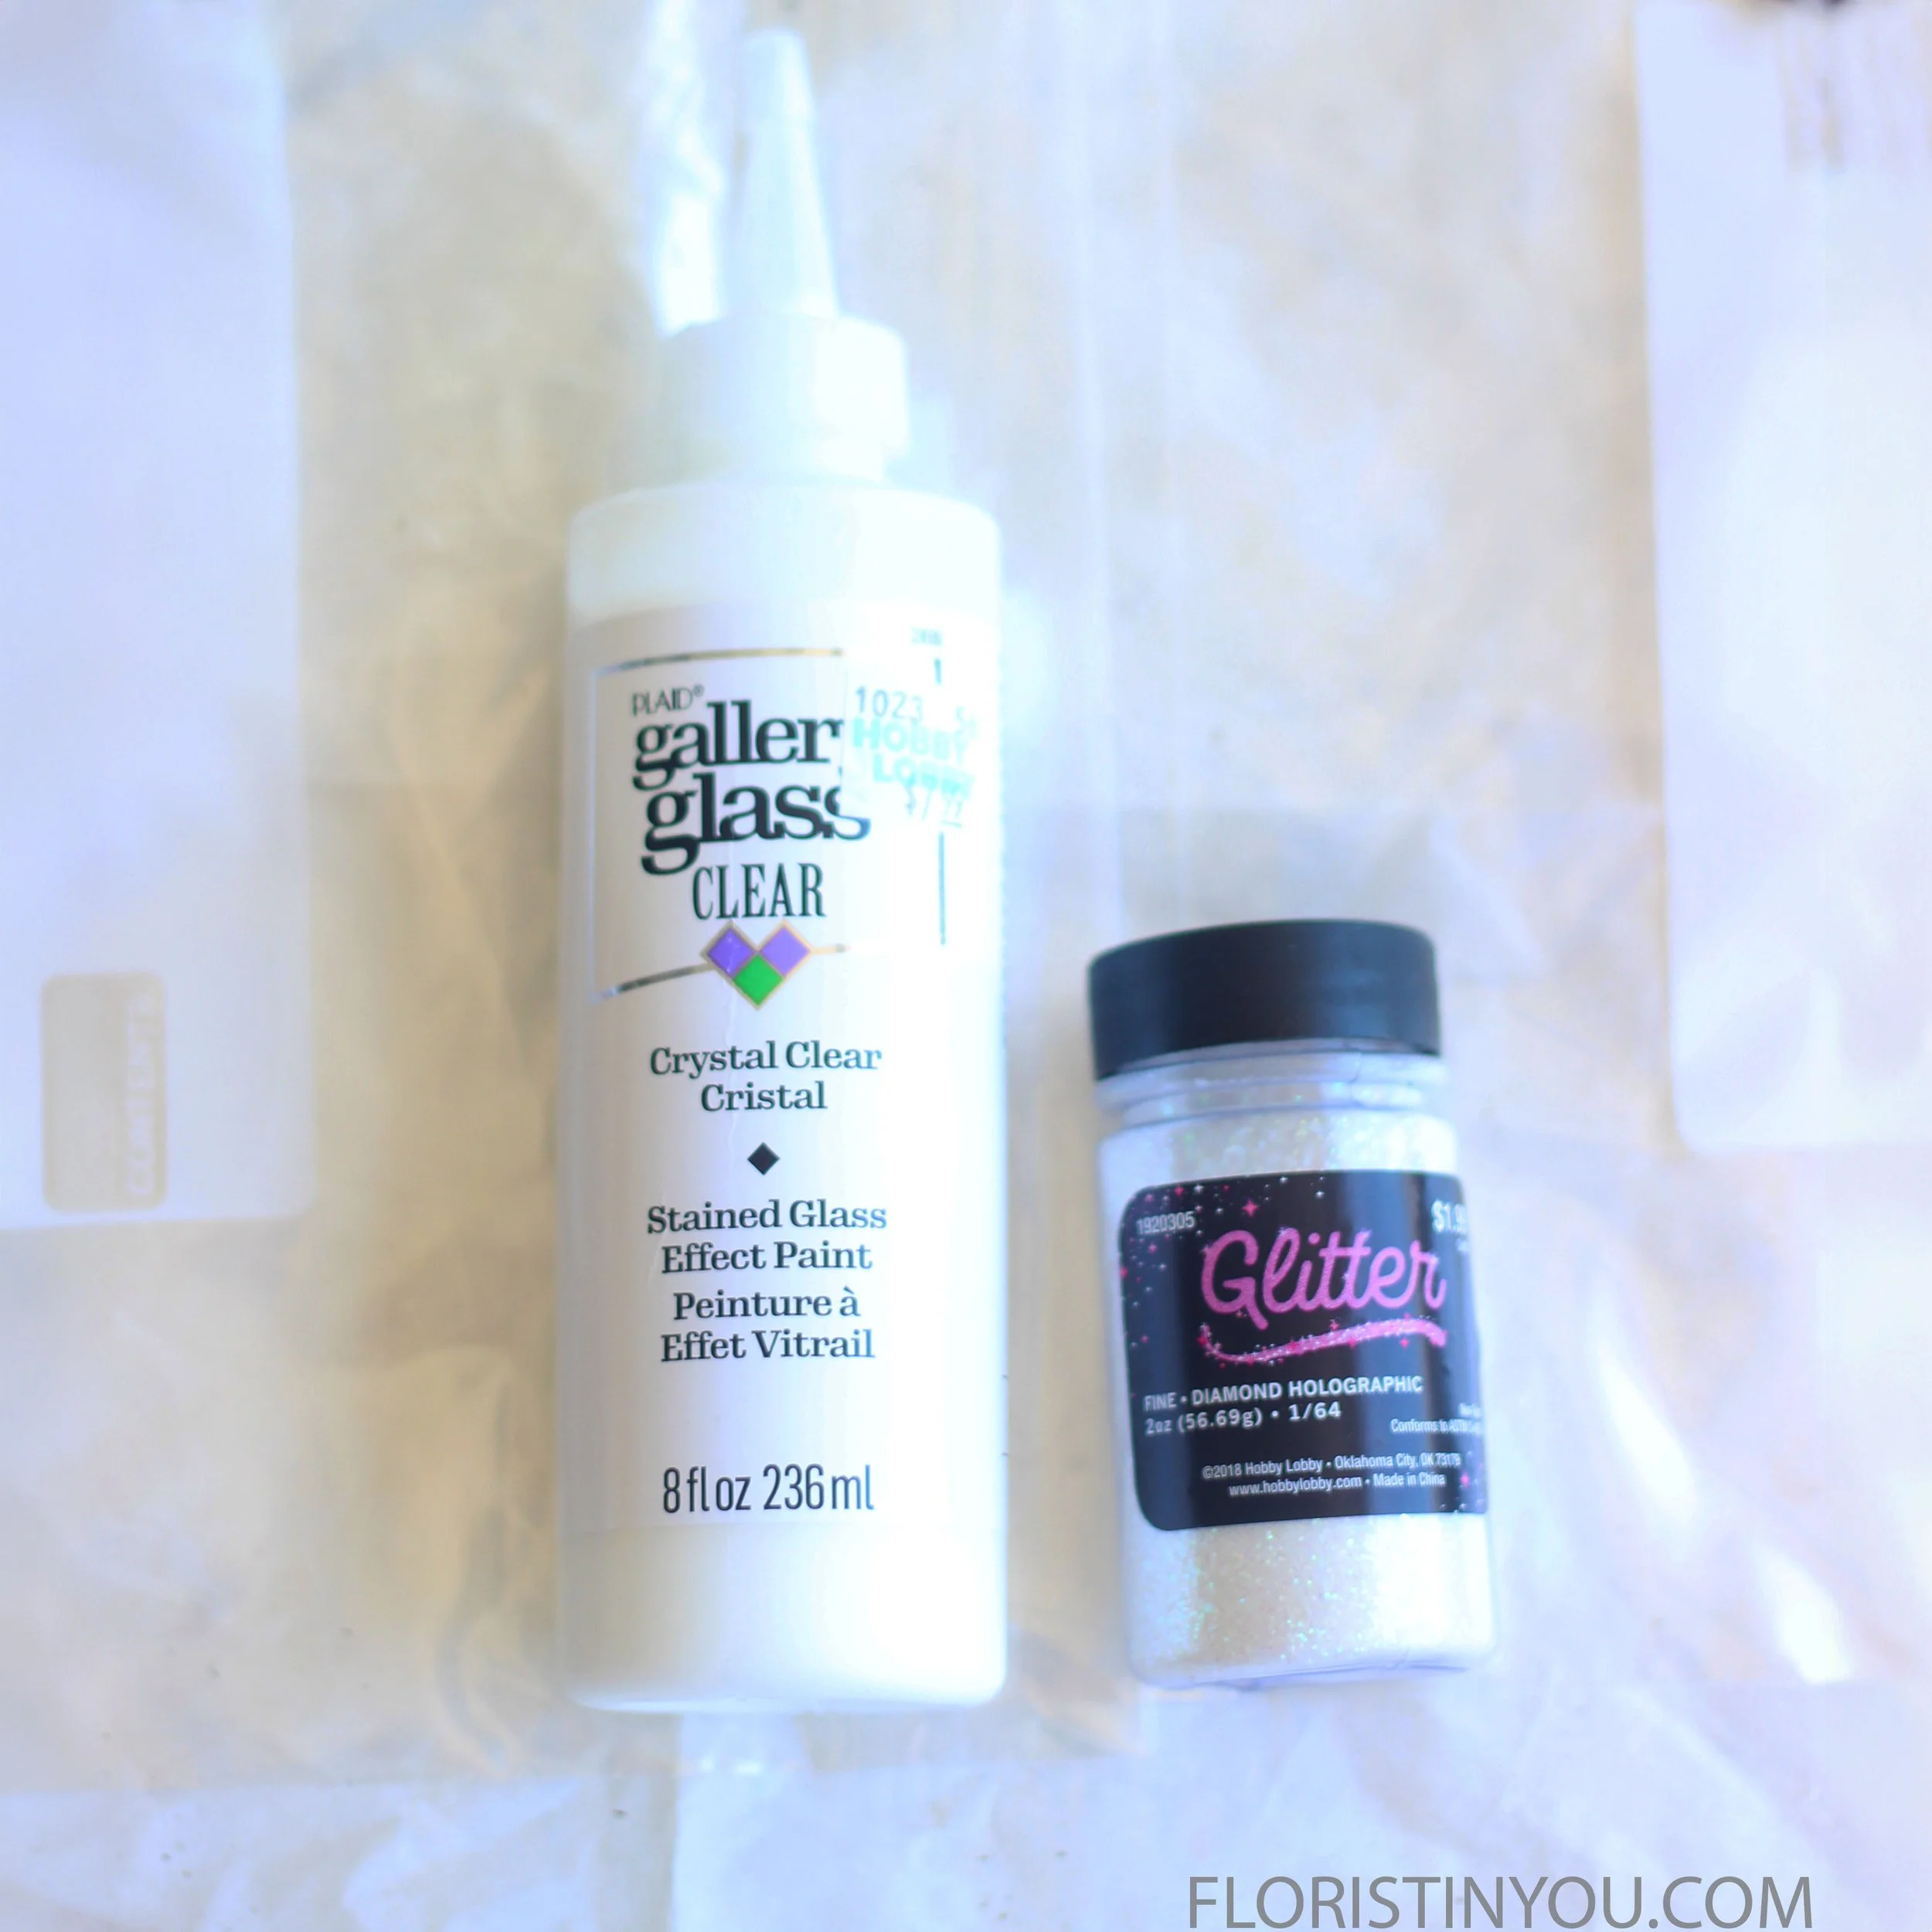
Use Plaid Gallery Glass clear Crystal Clear & Fine Diamond Holographic Glitter
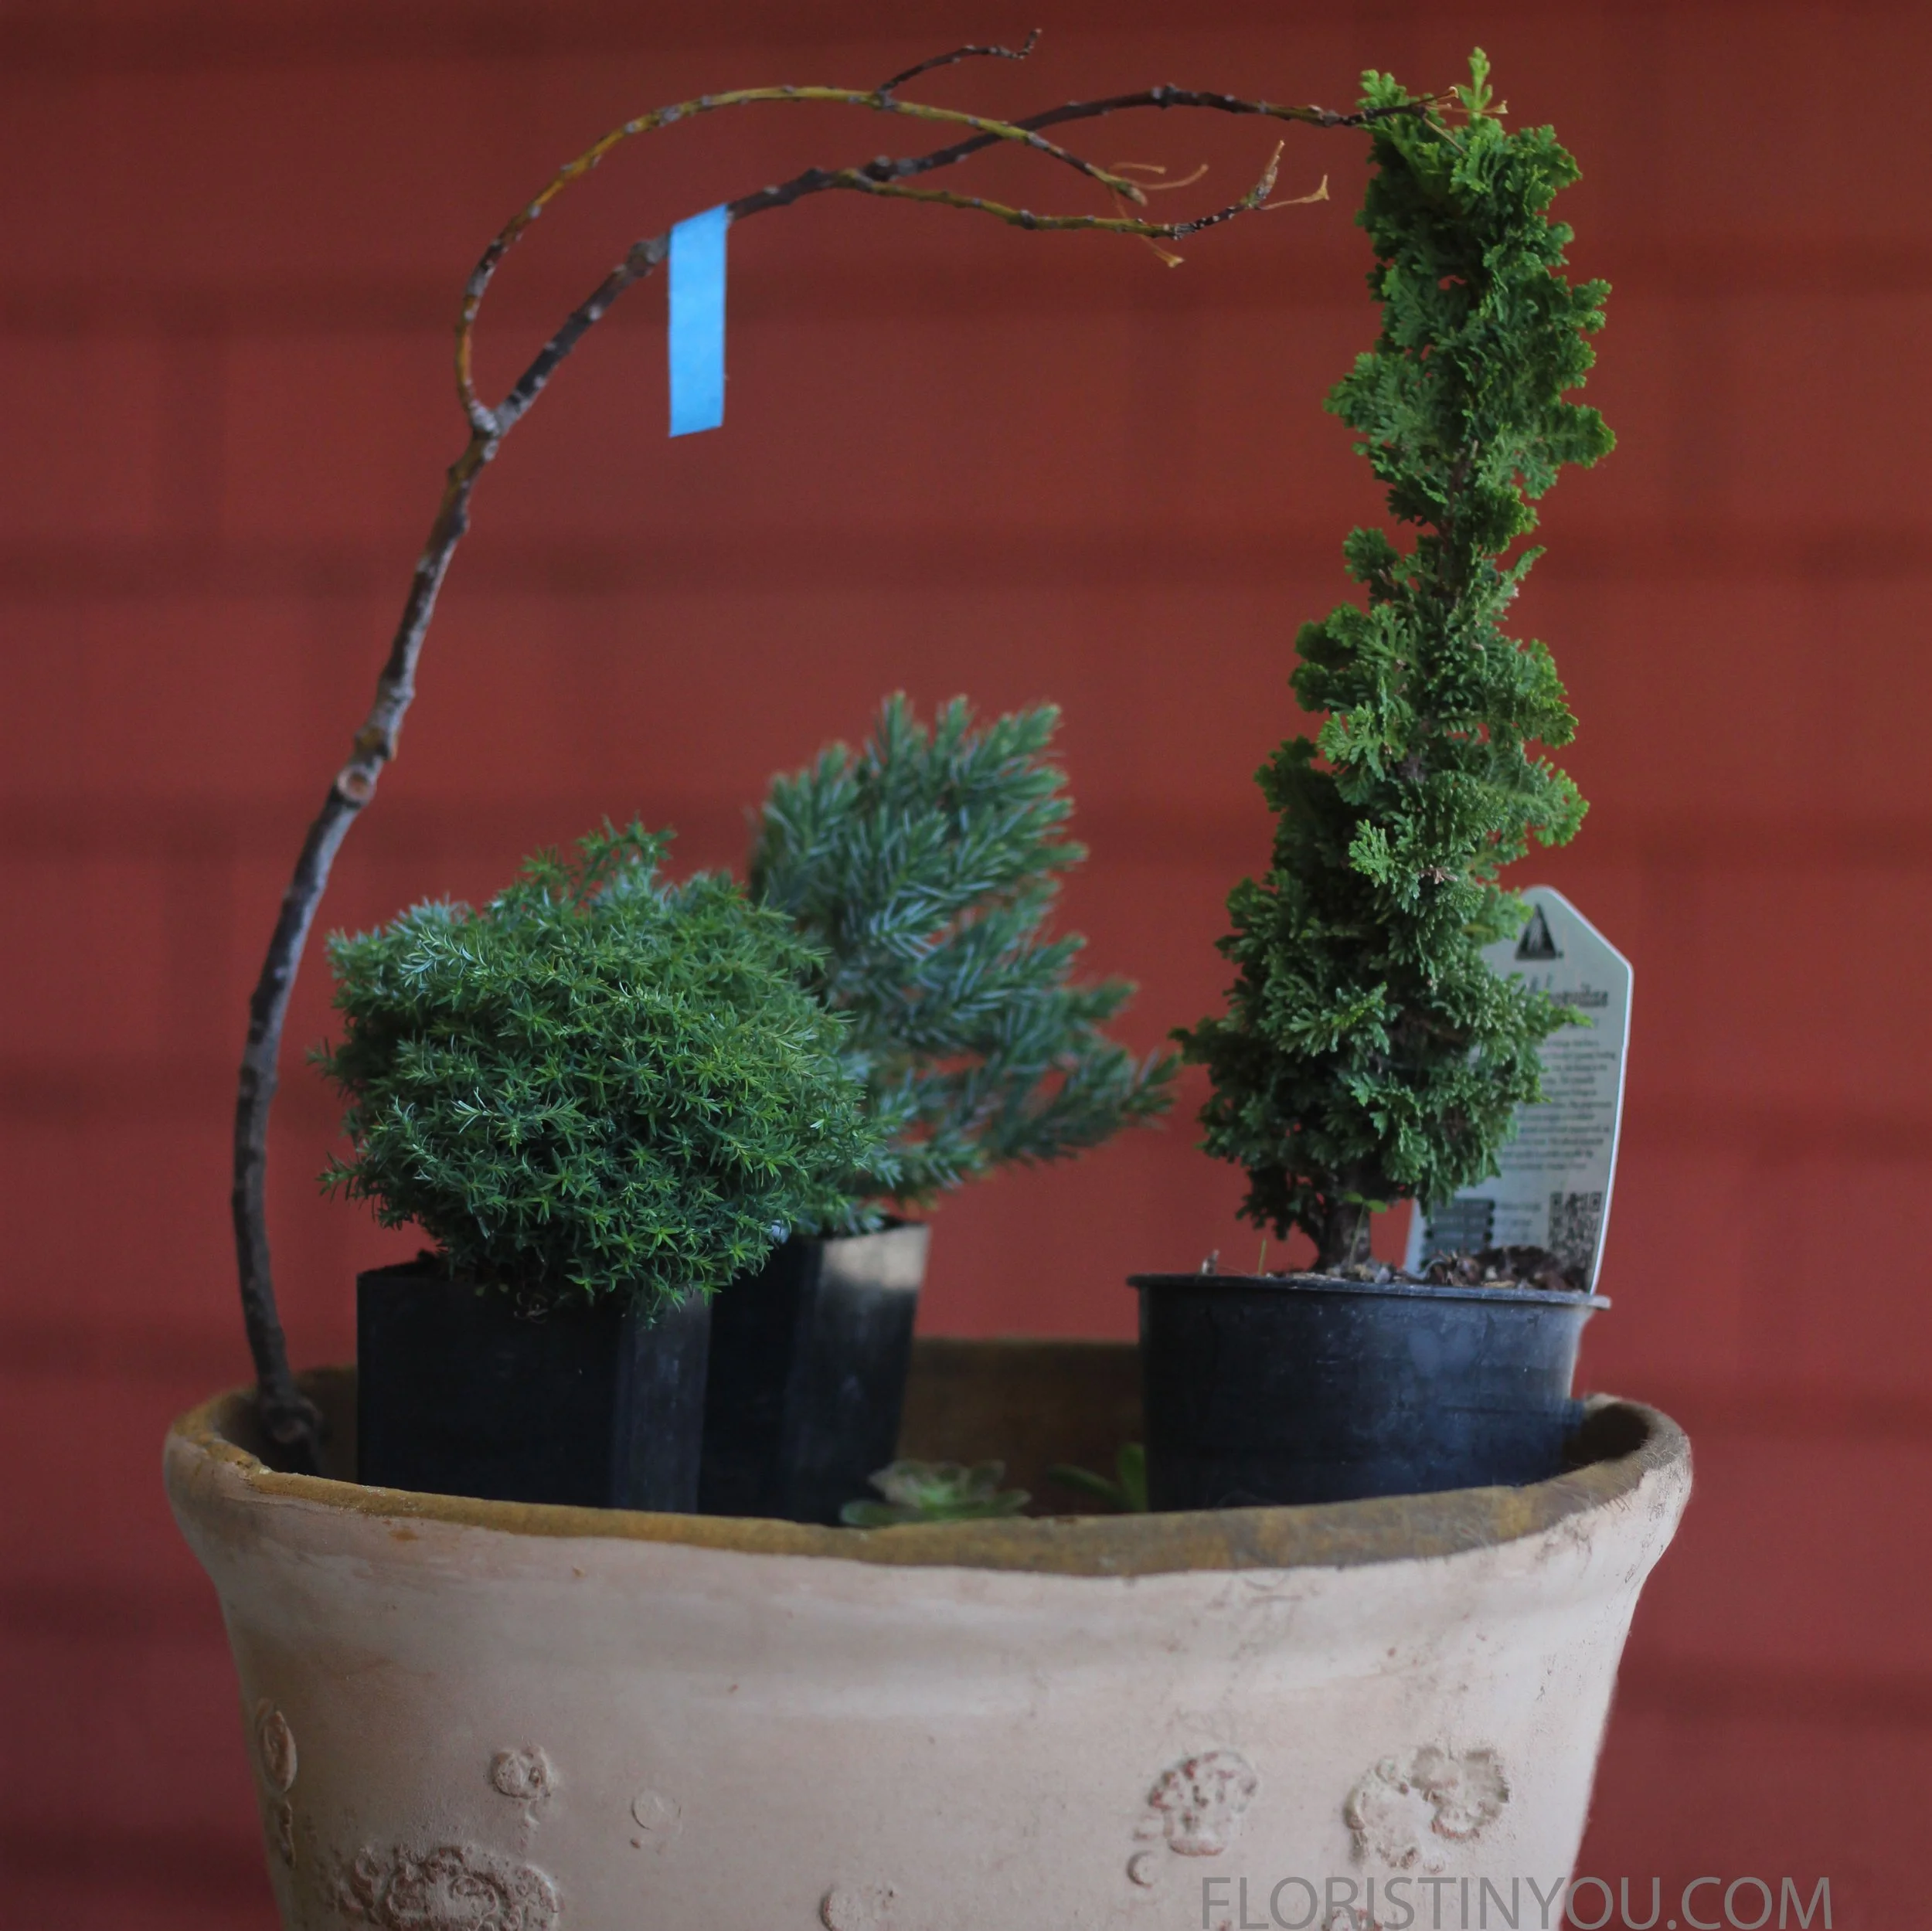
Push end twig in ground. Hang blue tape, straight vertically. as guide for icicles.
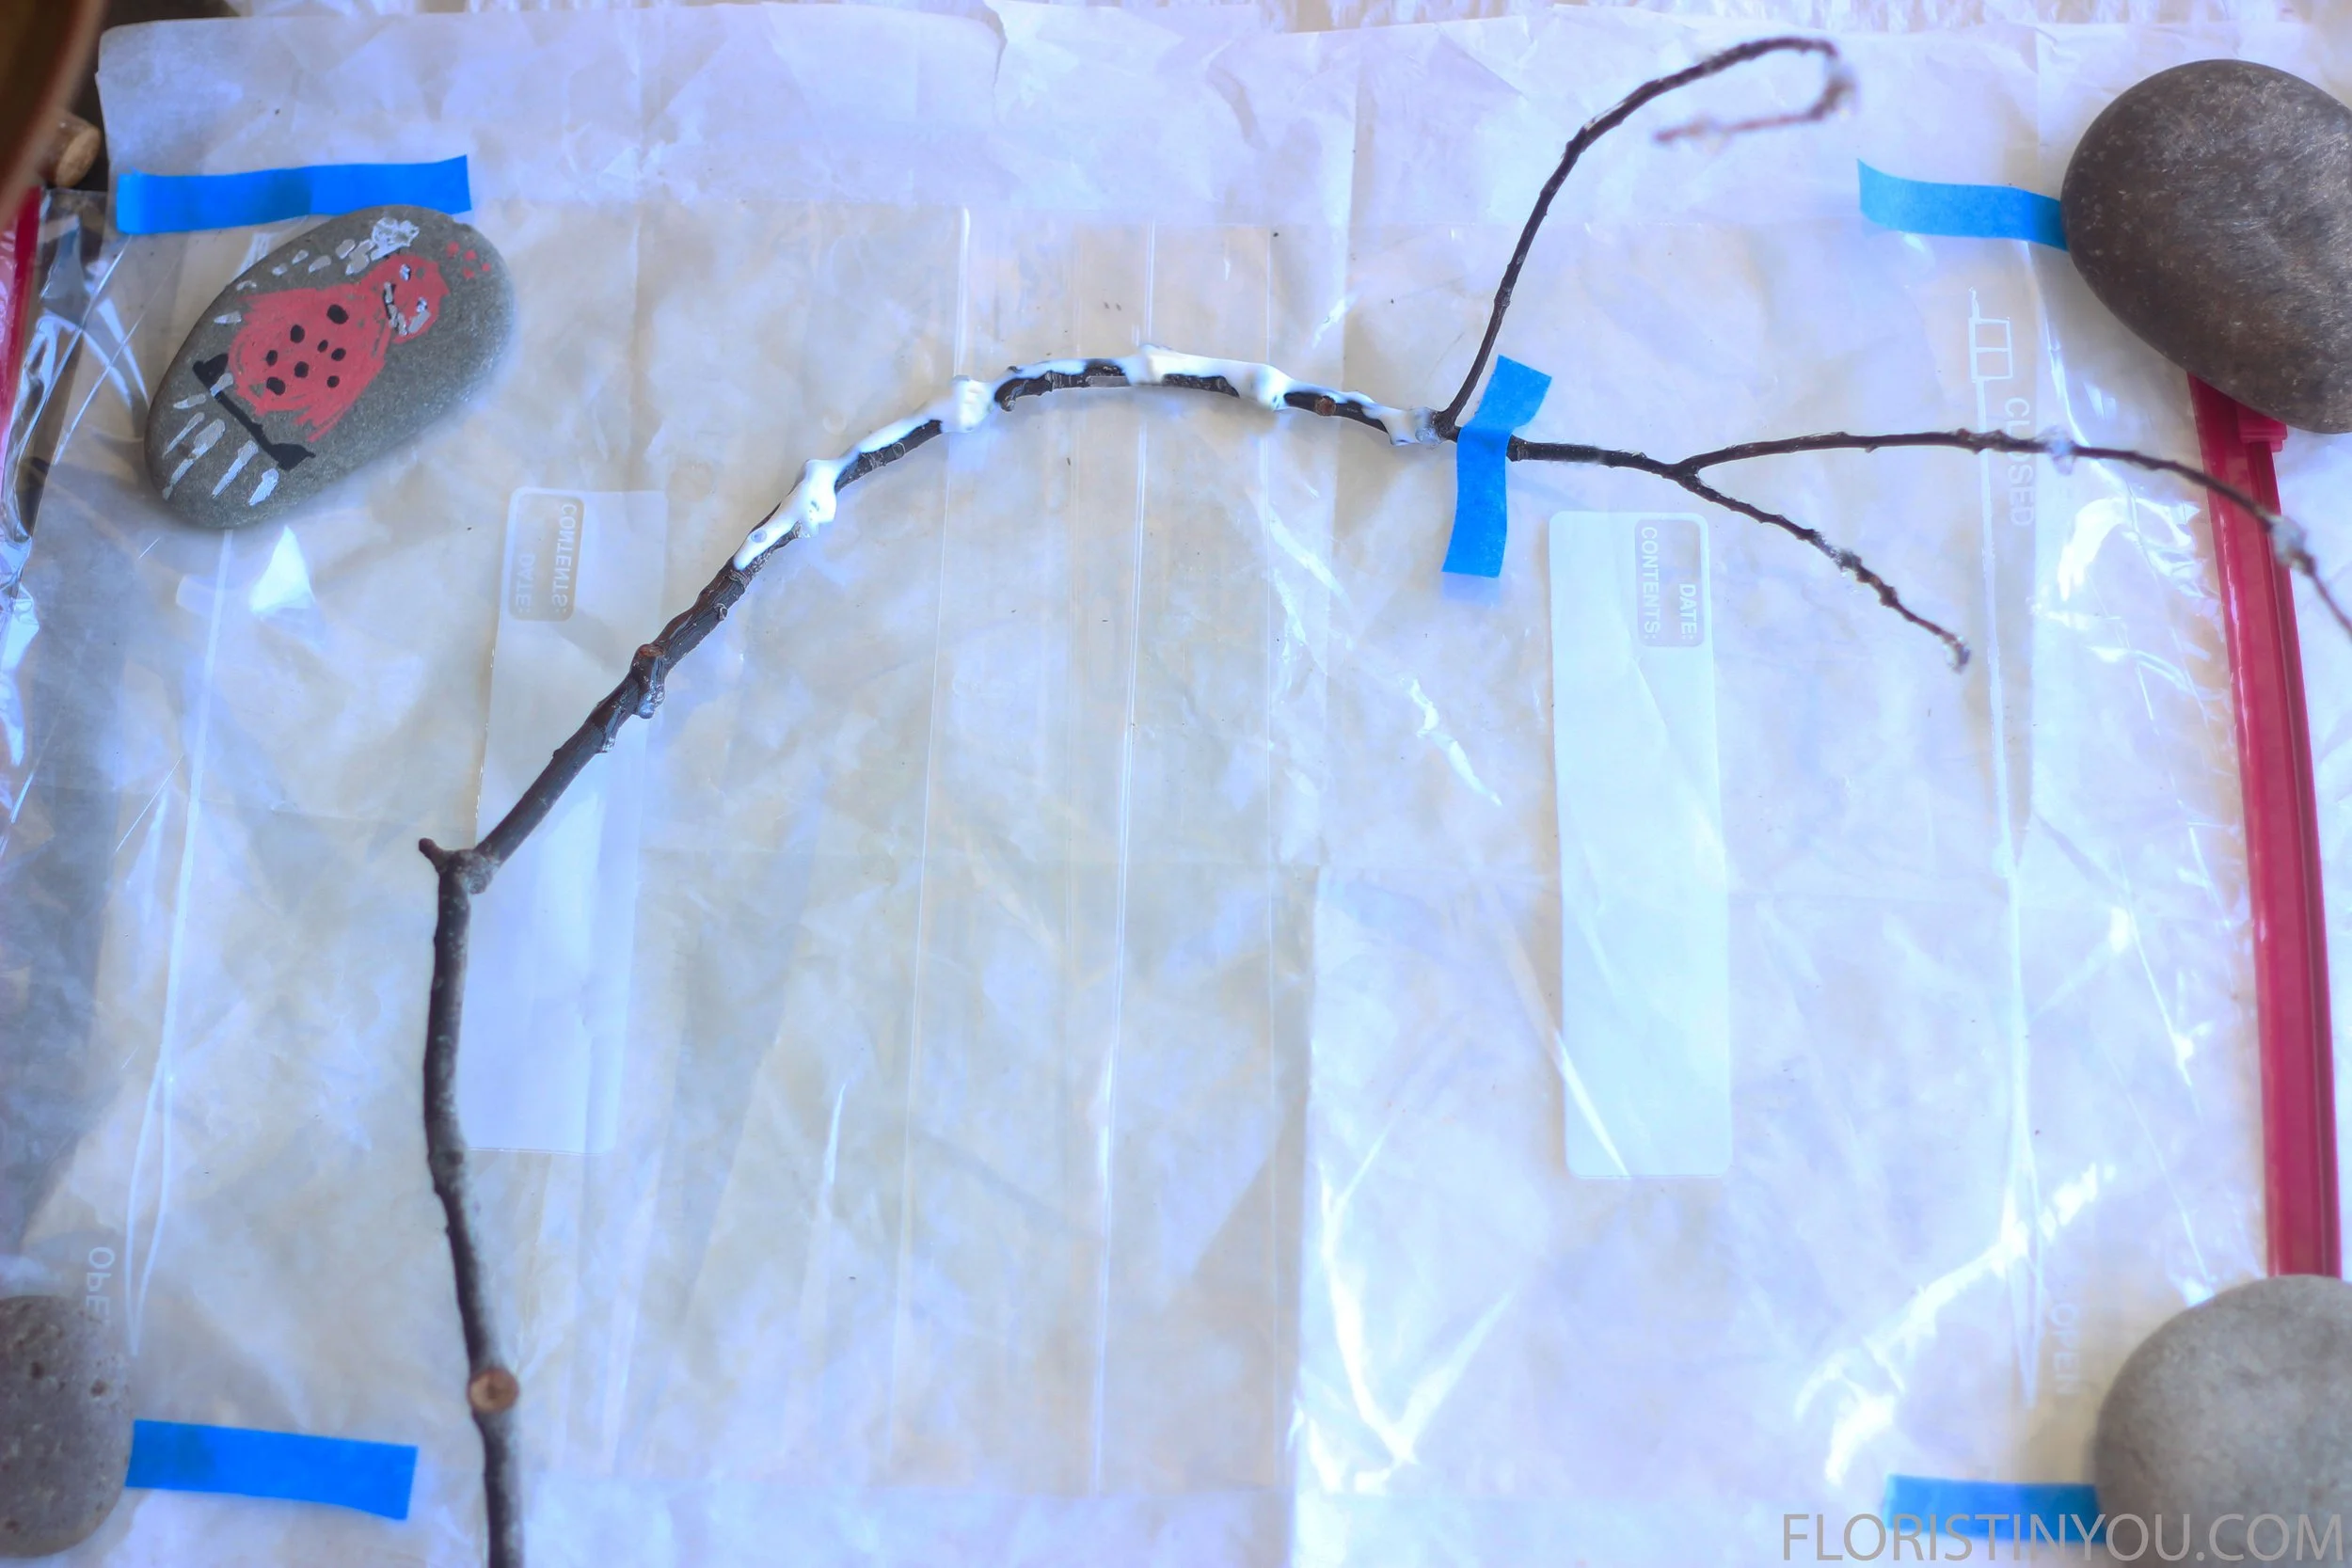
Tape zip lock bags & twigs to hold in place. Use weights to secure
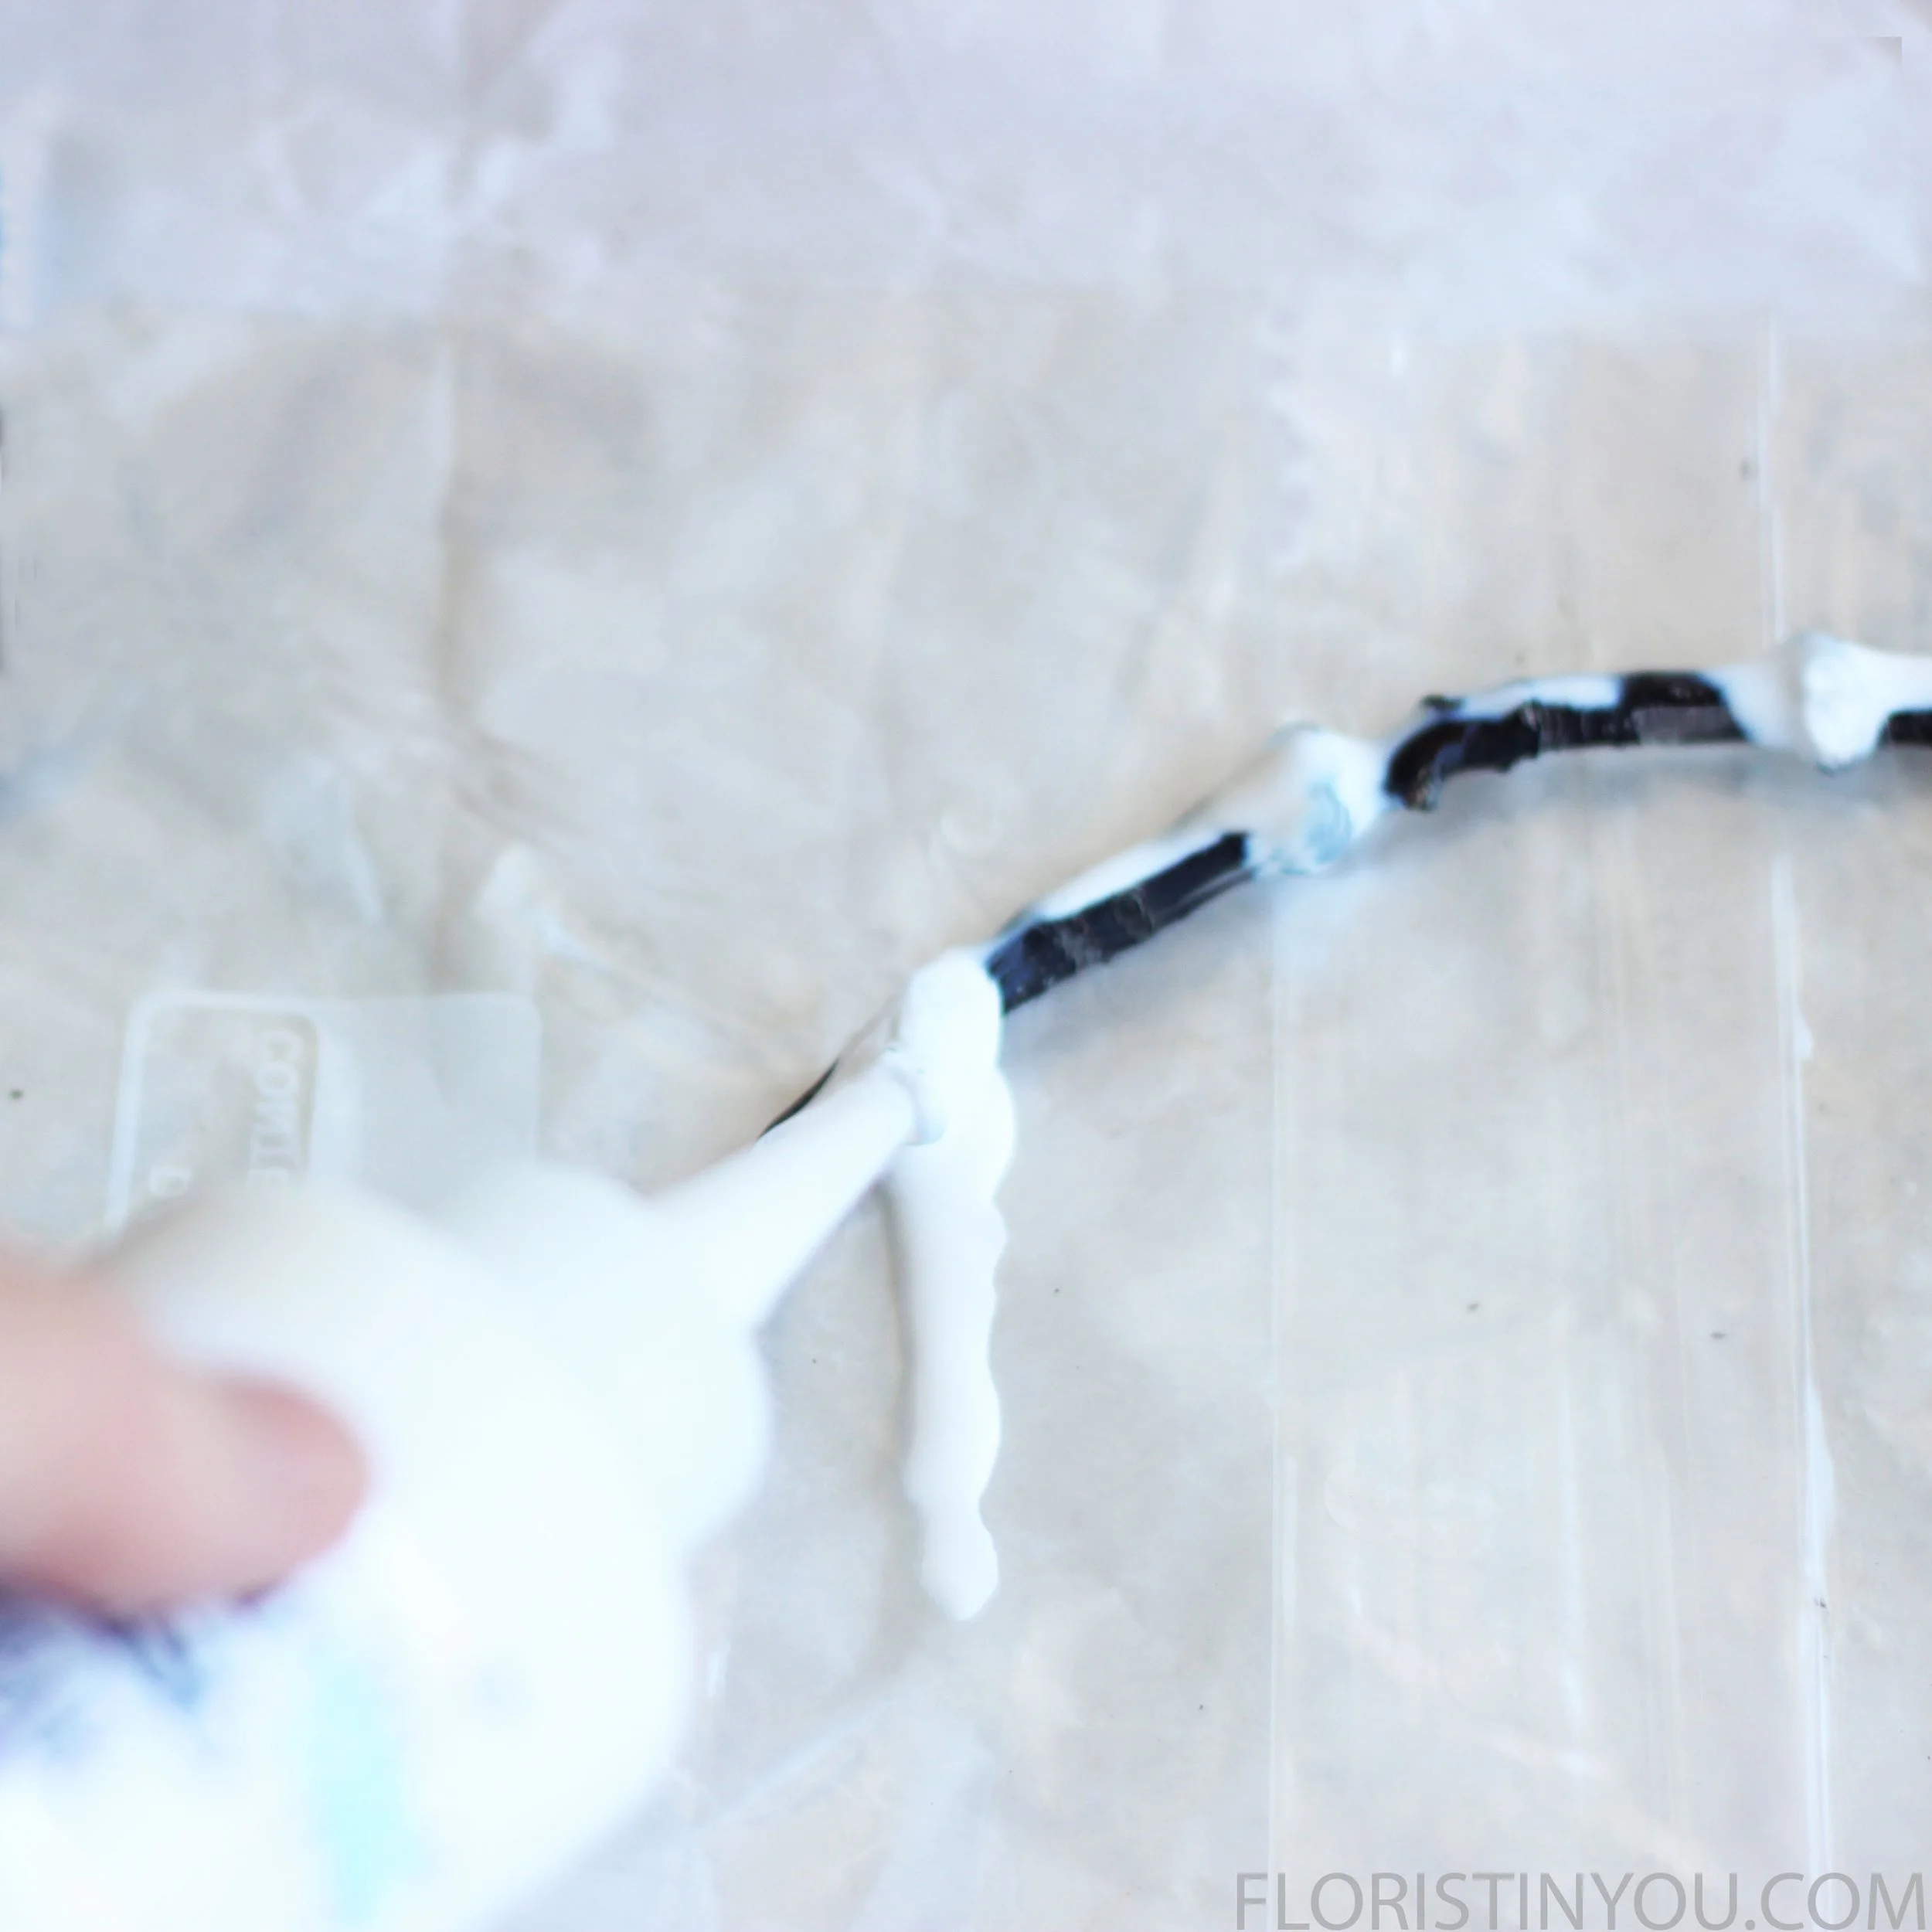
Squeeze Gallery Glass on twig. Make icicle shape on baggie. Make sure to attach.
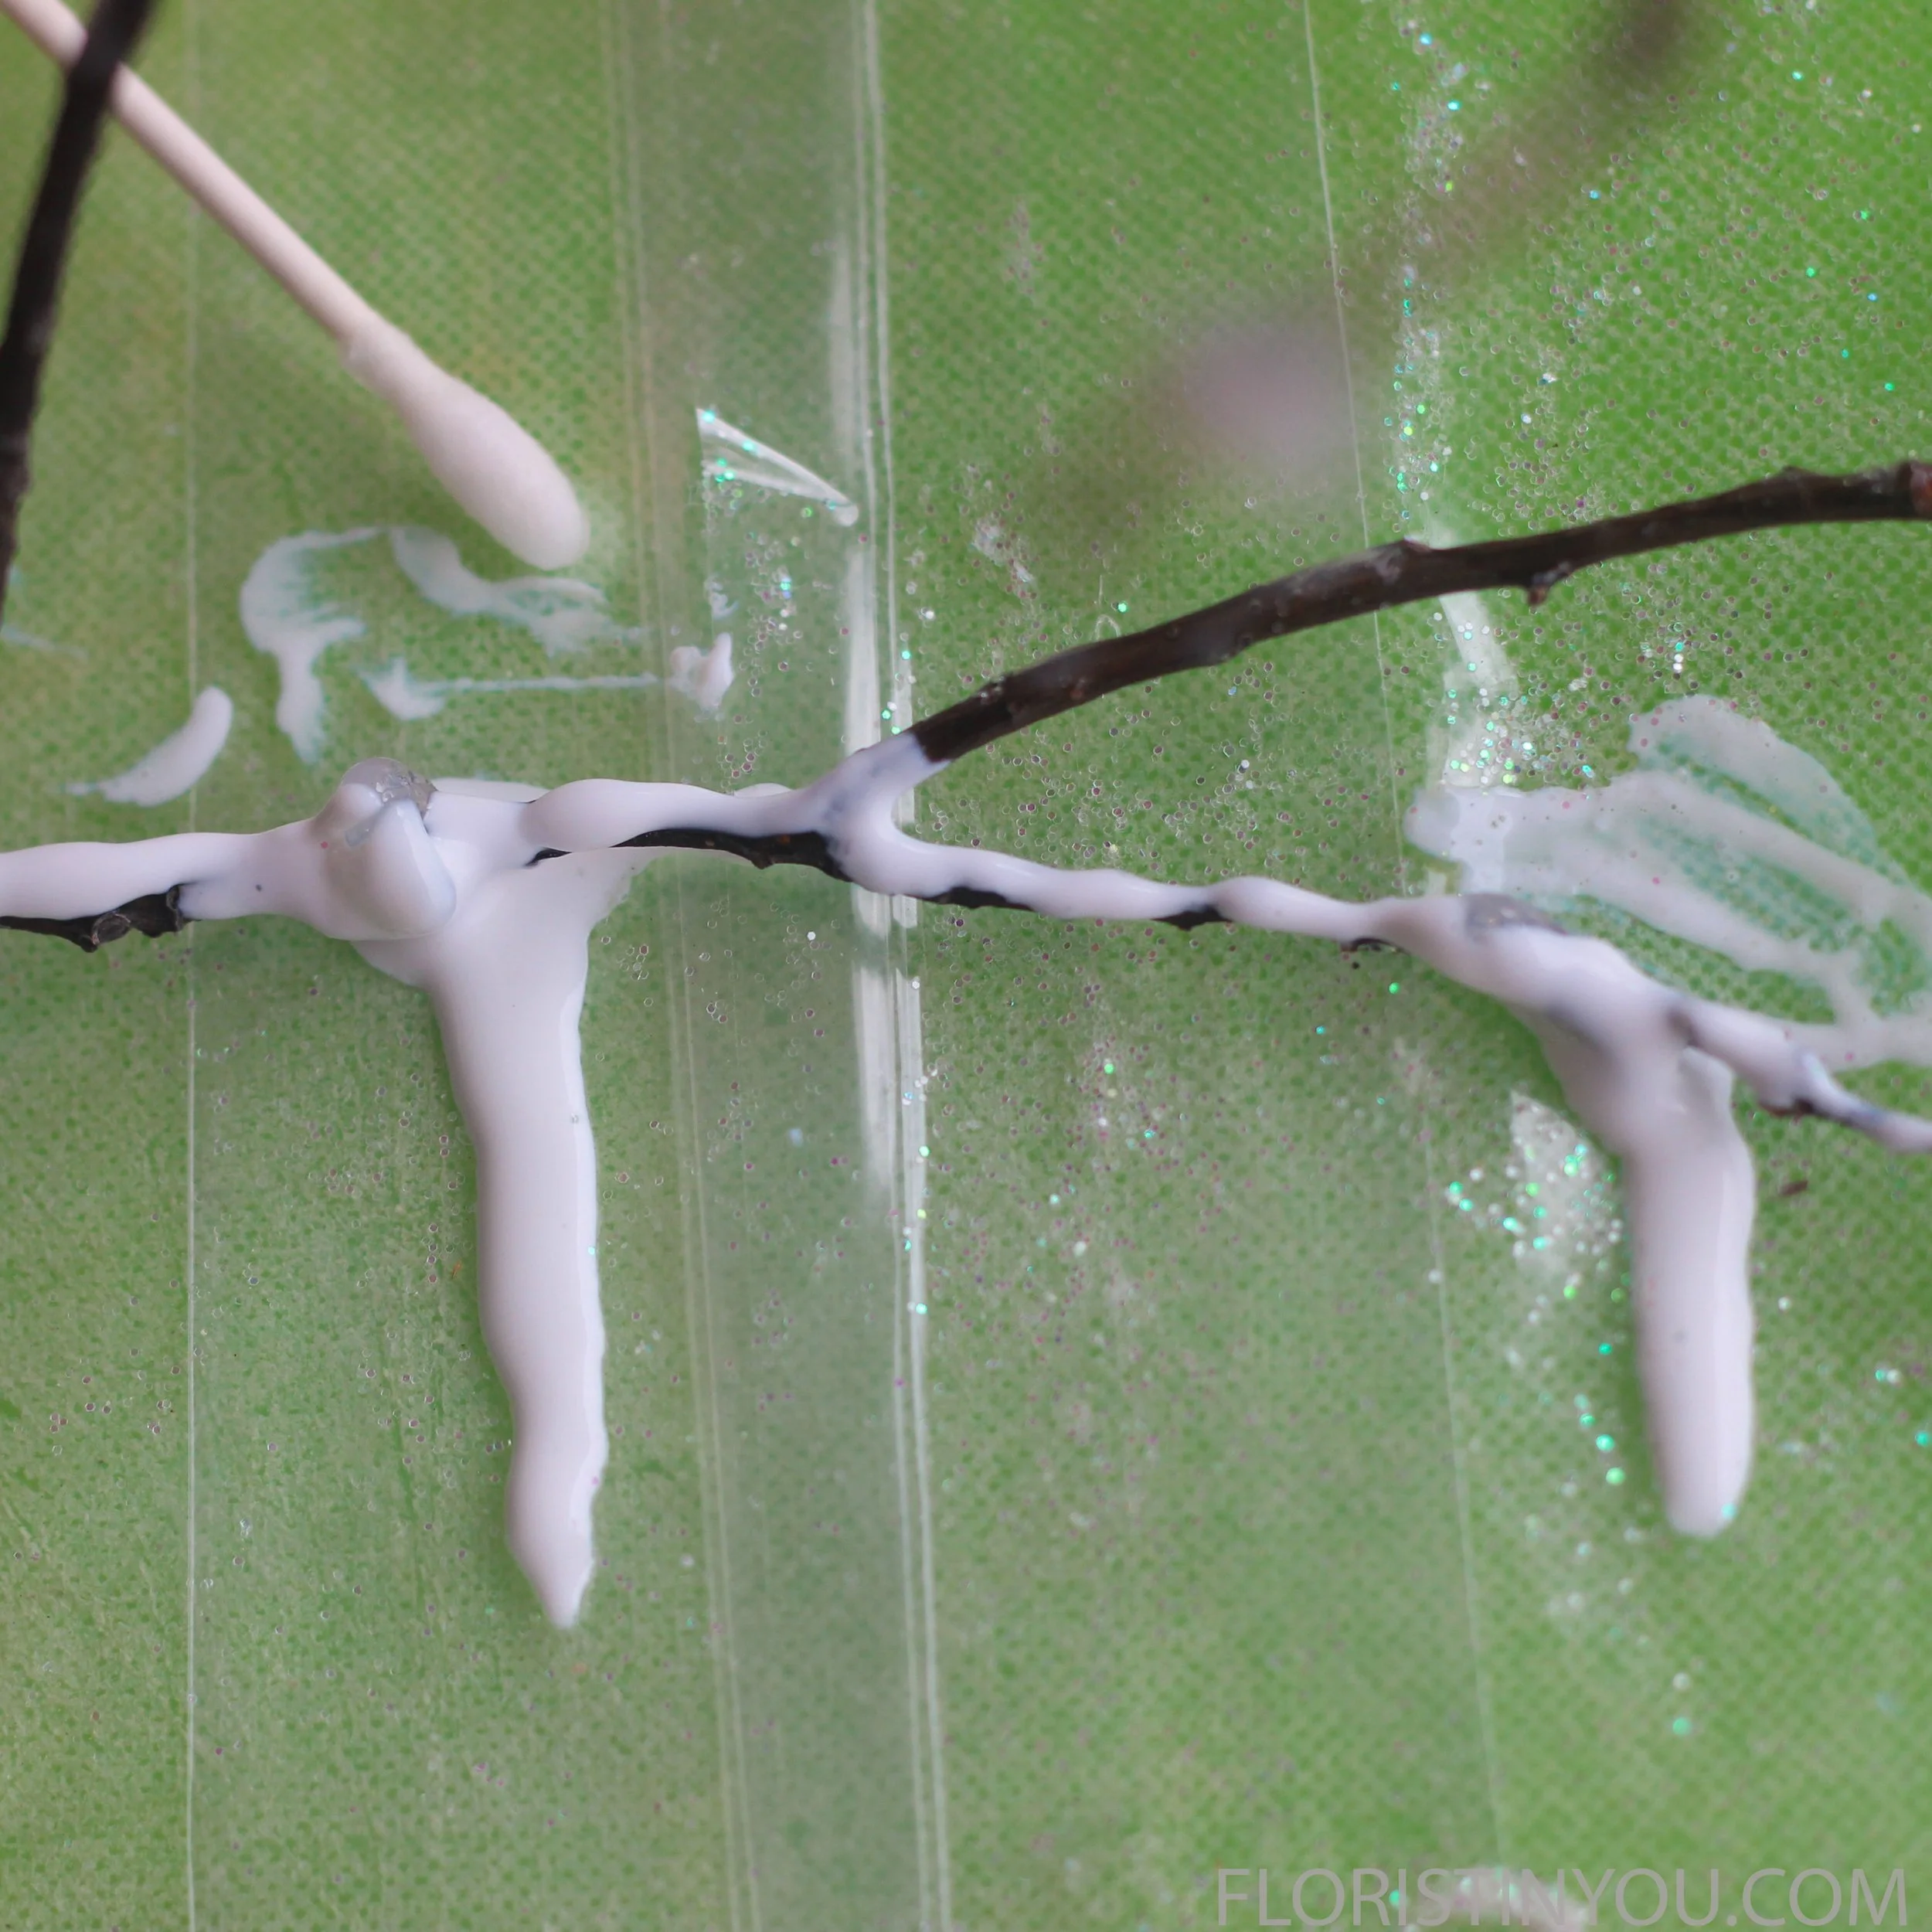
Use a Q-tip to clean up edges and drops.
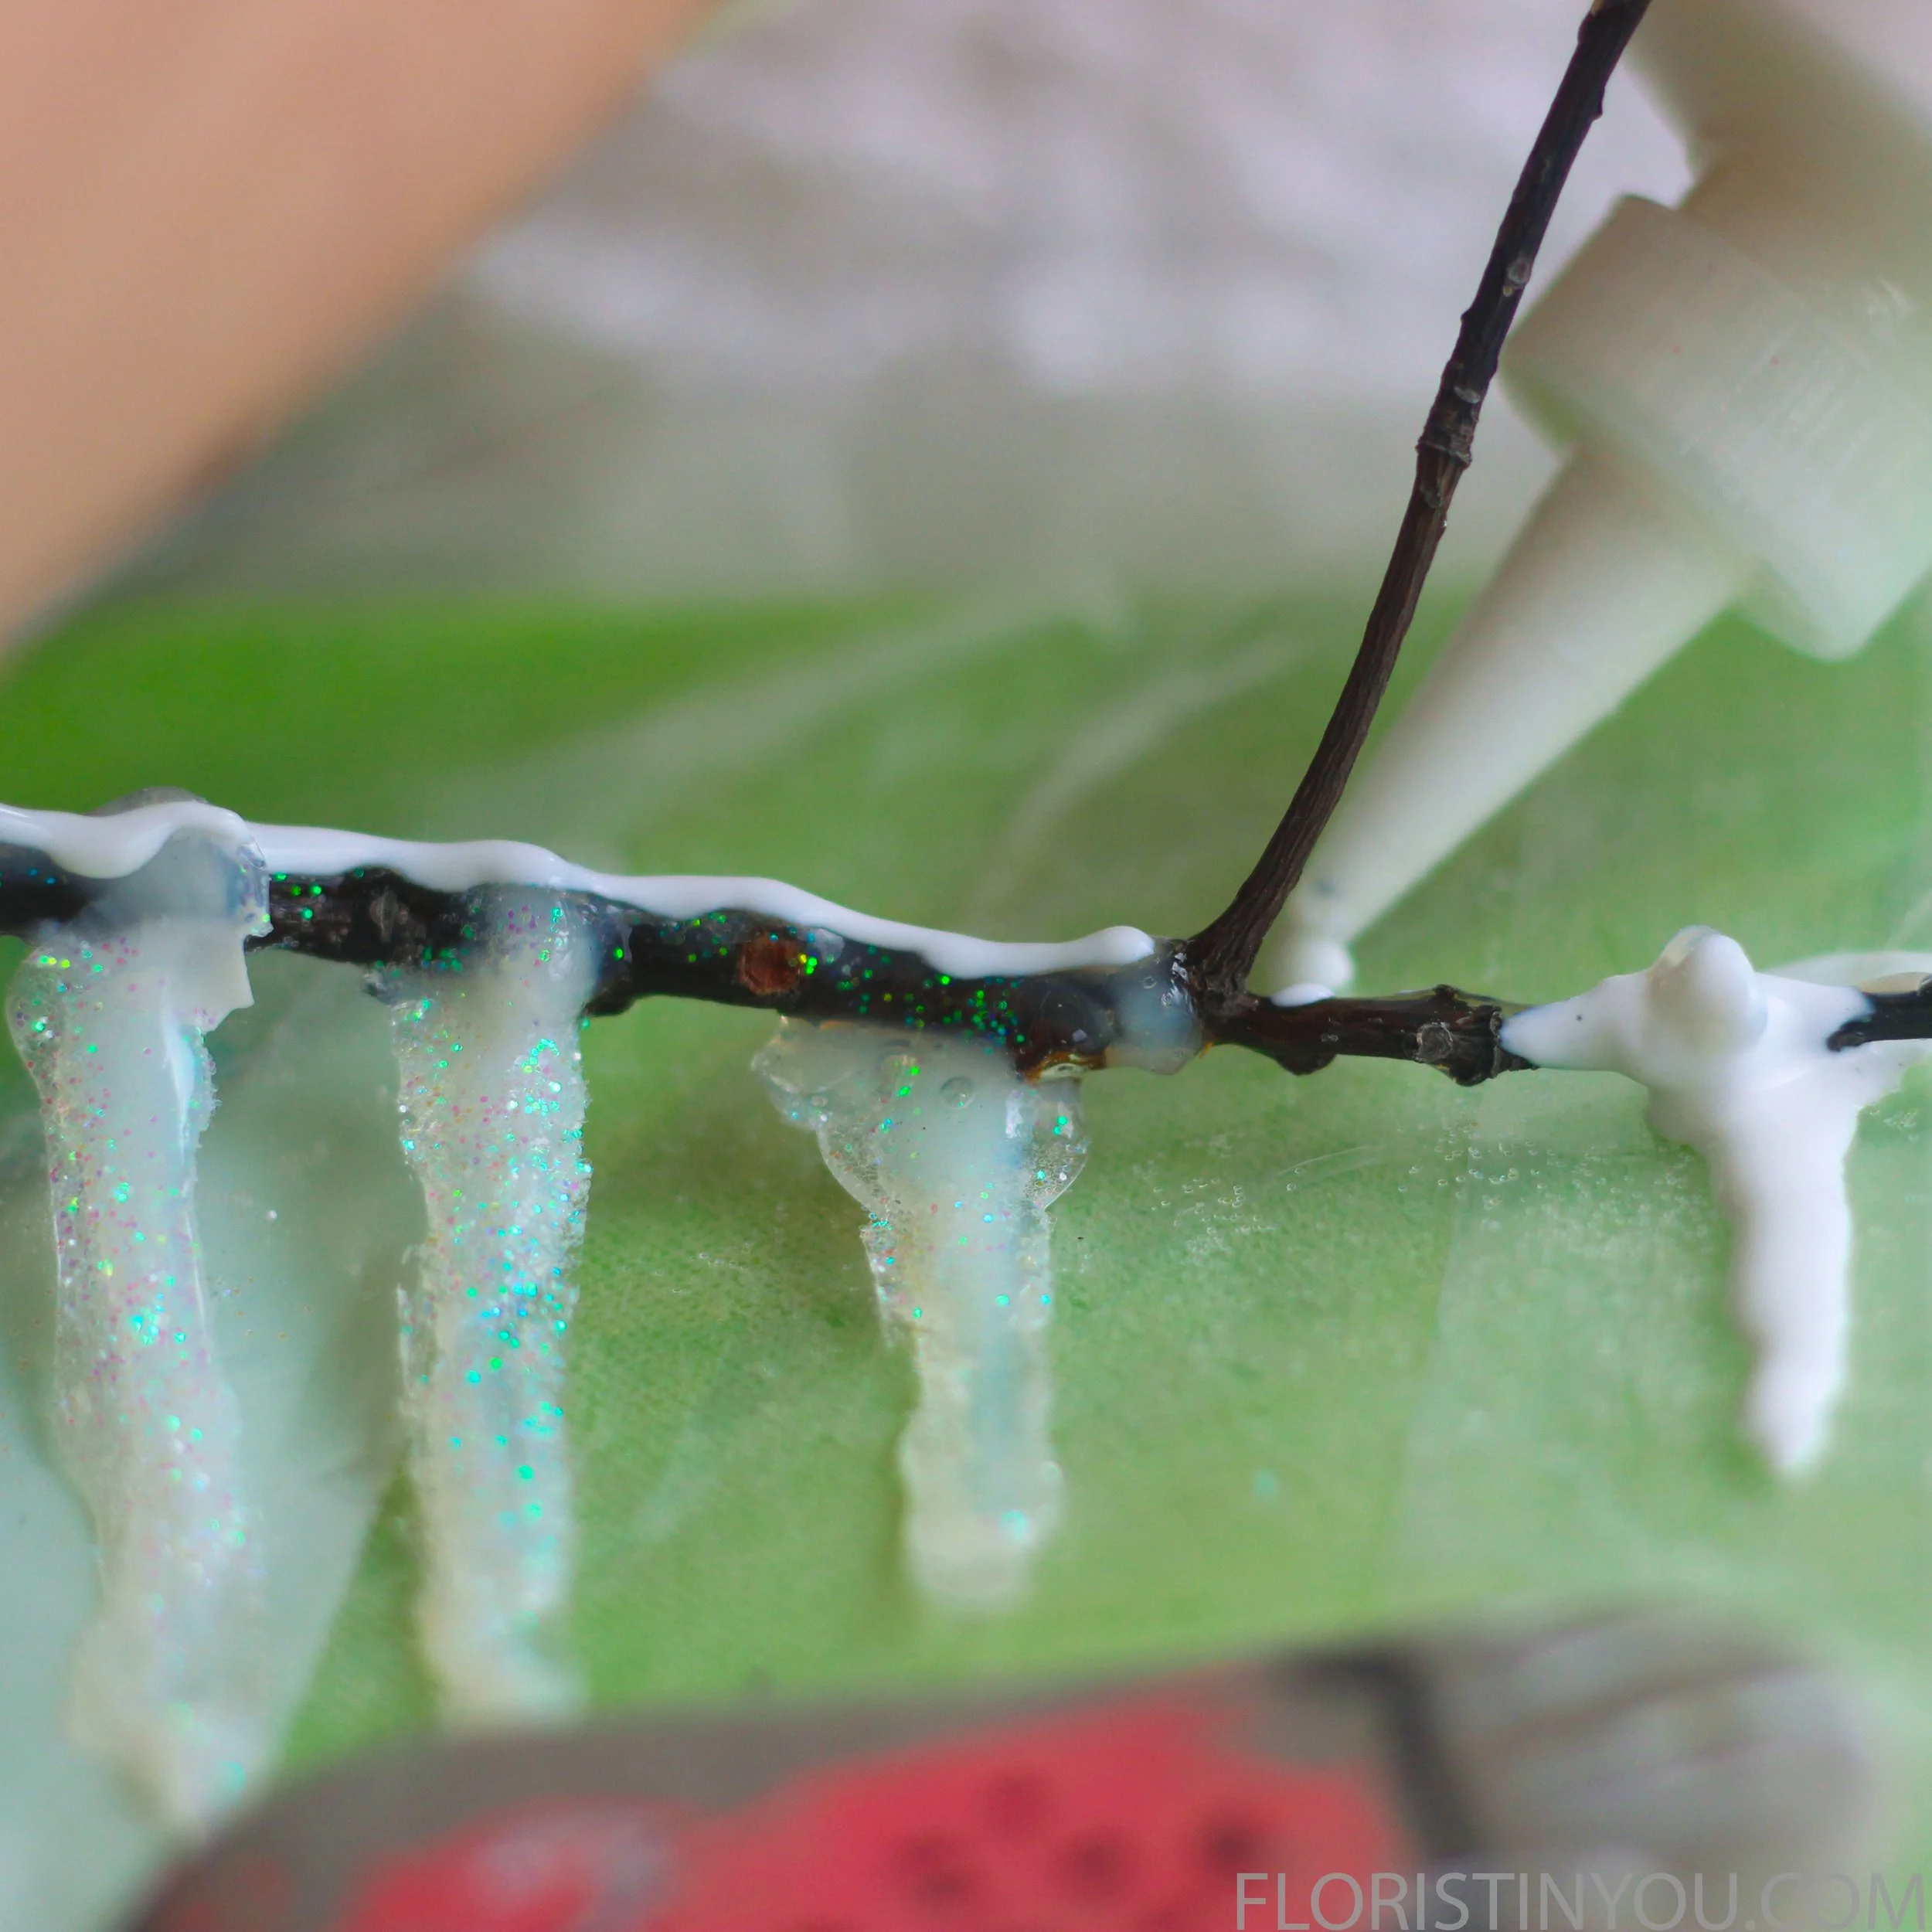
Put Gallery Glass along the top of the branch.
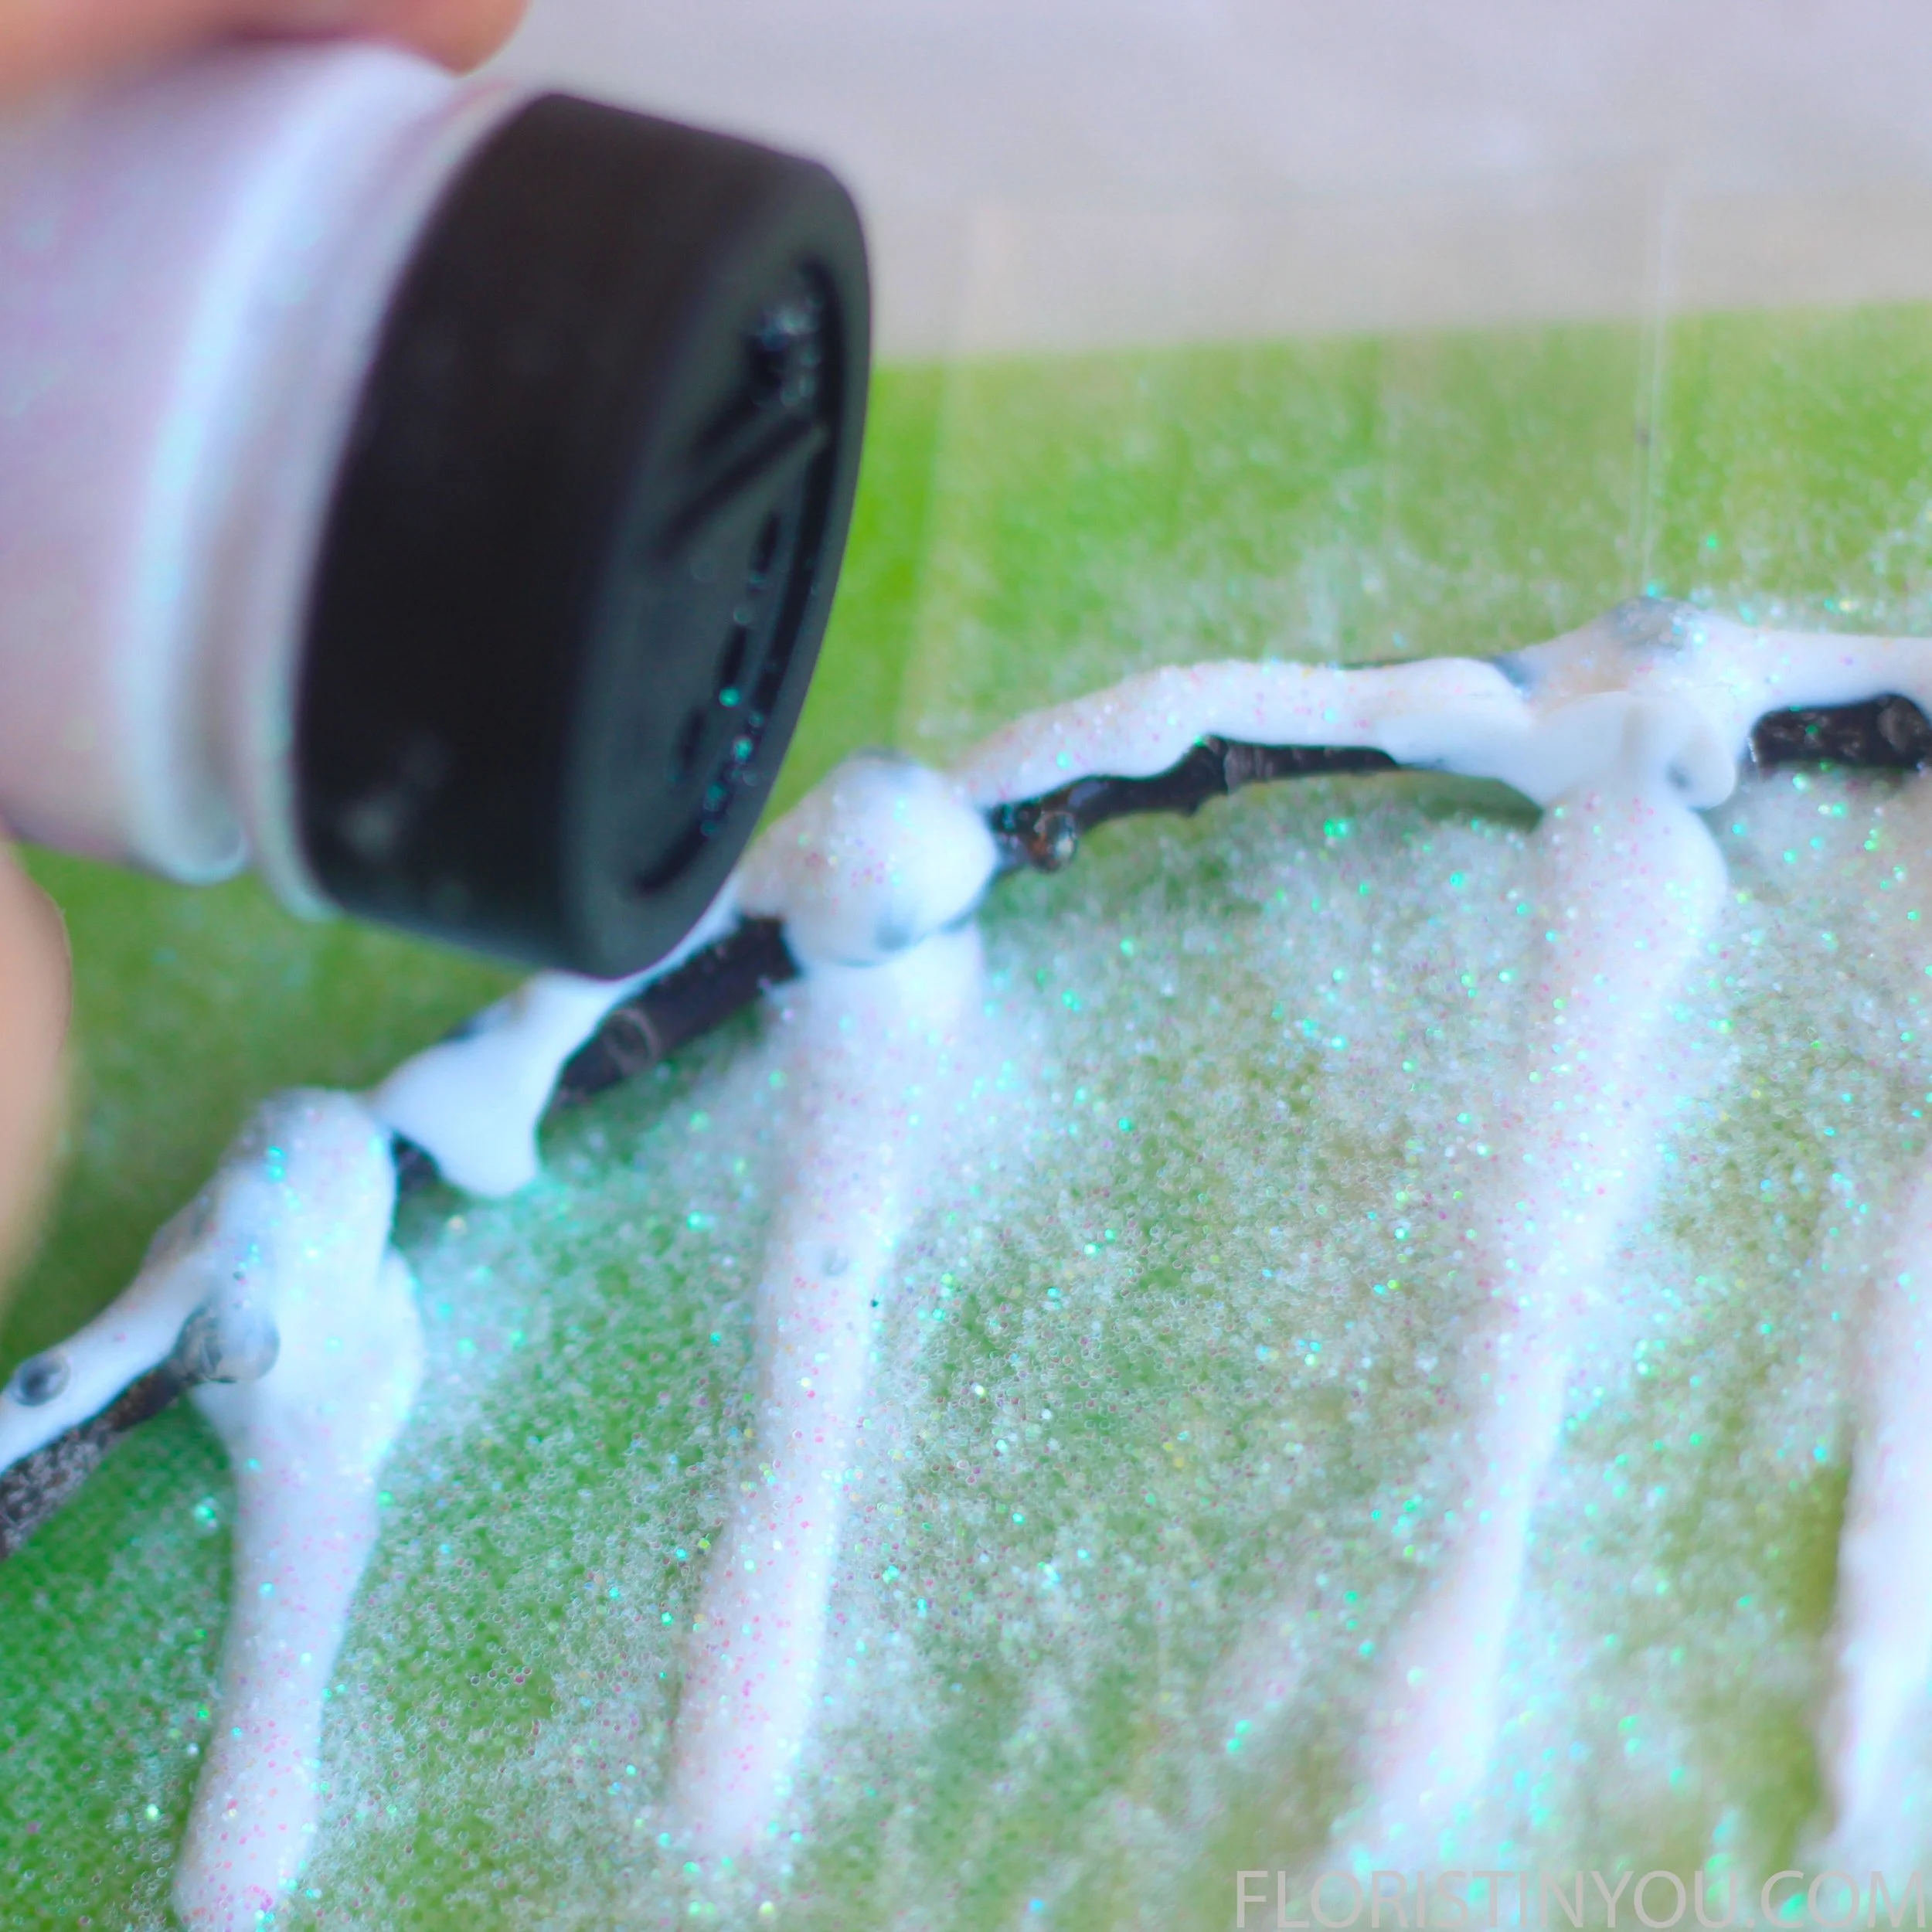
Before the Gallery Glass dries, sprinkle with glitter.
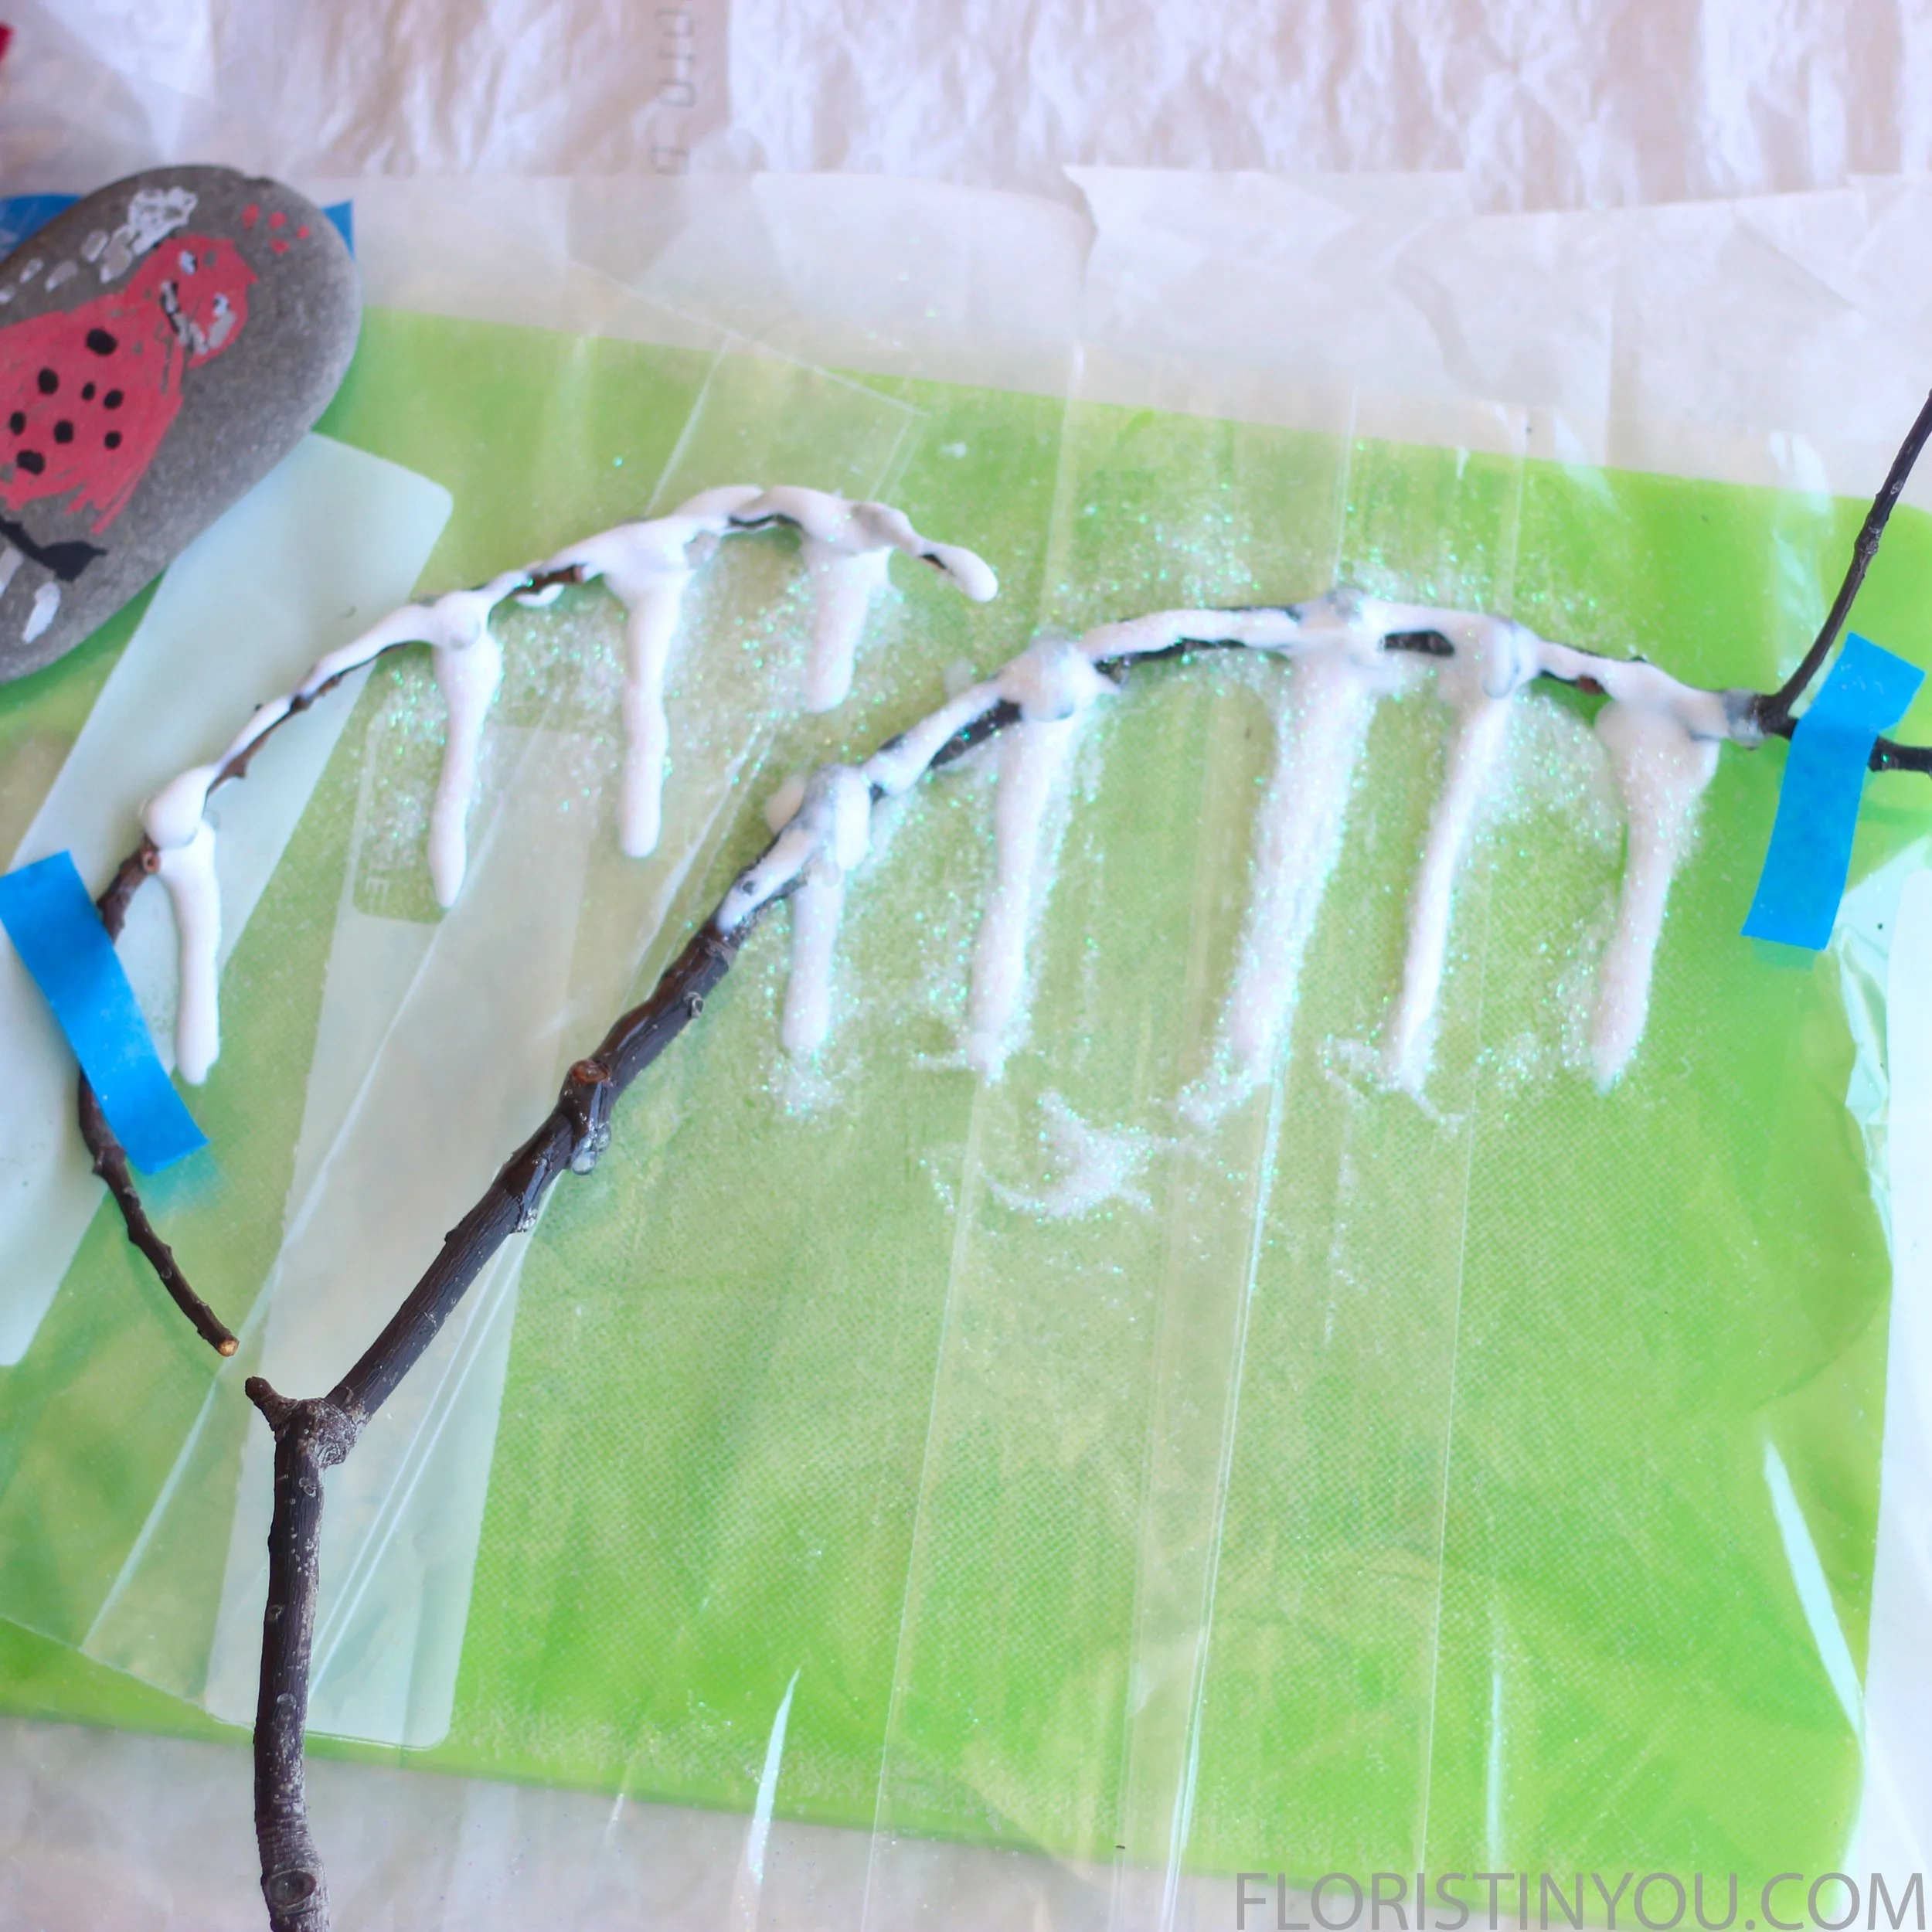
Let the icicles dry. Use weights to hold down the baggies
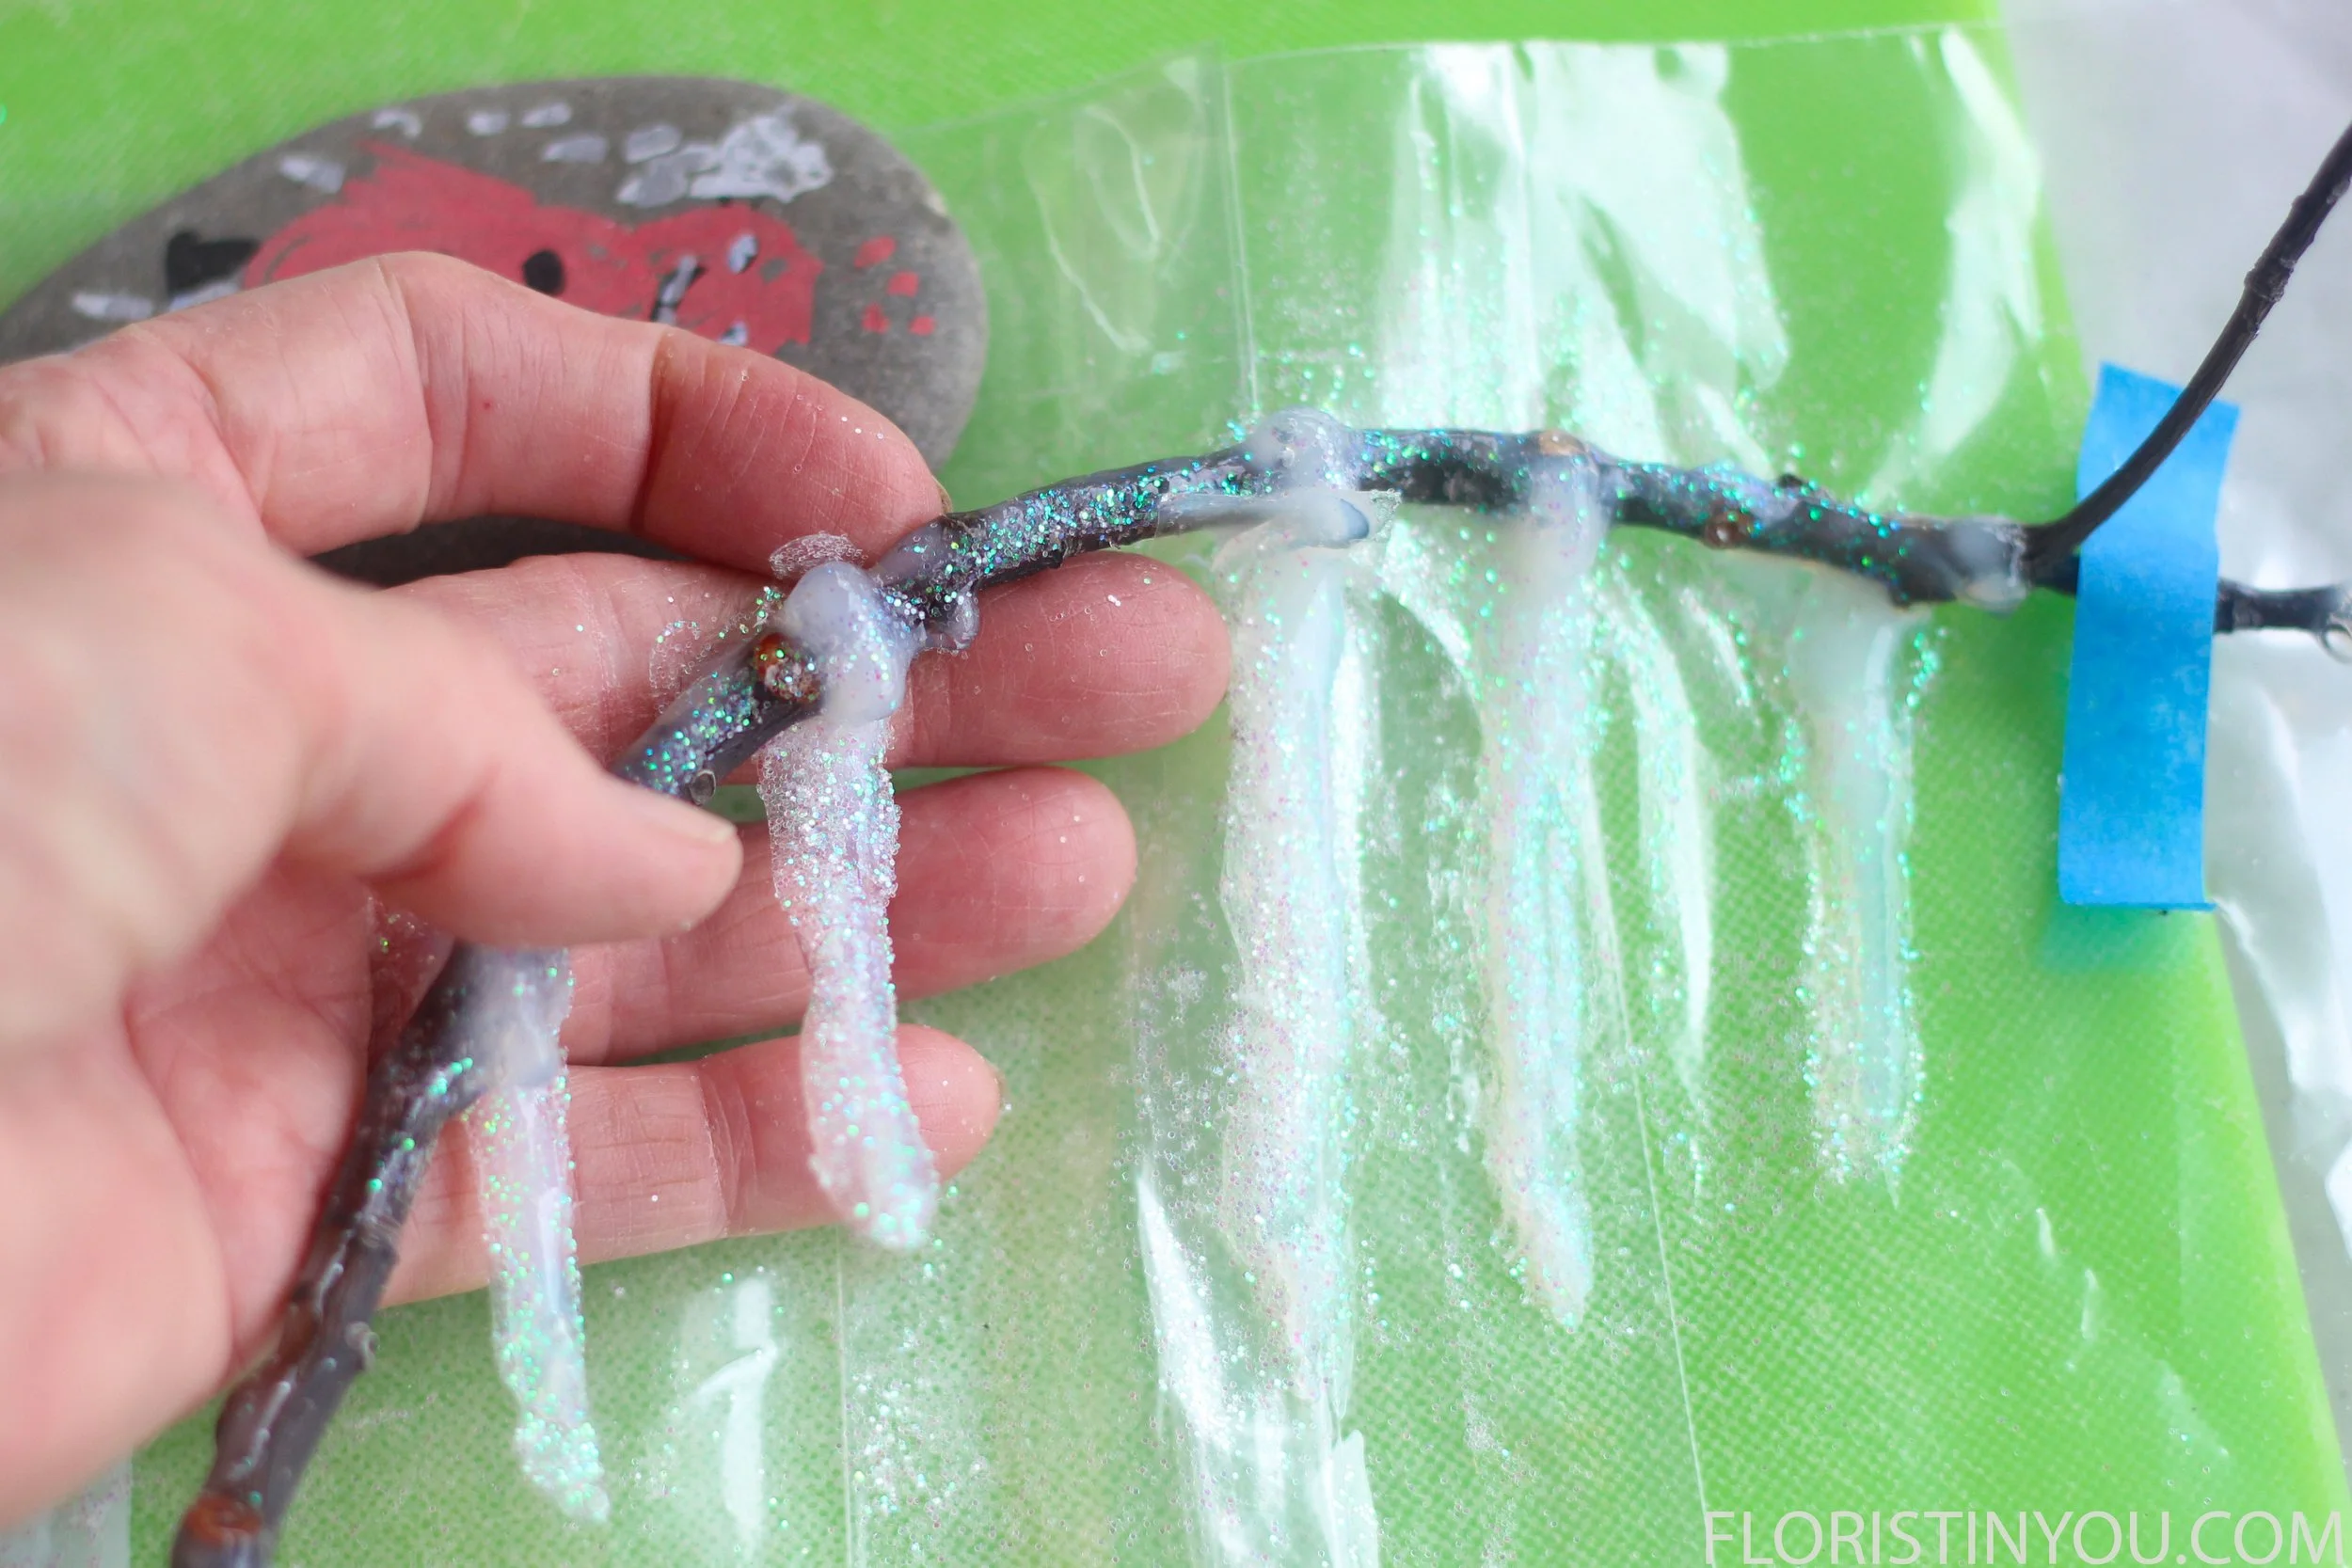
Carefully lift and separate icicles from zip lock bag
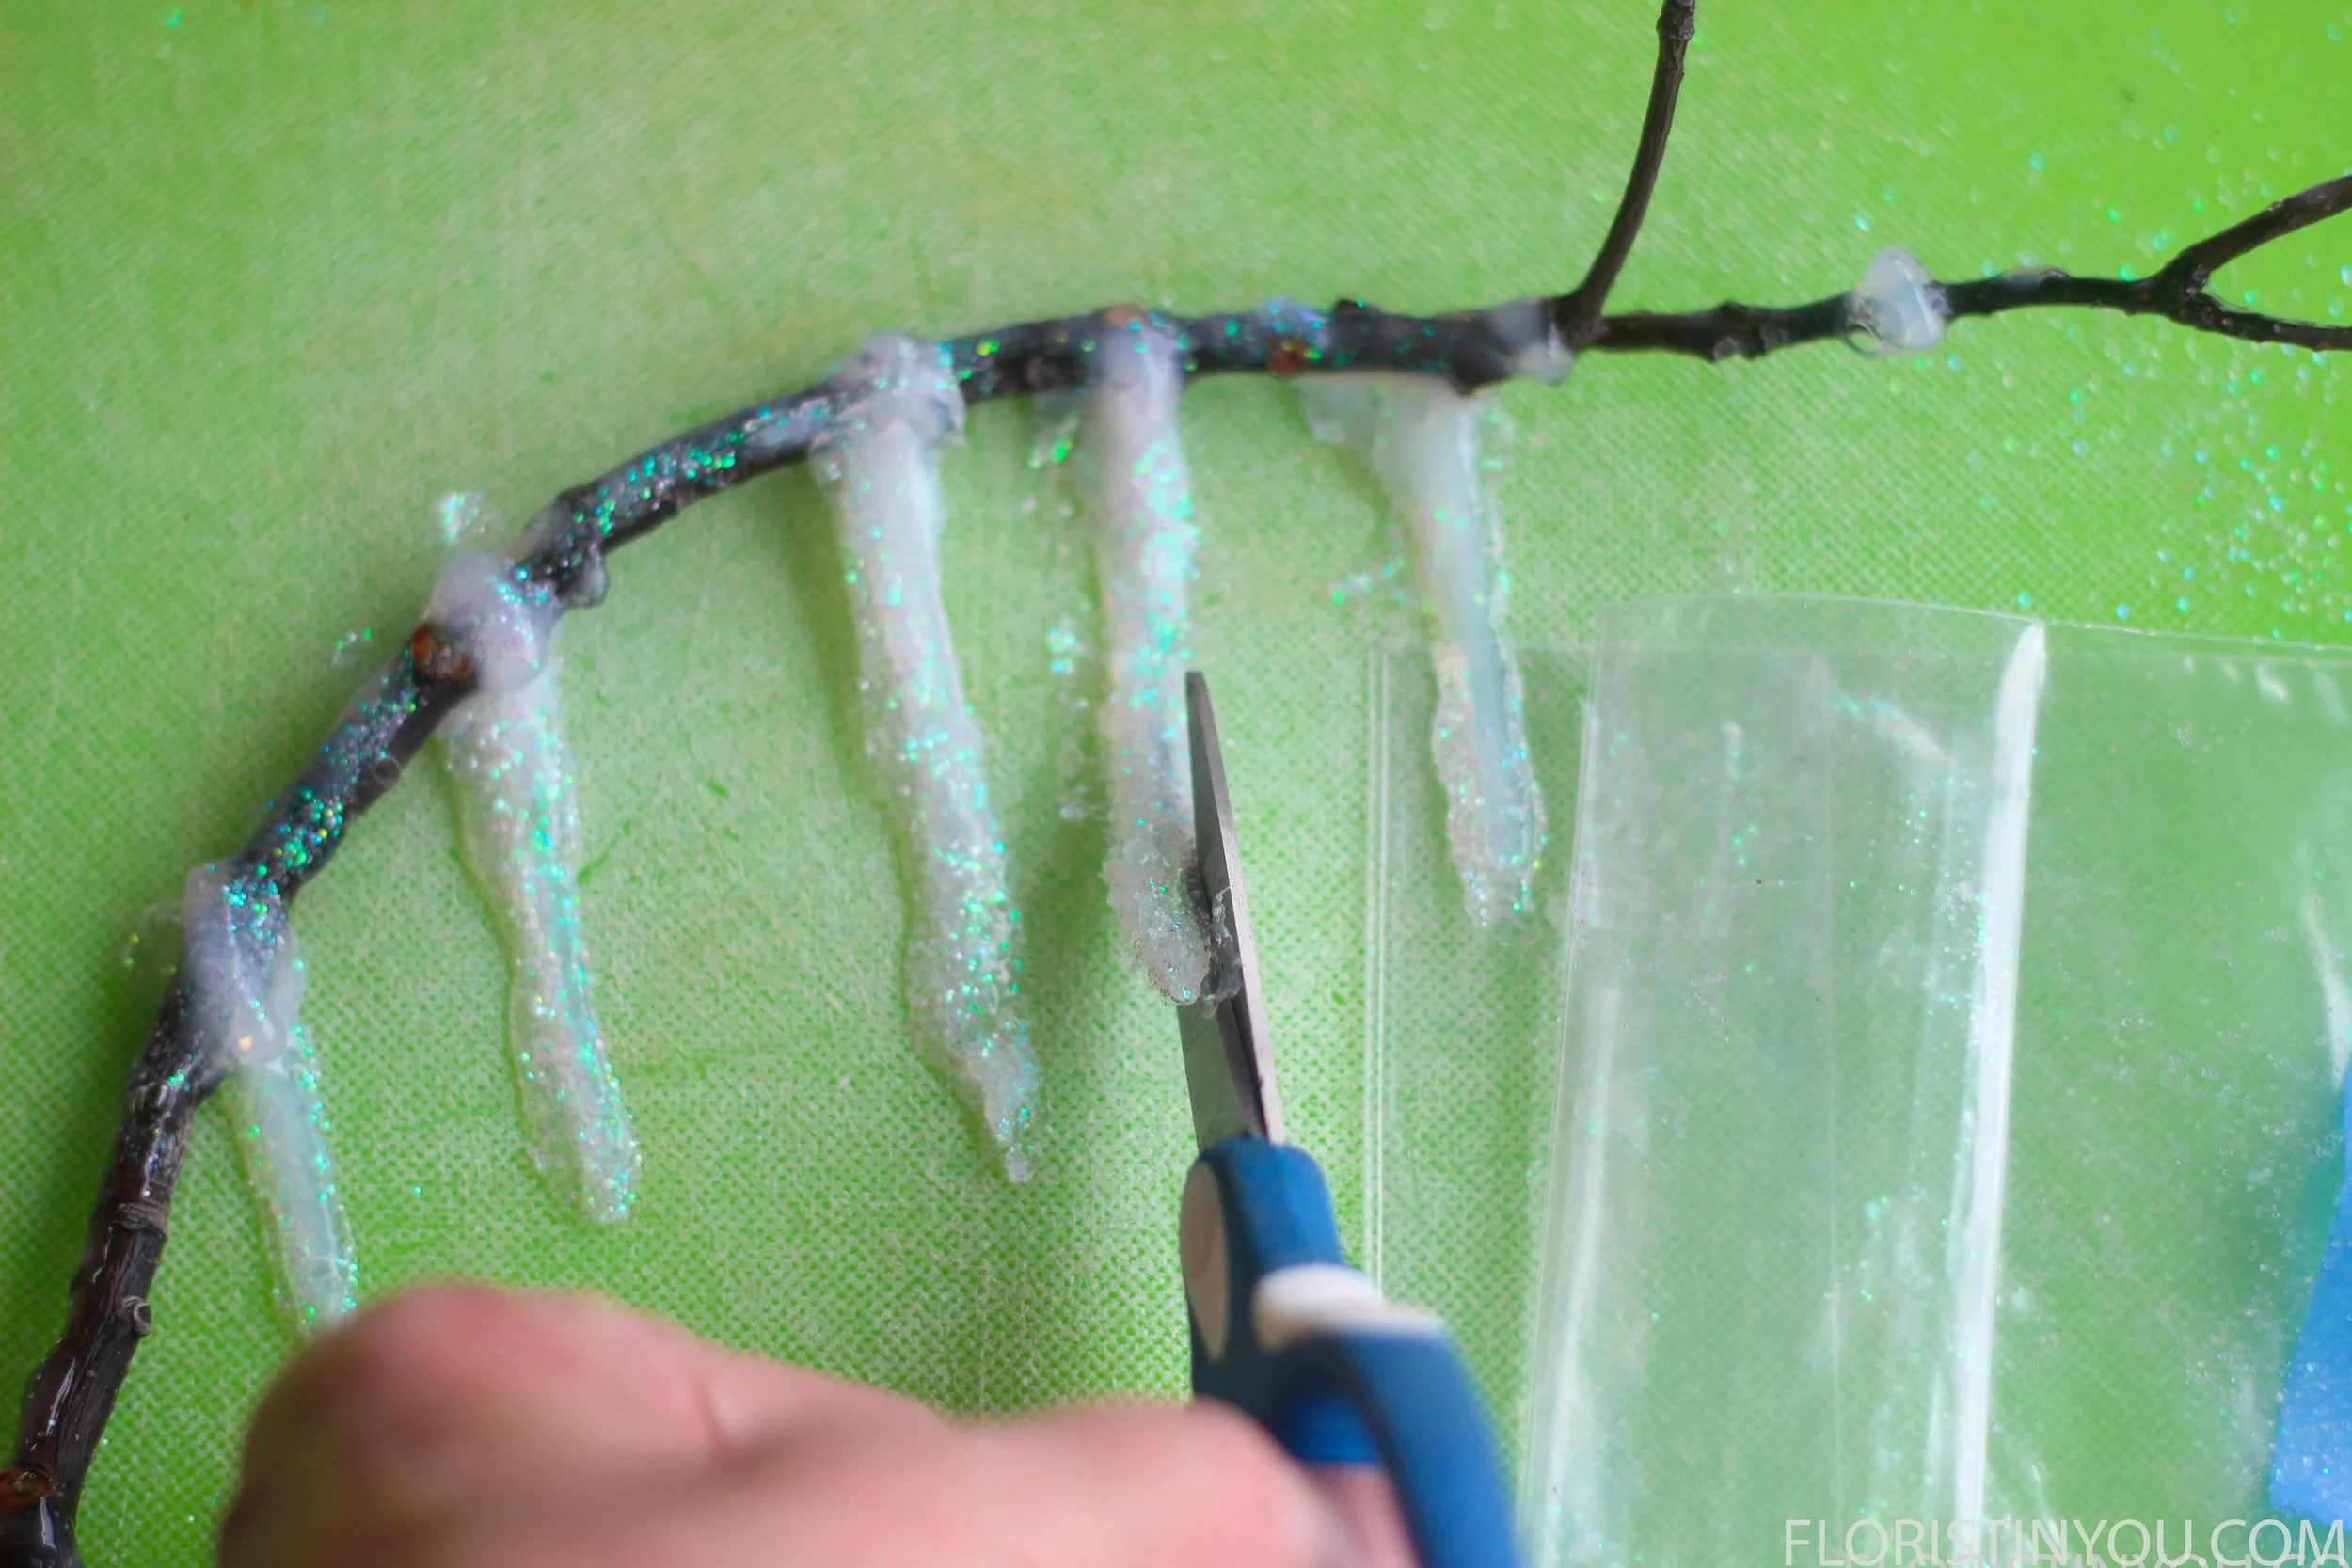
Trim and shape any edges that need it
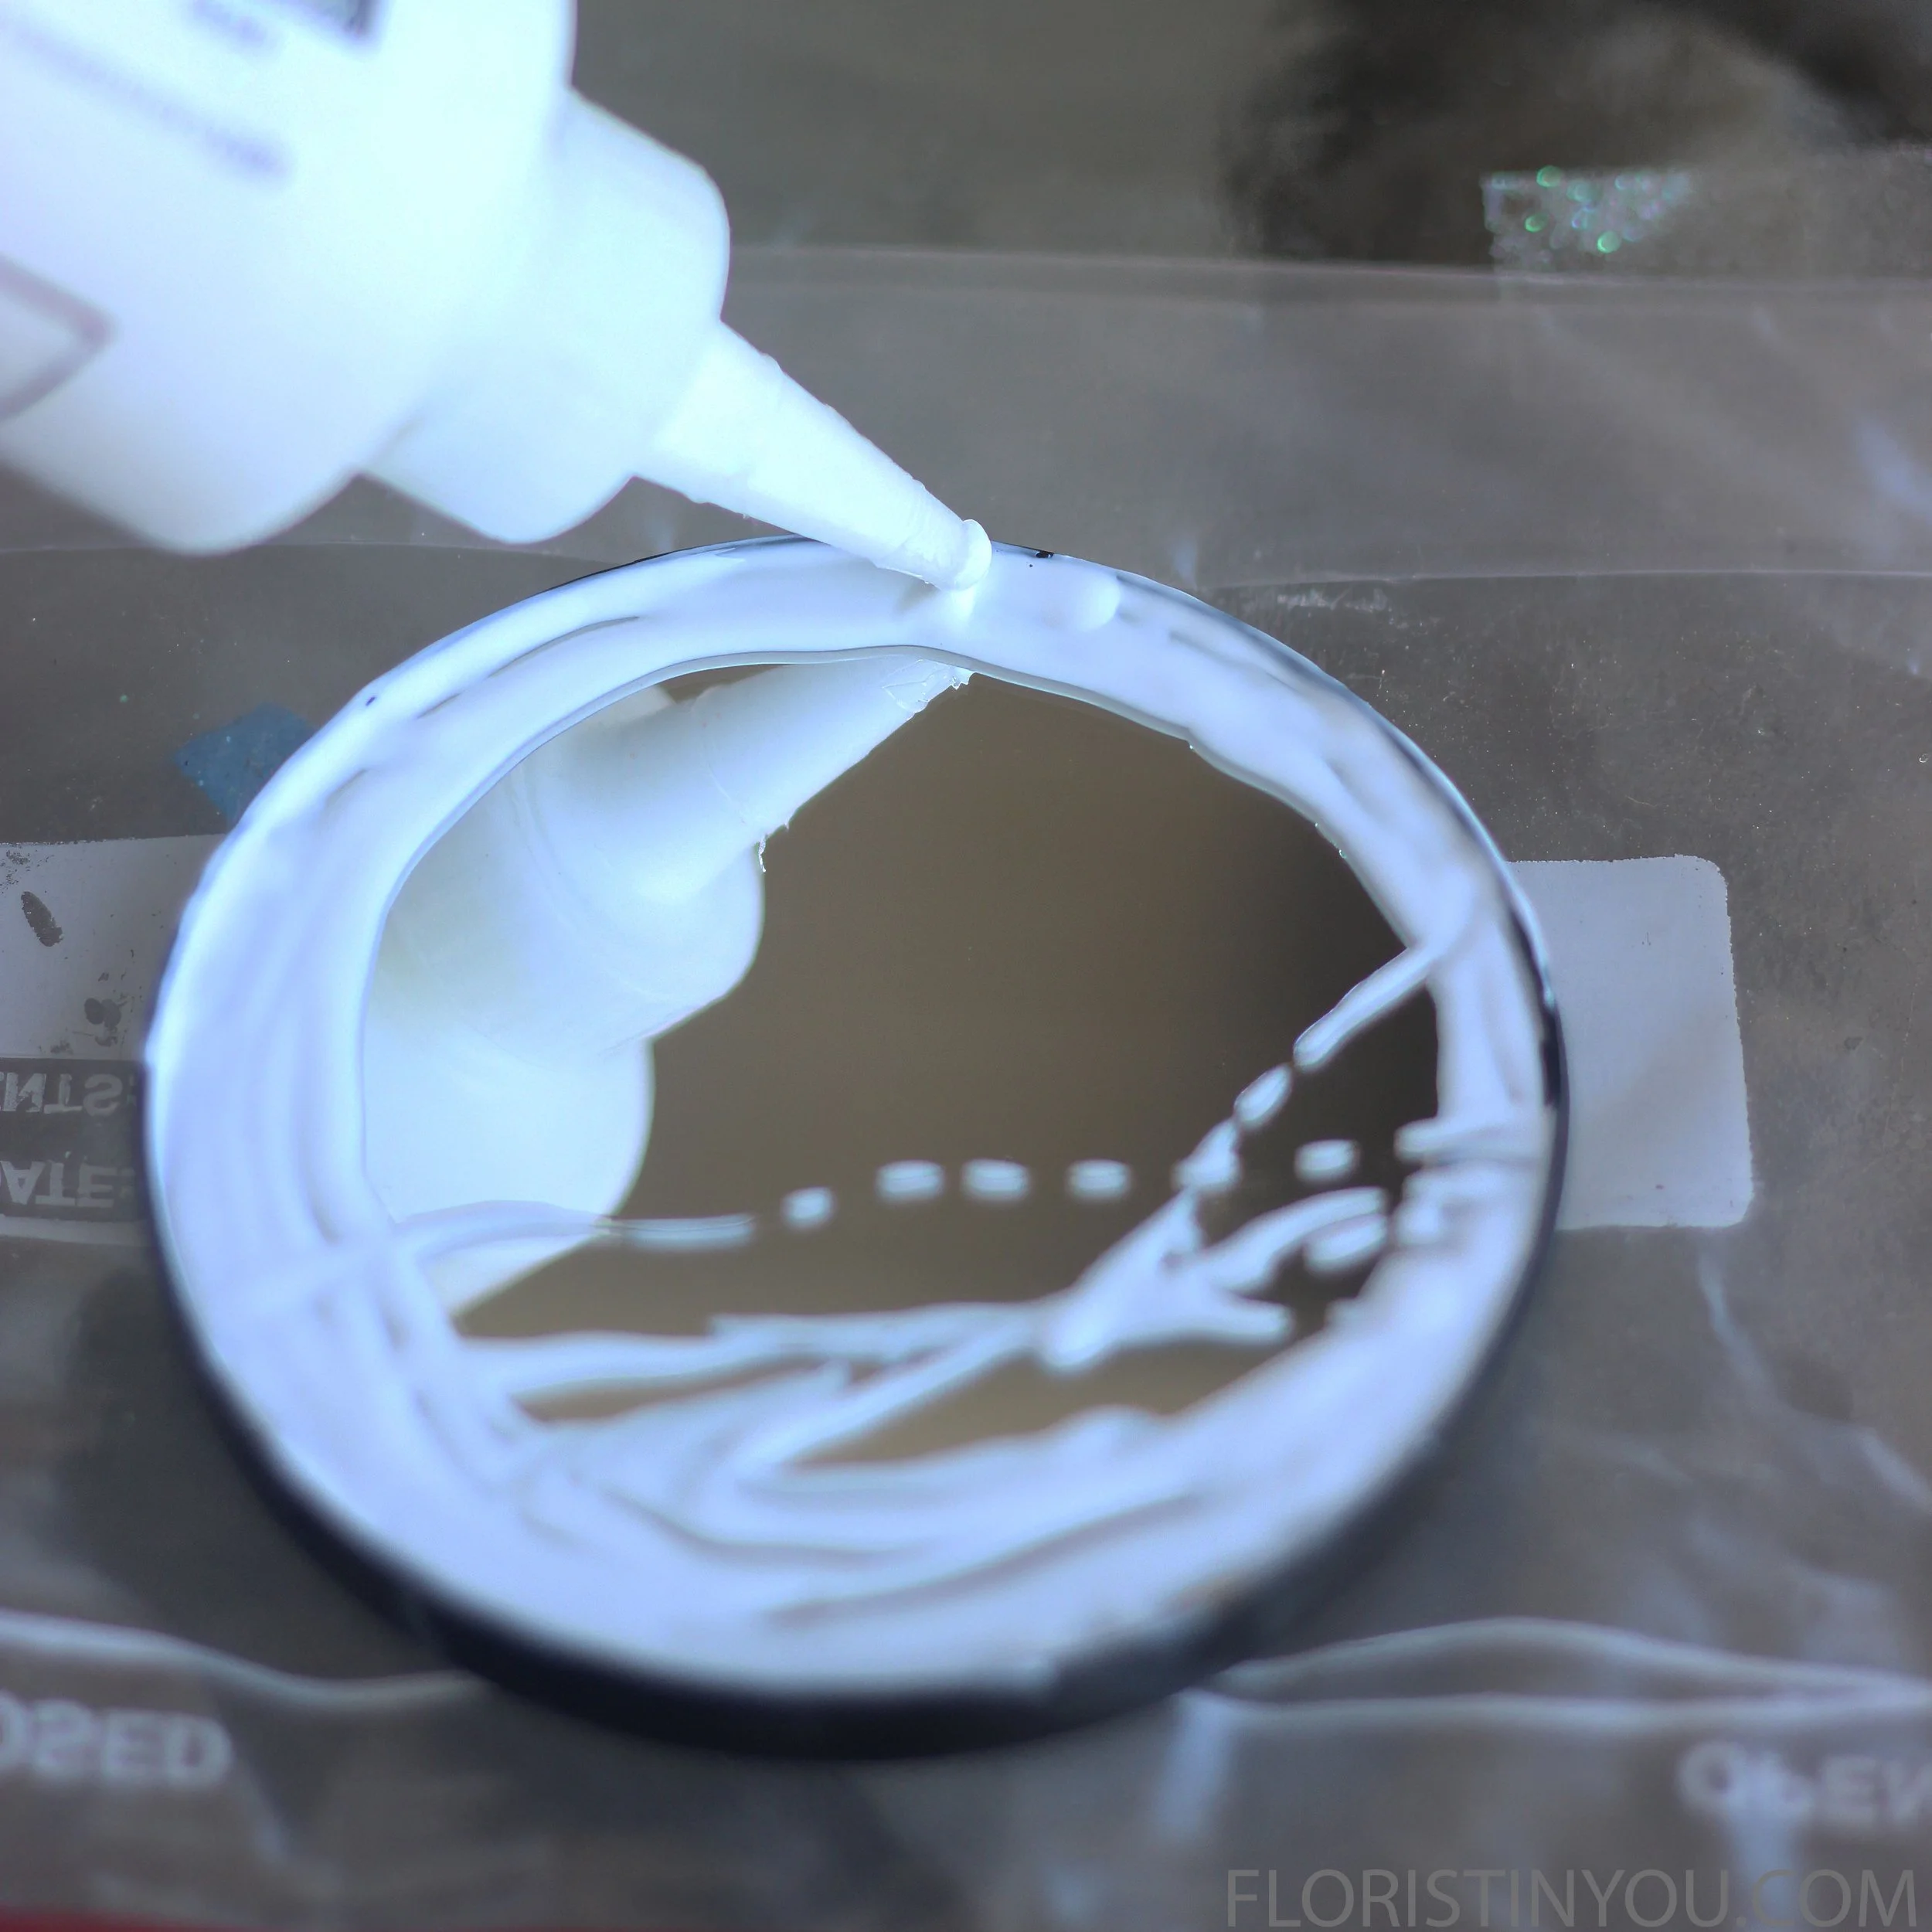
Put Gallery Glass around edges of Mirror. Make vertical lines and an angled line
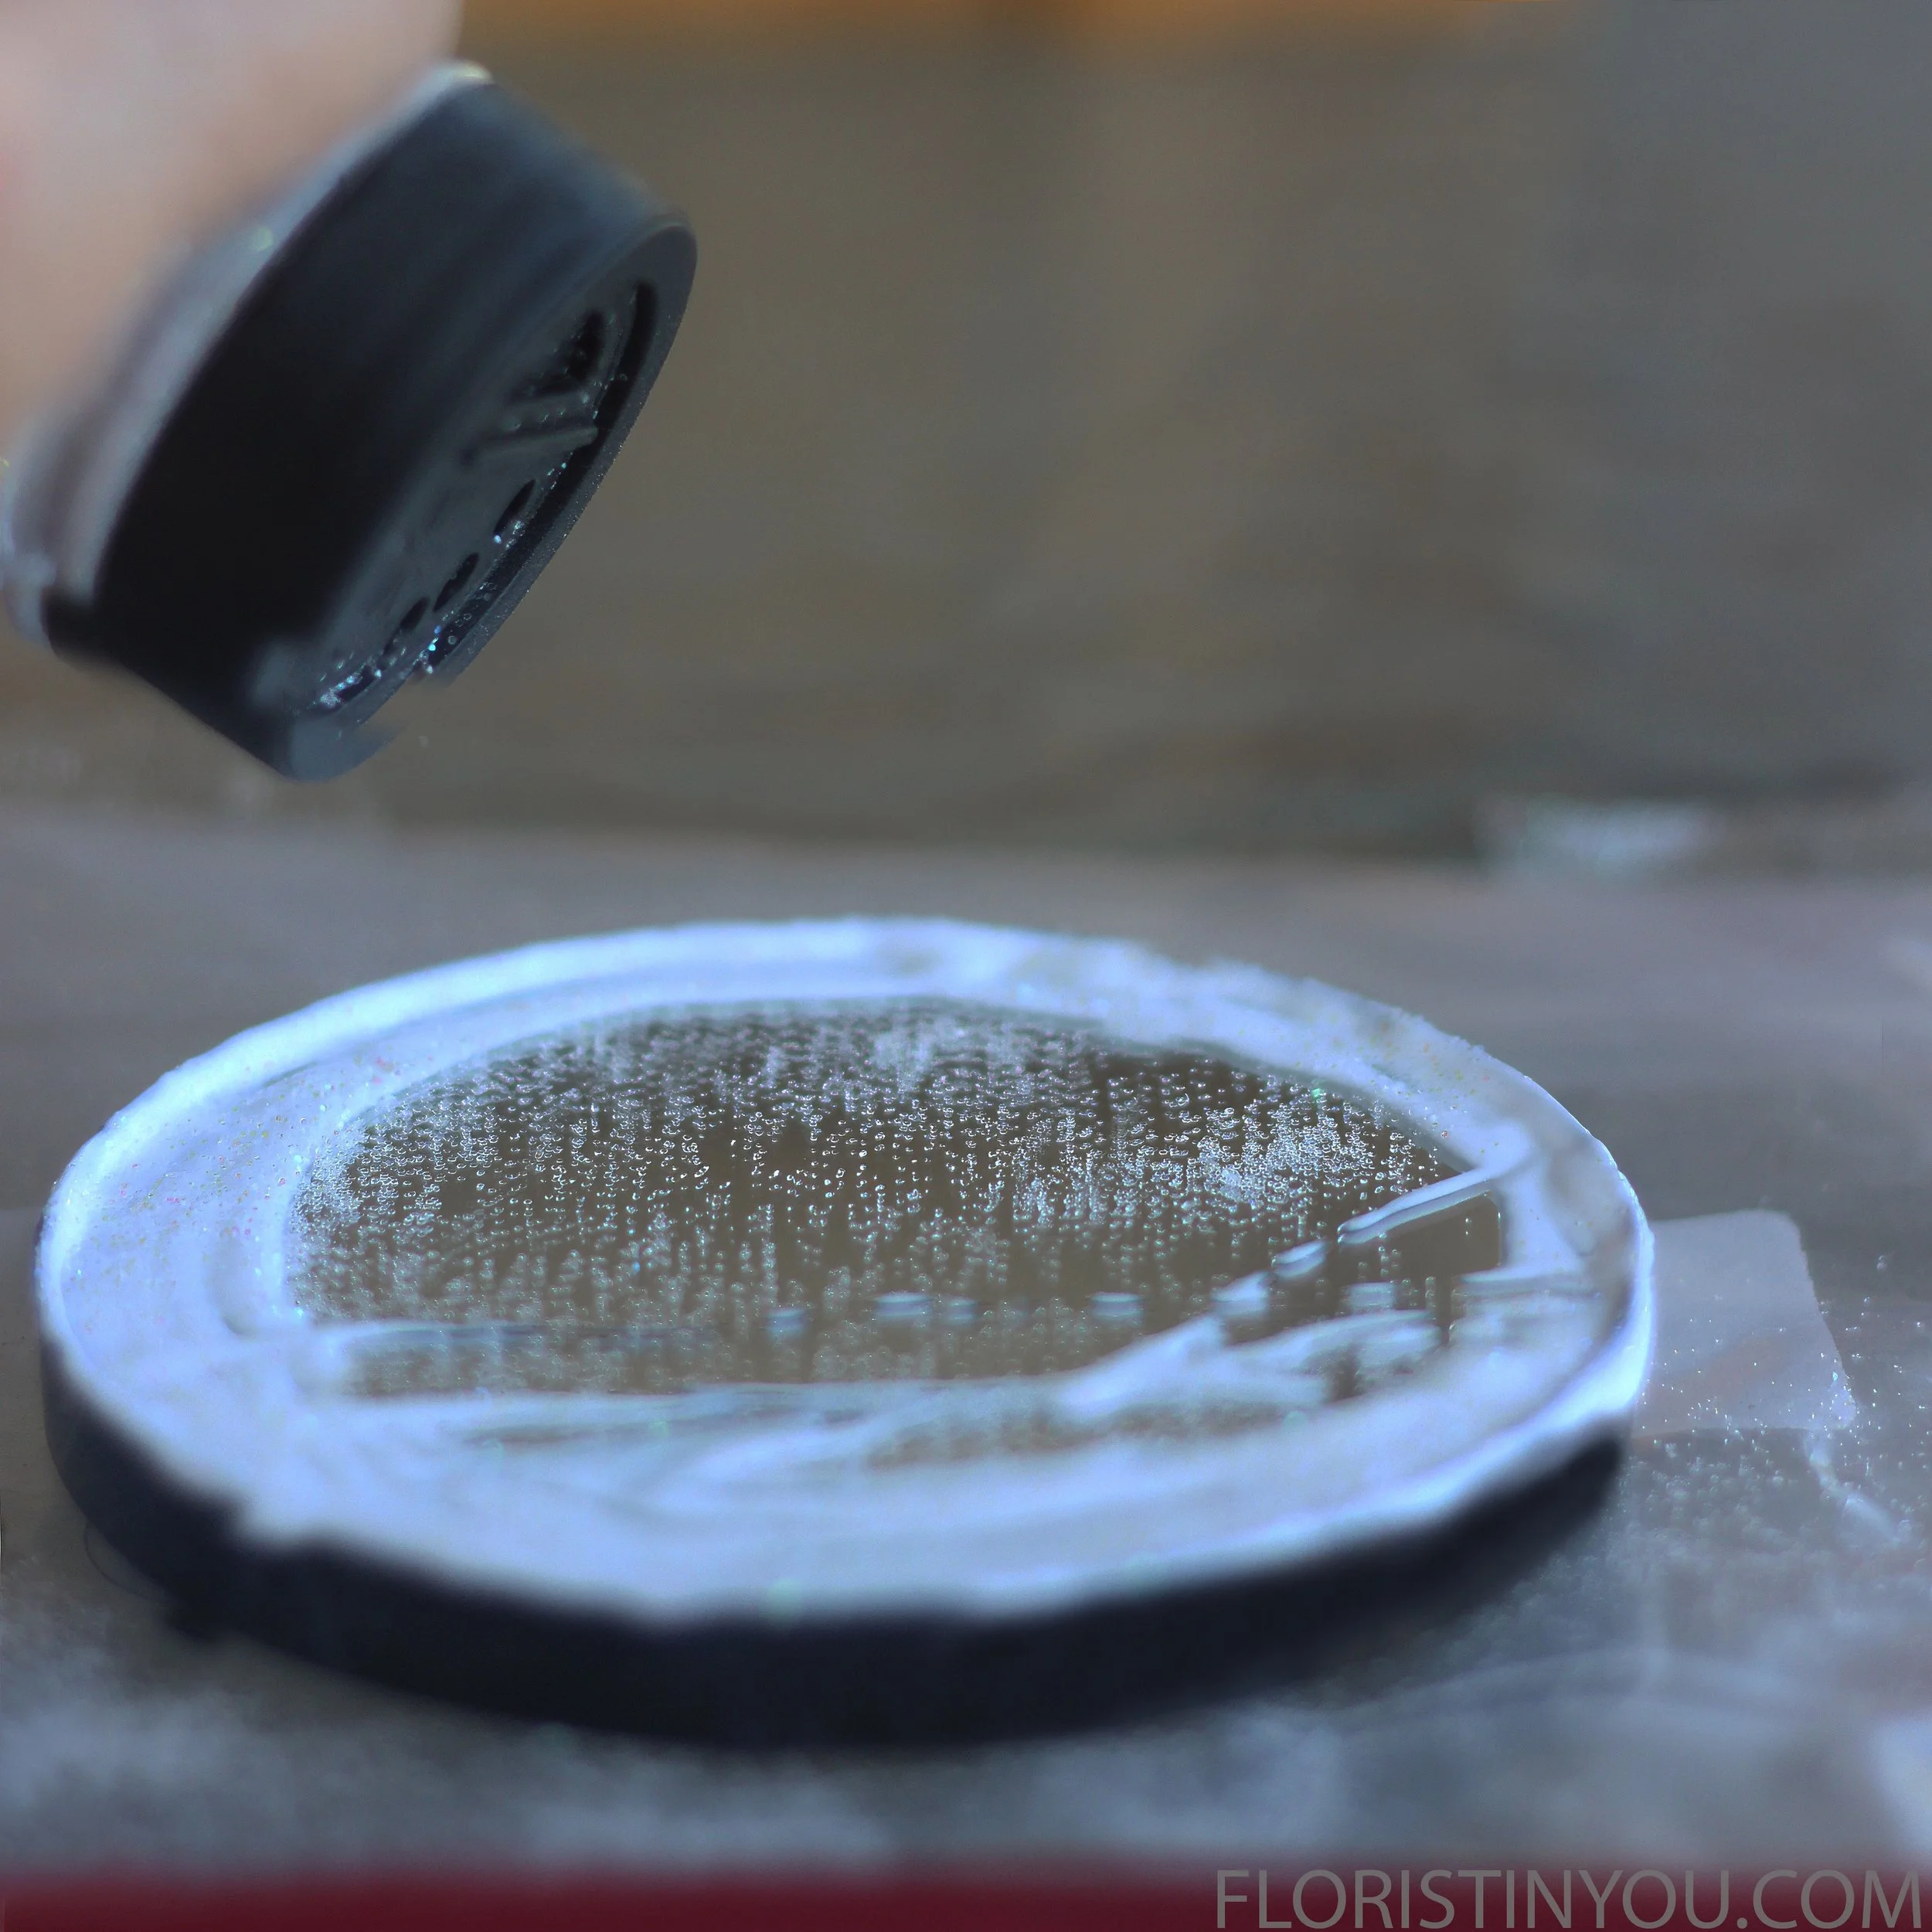
Sprinkle with glitter. Let dry
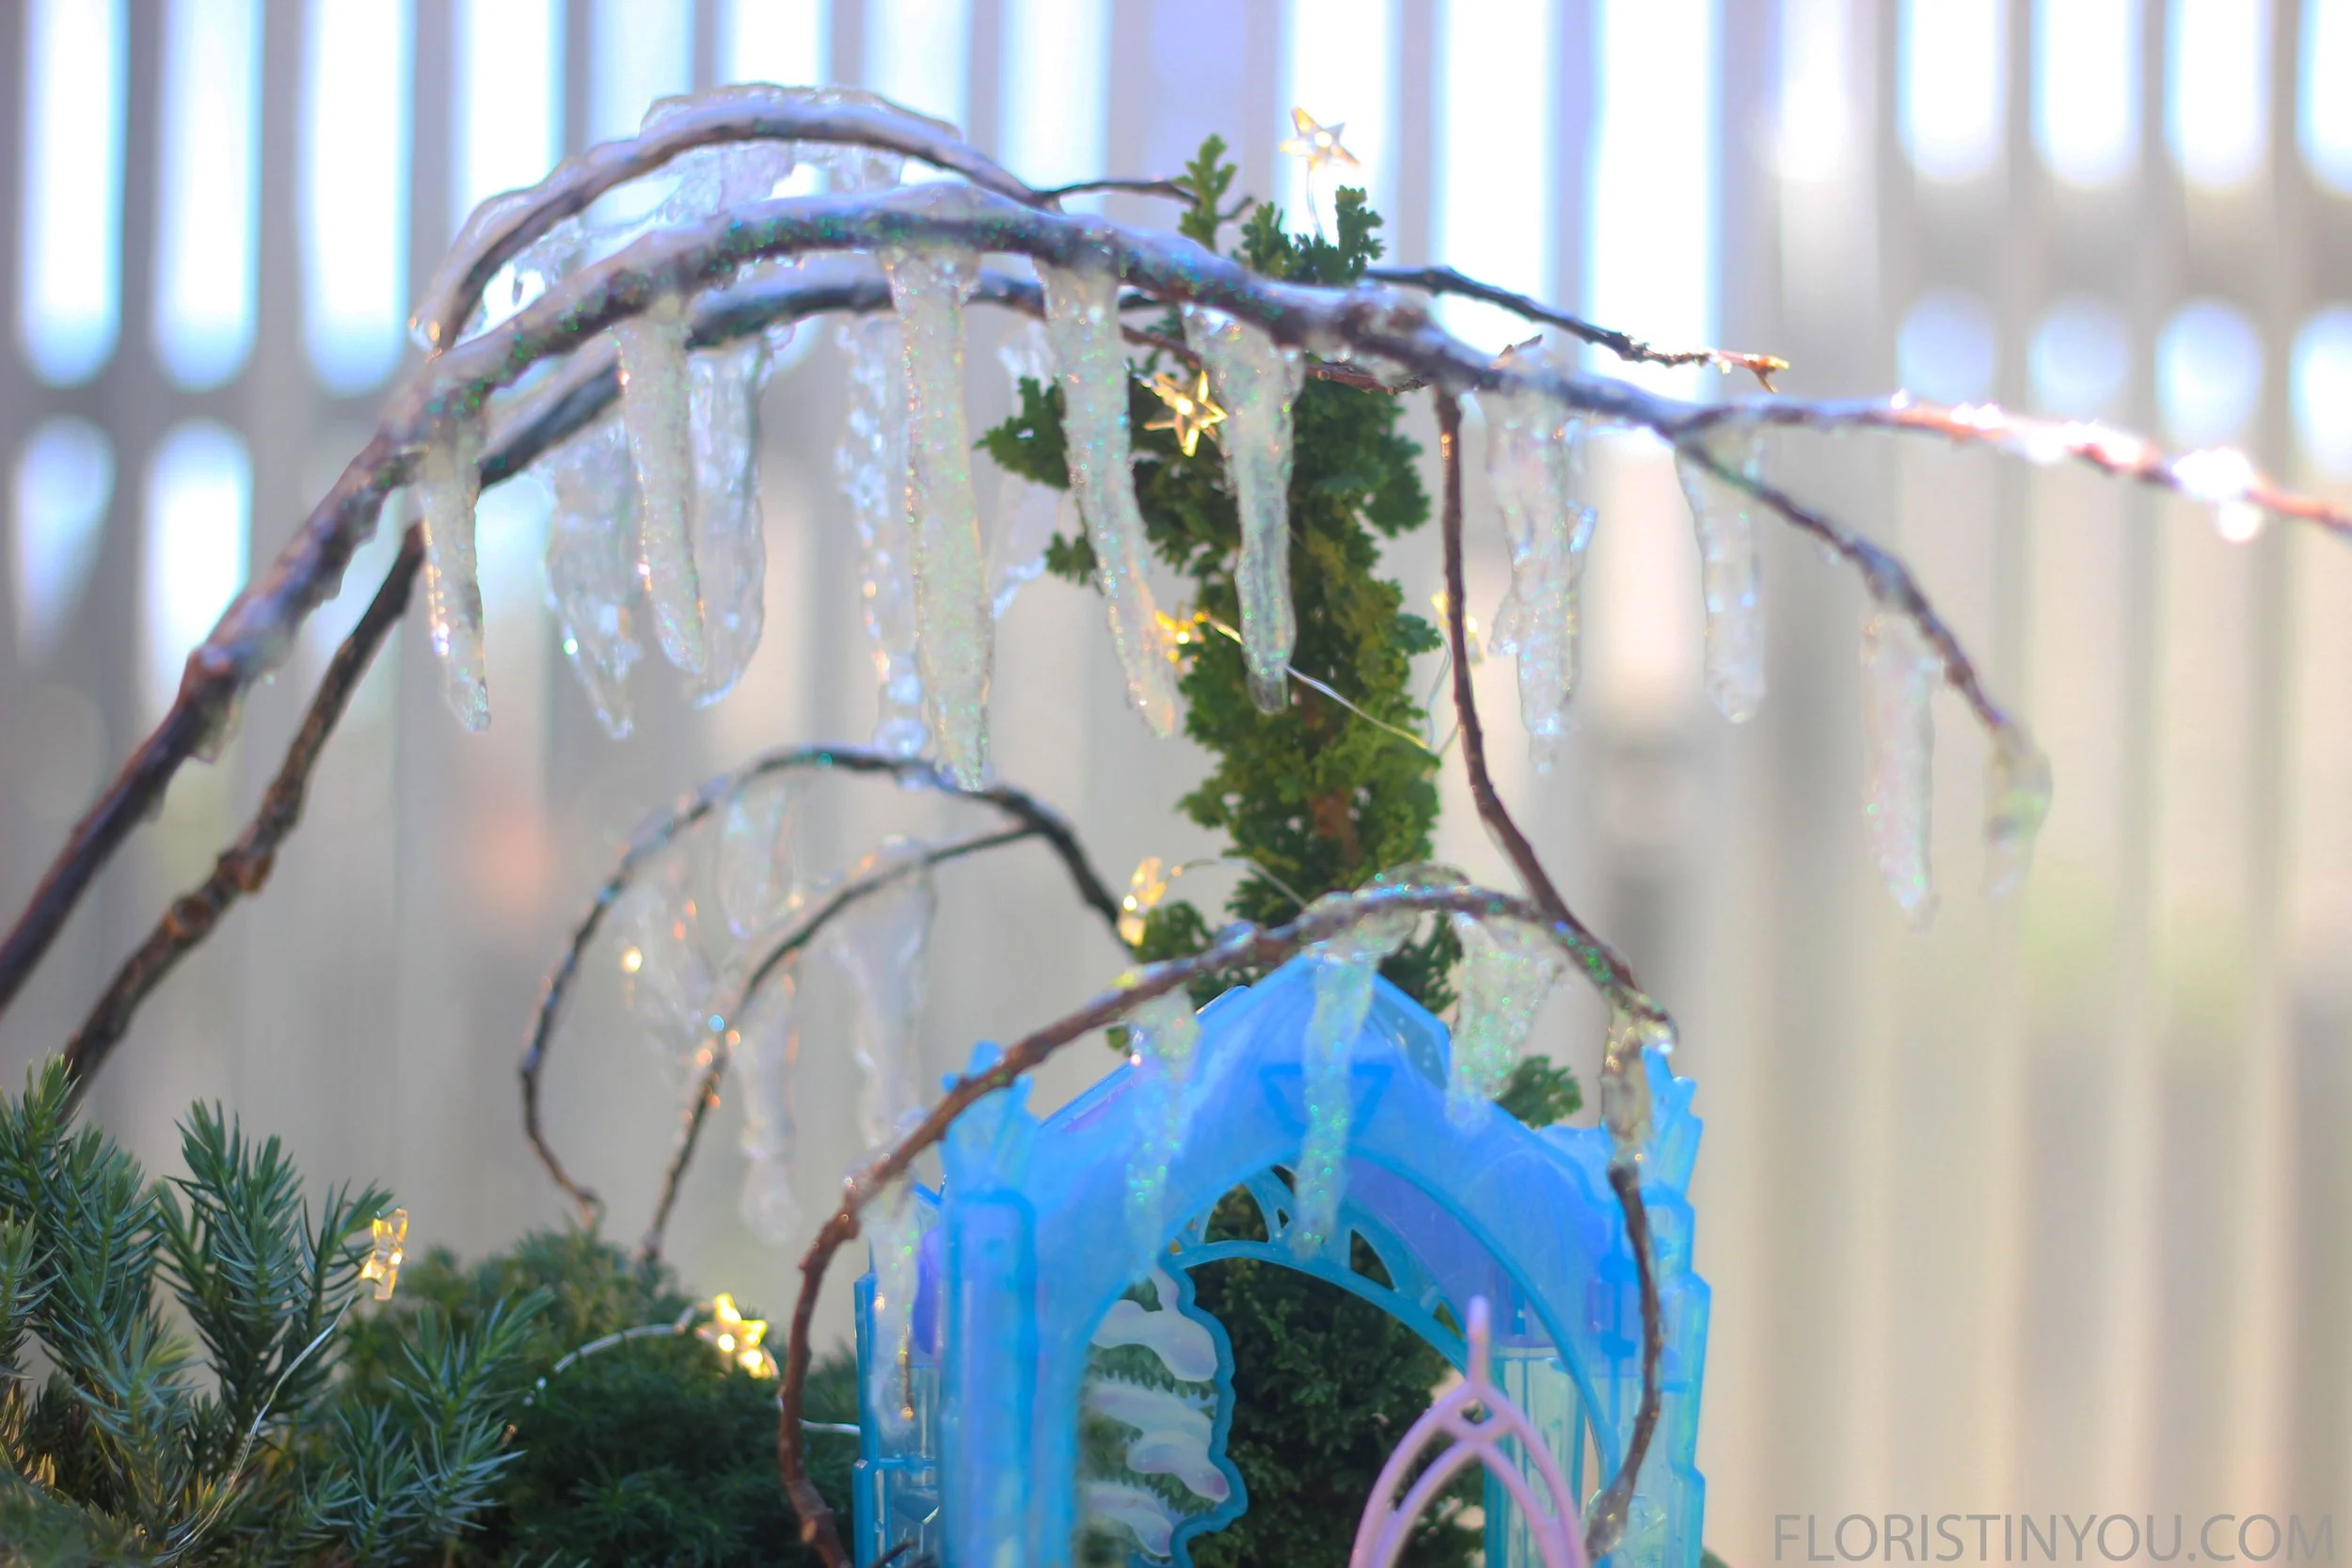
Here is a close up look at the icicles
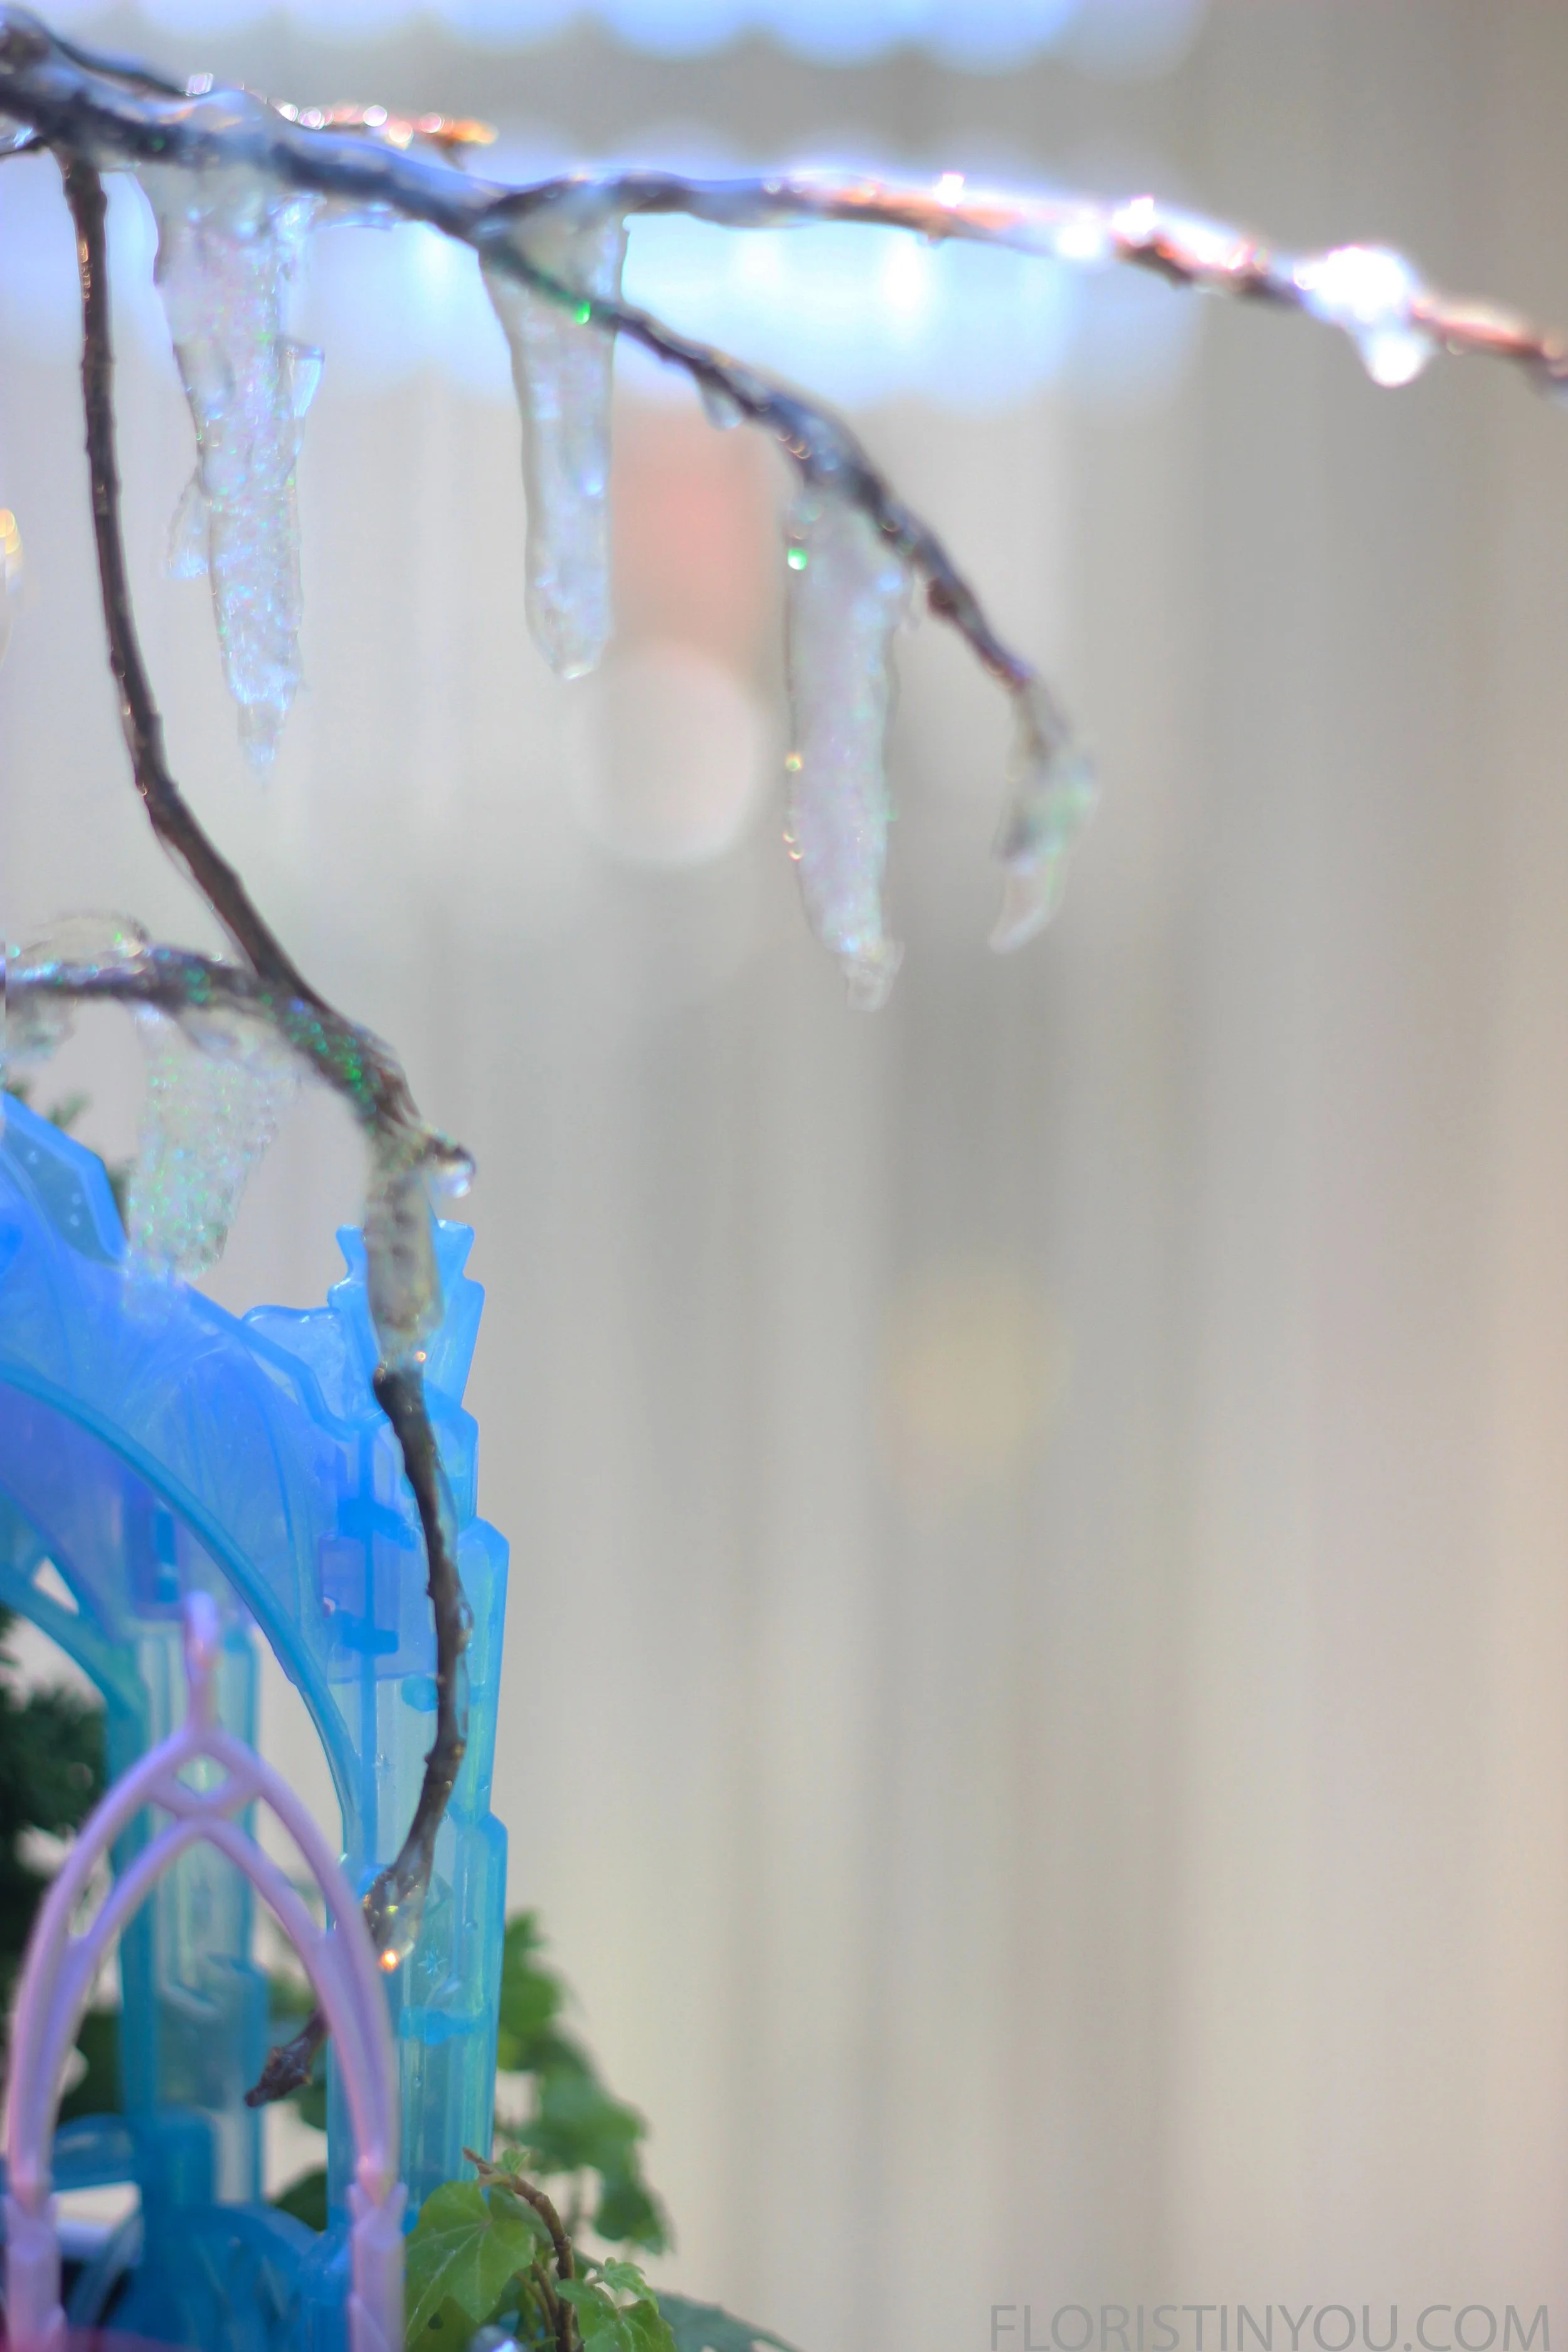
They look real
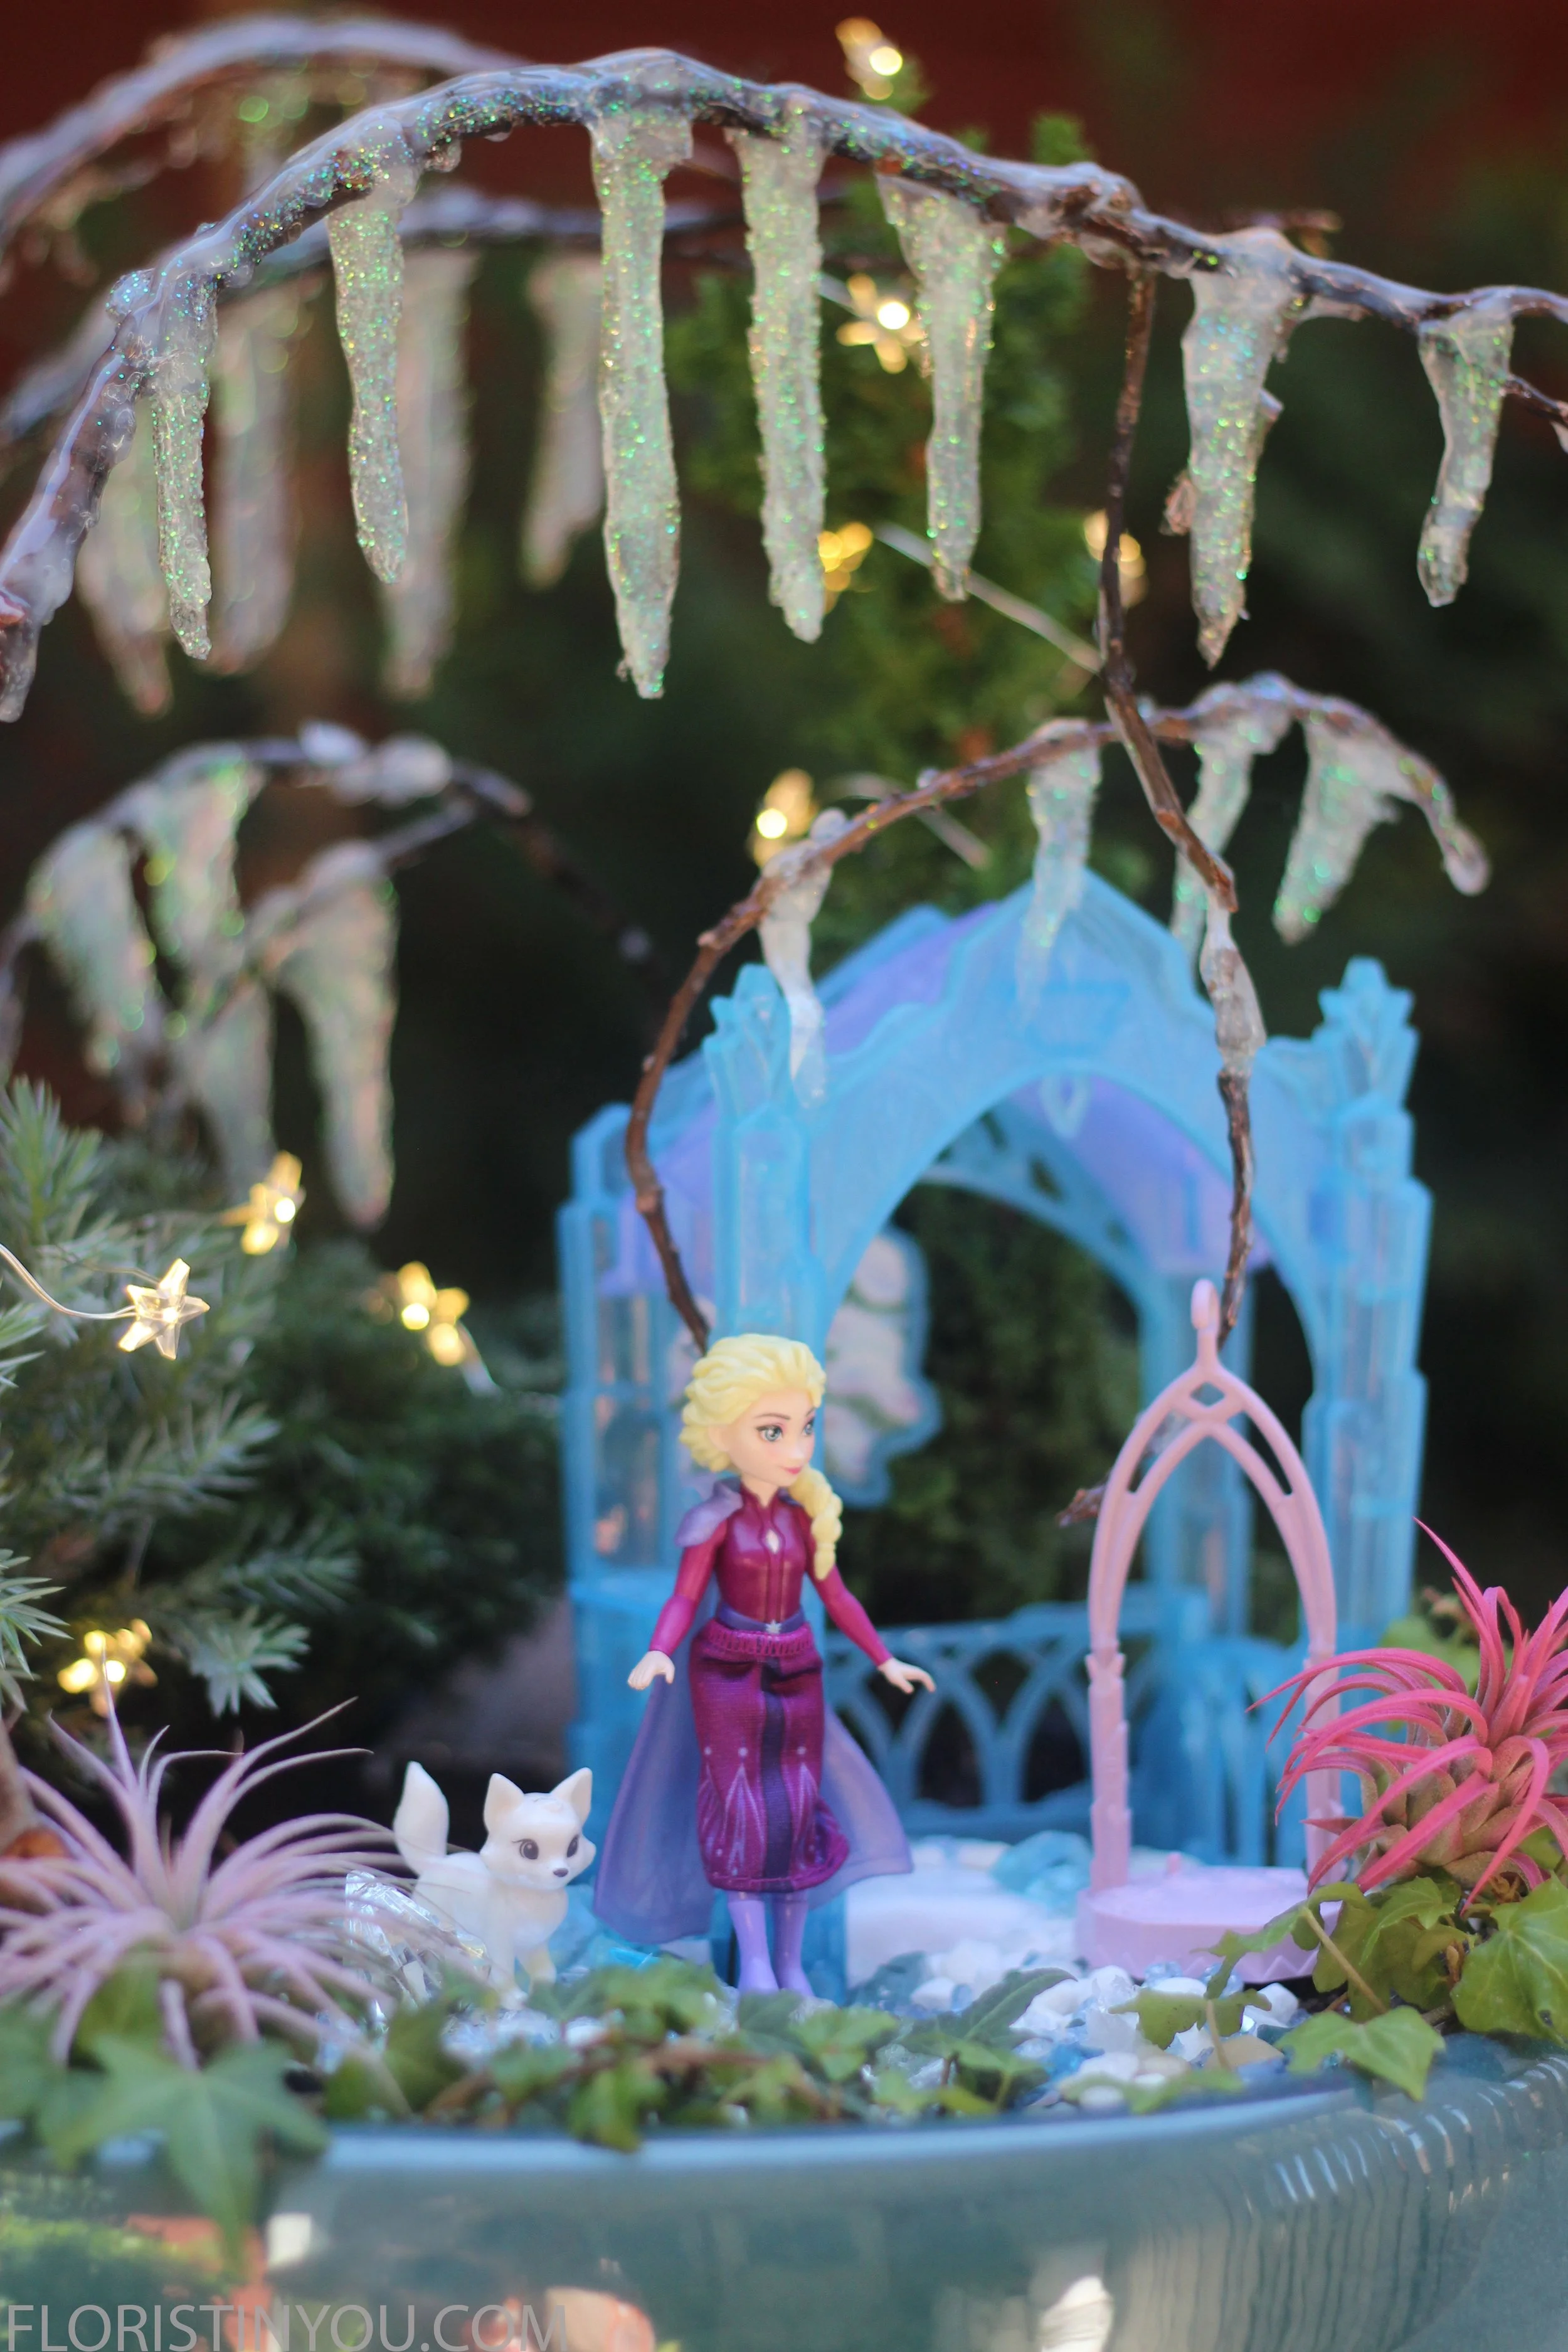
This is what they will look like when the Frozen Fairy Garden is done
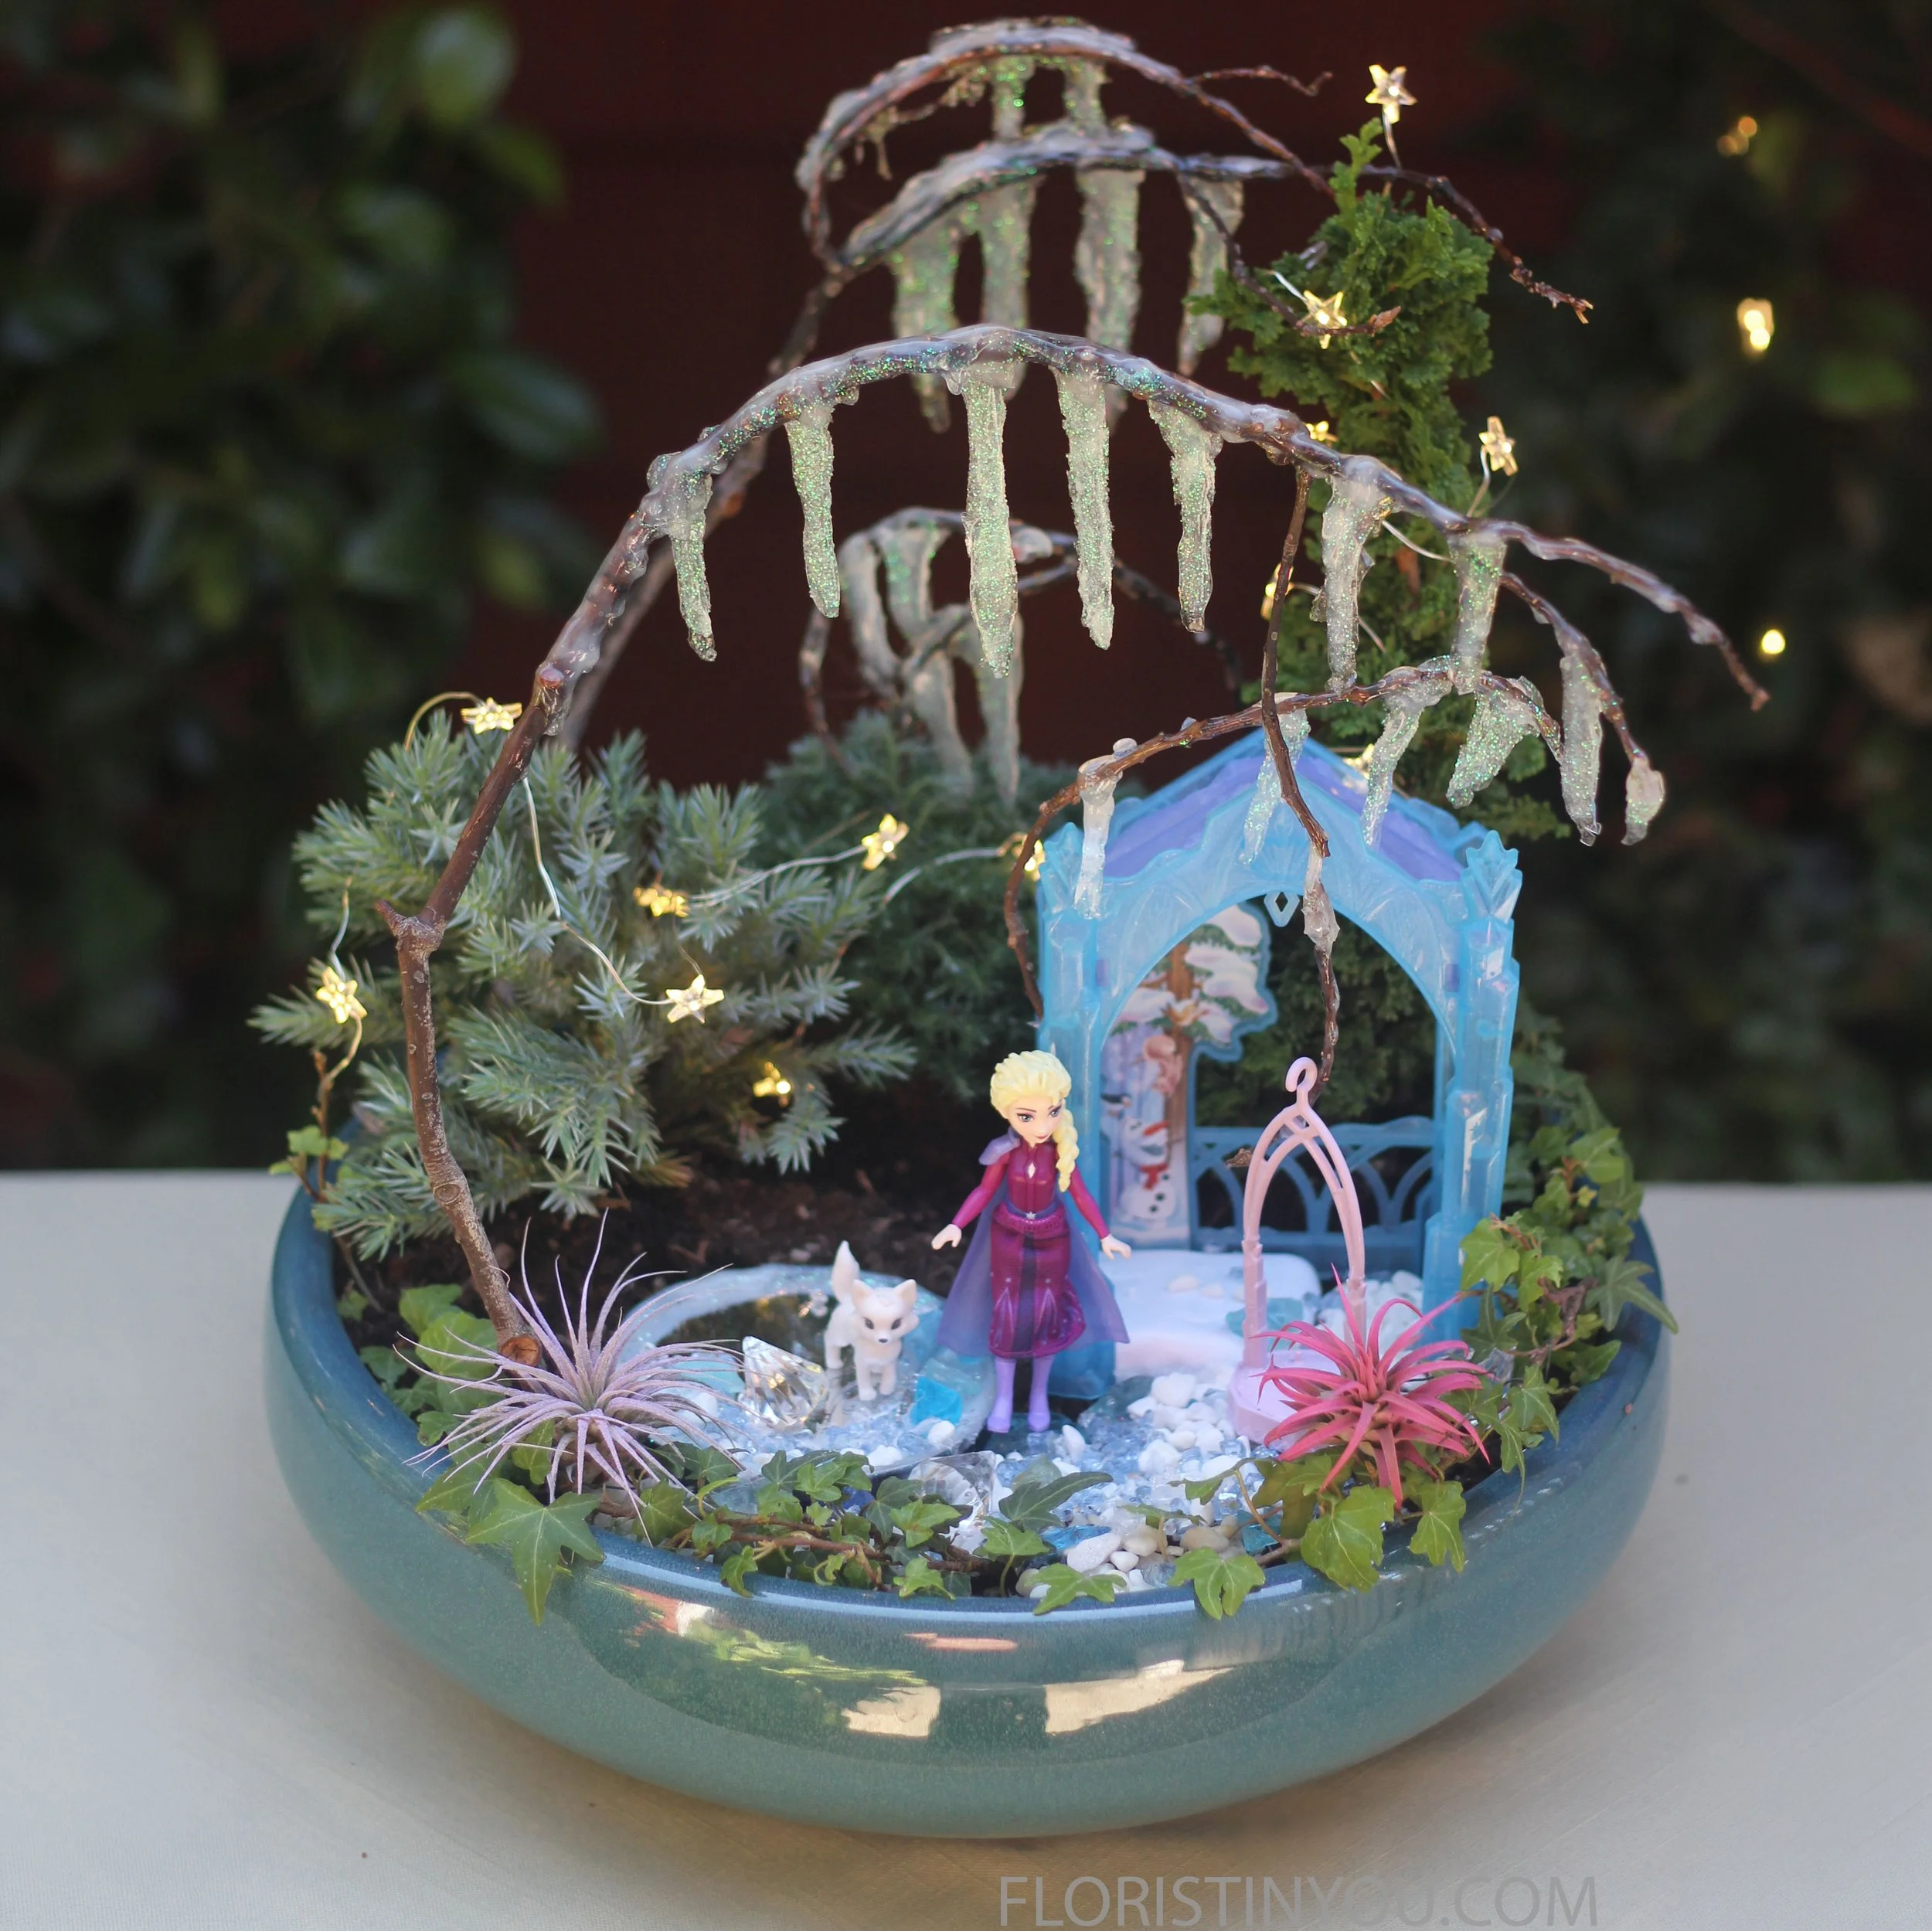
Just a little magic!