With Blue & White Hand Painted Pumpkins

Mums, Roses & Blue & White Pumpkins
What’s needed for this large arrangement:
1 bunch lavender spider mums (19.5-16”)
1 bunch rust spider mums (22.5 - 11.5 inches)
1 bunch orange spider mums (13.75-11.5”)
1 bunch medium yellow mums (16.75-15.75”)
1 bunch med. orange mums (16.5 - 17.5 “)
1 bunch red coffee beans (18-17 inches)
1 1/2 doz. lavender roses (9.75-8.5 inches)
a blue and white vase
18 gauge green floral wire
a packet of Flower Food (purchase here)
Steps for arrangement: 7
Flower Cost: $31.94
Rated: Intermediate
Steps to Paint the Pumpkins:
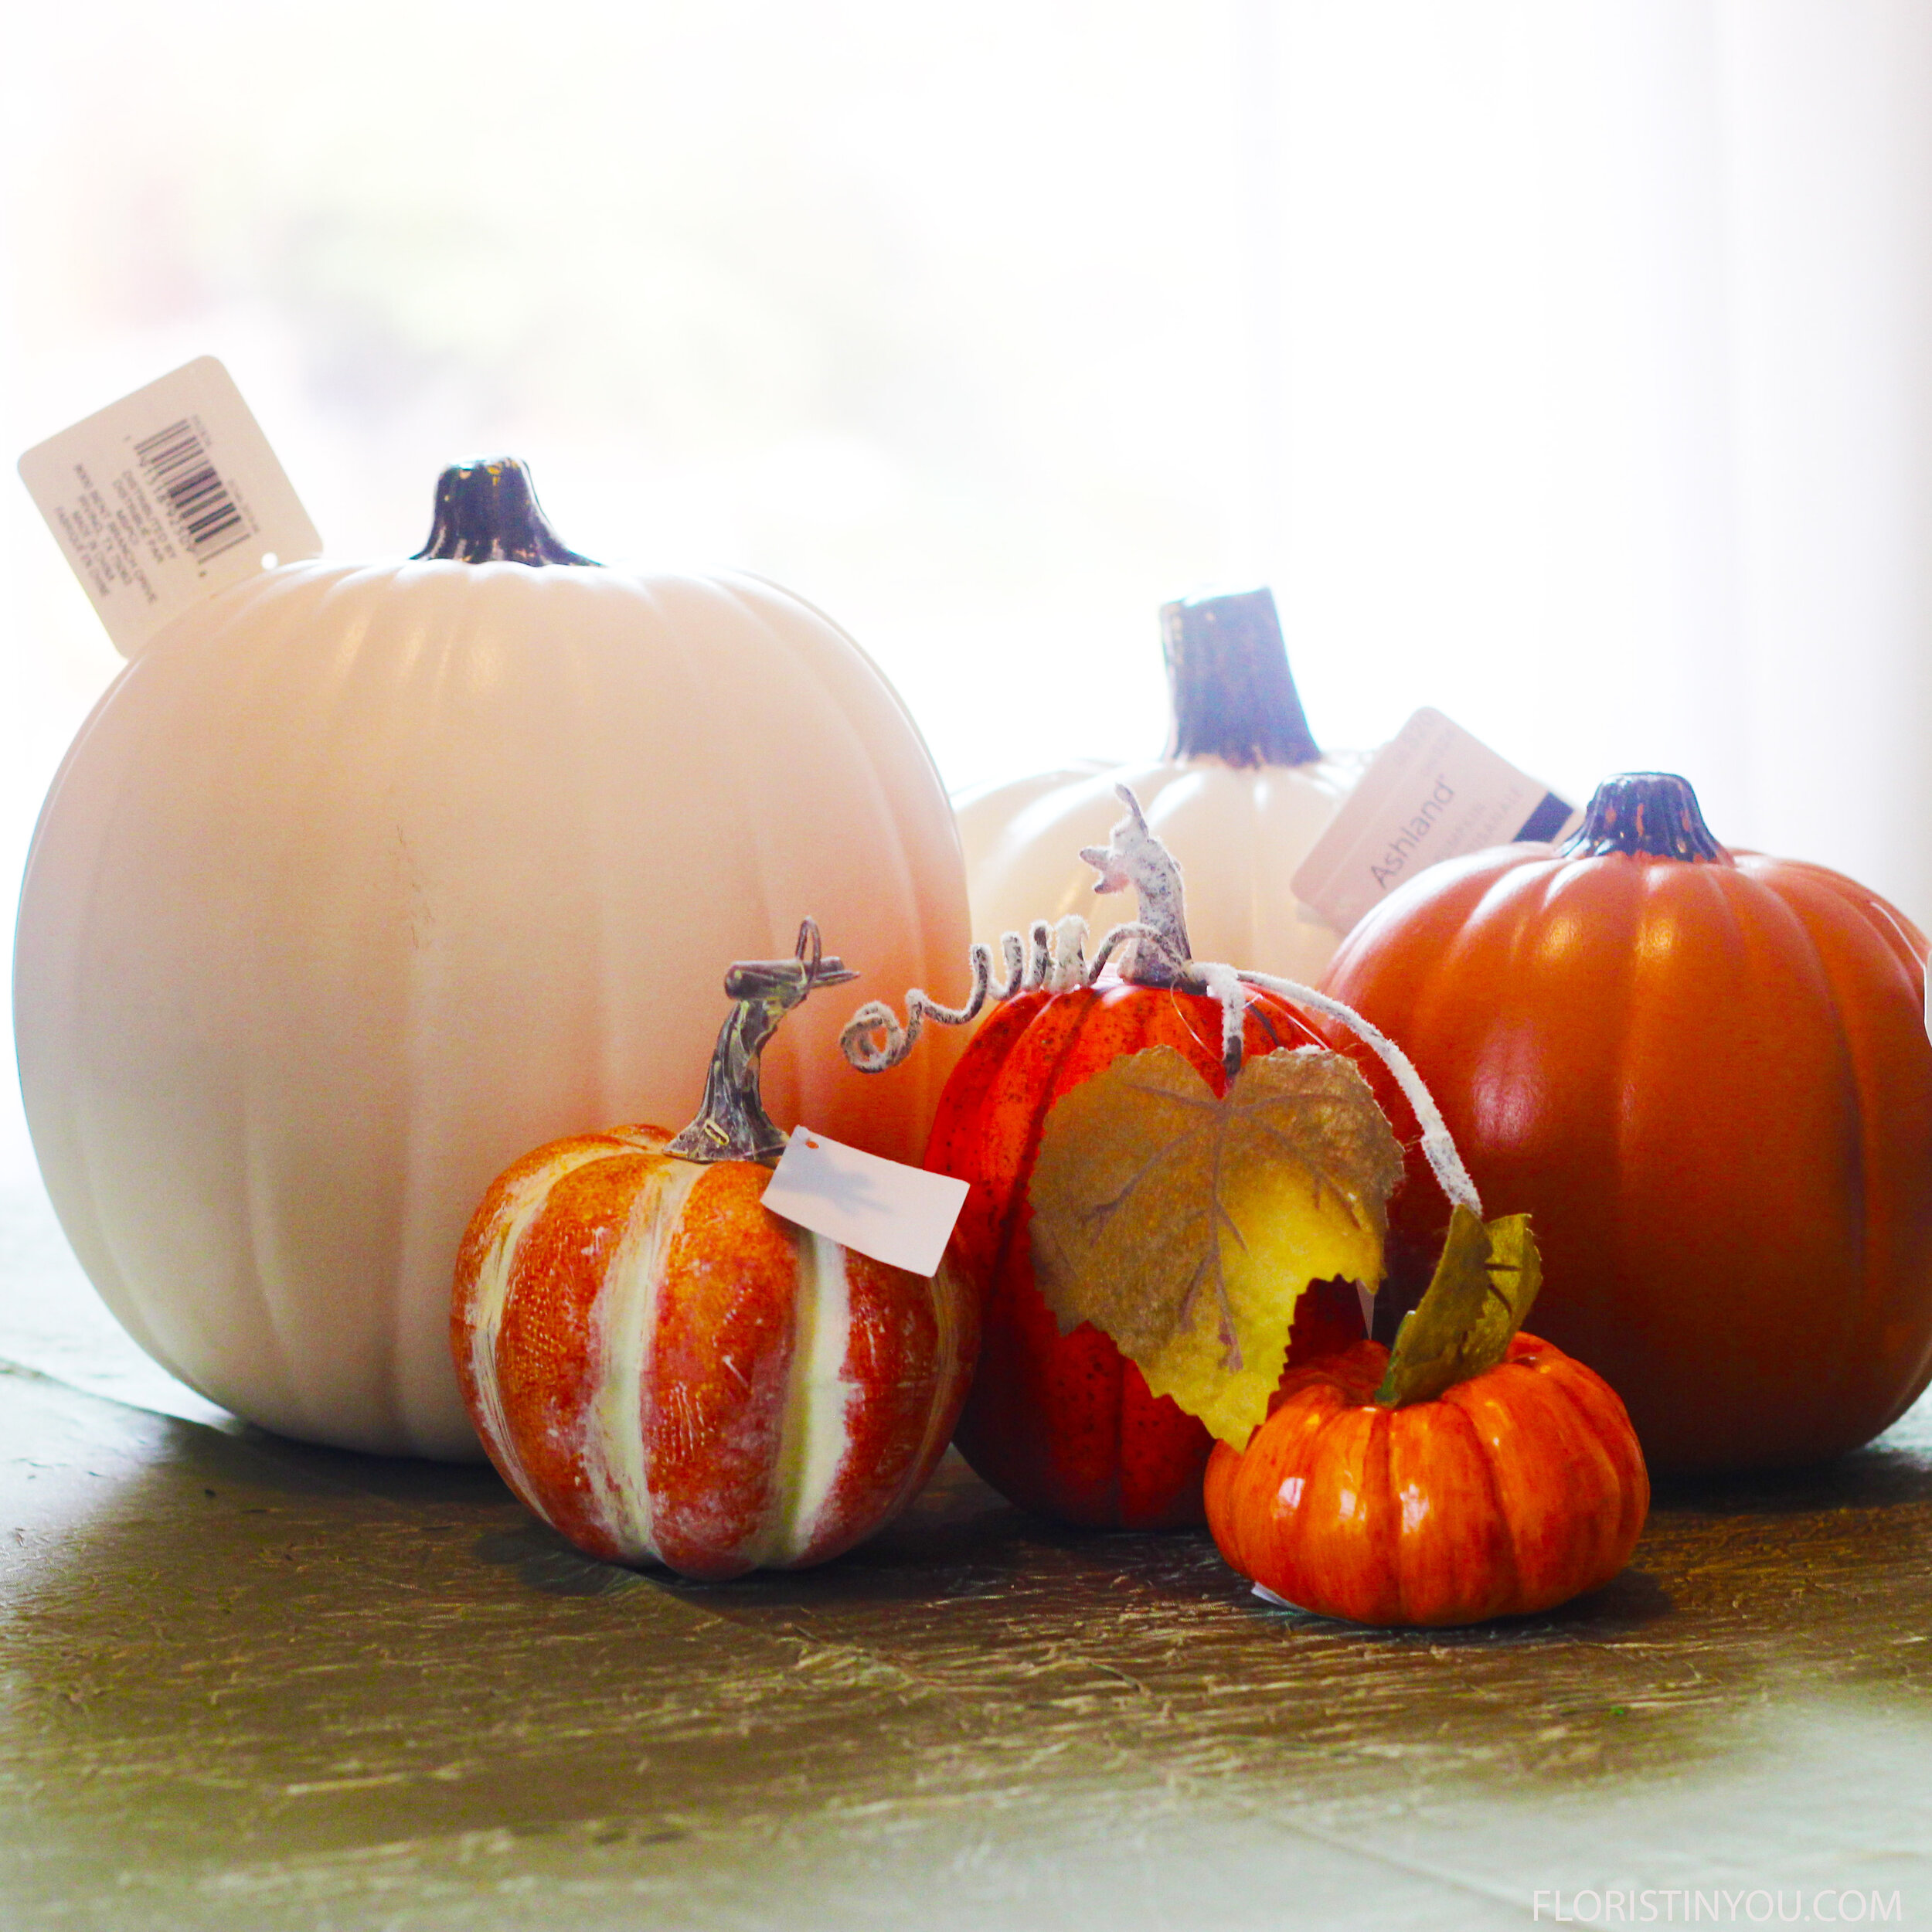
1 Ashland white craft 10” high pumpkin
1 Ashland white craft 9” Diam. flat pumpkin
1 Ashland craft 6” pumpkin (Michaels)
1 craft 3” pumpkin (Hobby Lobby)
blue acrylic paint
1 fine tip brush
a water glass to keep brush wet and to clean the brush
pencil
Design Master Gold Metal 231 spray paint (purchase here)
1 chalk paint 8341 Sheepskin - if you need to paint any of pumpkins white (purchase here)
1 sponge brush (Home Depot)
1 plastic drop cloth (Home Depot)
foil
blue painters’ tape
I love Spode and all things blue and white. You can make blue and white pumpkins with a process called decoupage where you adhere a blue and white design on a napkin or color print (from a professional laser-jet printer) with Mod Podge. (The ink from a home printer will “bleed.”) You can also use tattoo paper to capture your design. My daughter wanted to paint the pumpkins herself, and so we did. It’s a little bit of a project, but there’s nothing like painting your own 'Spode' pumpkins.
This arrangement is made with mums. I was away from Los Angeles, but found a beautiful selection of mums and roses at a national chain store at prices you could not beat.
Mums last a long time, from 7 to 14 days. They do have a firm stalk and do not reshape, so it is important to have the opening of your vase at least 4 and 1/2 inches in diameter. This allows the flowers to rest at an angle and widens the arrangement. If your vase opening is small the arrangement becomes too narrow and can’t spread out. After you find a vase with a 4 and 1/2 inch wide opening, buy your flowers.
Step 1 is painting the pumpkins.
Paint any orange pumpkins chalk white.

Use a sponge brush and drop cloth to paint orange pumpkins chalk white.

Use dark blue acrylic paint for the design.

Here is the chalk paint, and the gold metallic paint for the stems.

Paint orange pumpkins with sponge brush. Dry.

Cut small hole in top just big enough for stem to come through. Put blue tape around it.

Spray stems gold outside with garbage bags underneath. Dry. Draw on design. Paint it.

This is the front of the hand painted 9 inch pumpkin.

There is the hand painted 6 inch pumpkin.

This is the back of the 9 inch pumpkin.

The small white pumpkin with the flat pumpkin behind & the 6 inch painted pumpkin.

Here are the flowers you will use.

Clean vase with soap and water. Pour in fresh water.

Pour in packet of flower food.

Put 2 mums in at 45% angles, one low, one high.

Wire roses with half a piece of 18 gauge wire. Stick wire into calyx and wrap stem.

Add 3 med. orange mums, 4 roses, with 3 large mums in center.

Add lavender mums and yellow flowers. Make back similar.

Soak berry stems in warm water and carefully bend in an arc as you wire them.

Add berries low on both sides. Bend them down.

The shape of the arrangement should be like this.

This grouping can be used as a centerpiece.

Here’s a close up of the mums.

This is a hot fall arrangement with the lavenders and oranges.

Your pumpkin project and arrangement are complete. Congrats!